I love chocolate. Chocolate and peanut butter are even better!
If you know someone with food allergies peanuts can be deadly. There are several peanut butter alternatives that can be used instead. They have a taste and feel similar to peanut butter but no dangerous peanuts.
You can make this recipe with either peanut butter or a safe alternative!
This page contains affiliate links.
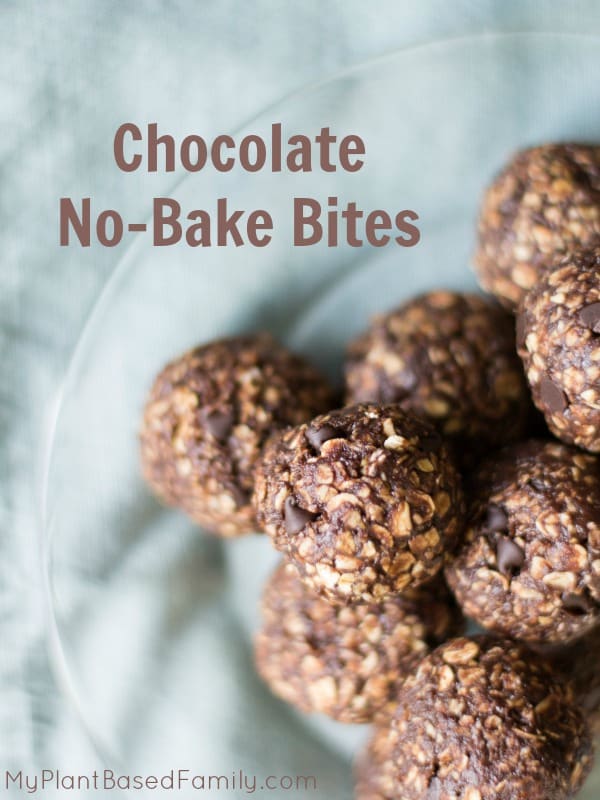
You are going to fall in love with these Chocolate Crunch Bites! My son said they taste like a Kit Kat but that wasn’t my intention. I just wanted to combine my favorite snacks into an easy treat with mega flavor.
Before I switched to a whole food plant-based diet my favorite cookies were the chocolate oatmeal no bakes. I think I took some inspiration from those days but I wanted to give them some crunch and some natural sweetness. Besides, that old recipe had a ton of butter, sugar, and milk. The ingredients in my Chocolate Crunch Bites make me much happier.
Use peanut butter or a peanut butter substitute, dairy-free chocolate chips, gluten-free pretzels, granola and dried fruit, all normal pantry staples for me. (All the links in the previous sentence are Amazon affiliate links). That is all!
I wouldn’t say they are healthy, but they are a fun and easy treat to take to parties or cookie exchanges. I’m thinking of giving some as gifts to my food allergy pals. You don’t have to save them for only people with food allergies though, they are so good, everyone will love them.

When it’s time to cook you will want to have all of your ingredients out and ready. I broke my pretzels with my hands but you could chop them with a knife. Measure them after you break them into small pieces, not before. I didn’t want them to get too small and turn to dust.
It’s also important if you are making these for someone with food allergies to make sure all your ingredients are safe.
I choose Enjoy Life mini chips, Glutino pretzels, and Made In Nature dried fruit. You can choose brands you love.
The dried fruit I used was actually a Super Berry blend that also had pepita seeds. You can pick what you love but dried cranberries or dried tart cherries are both winners.
If you have kids who like to help in the kitchen this is one of those recipes they can help with. When I say that, you know it’s a simple recipe because I’m not one of those people who invite the kids to cook with me.
I’ll let them stand on a chair on the other side of the counter and watch, sometimes. Usually, I’m shooing them away, but this recipe they can totally help with.
Chocolate Crunch Bites
Go ahead and make these easy and delicious Chocolate Crunch Bites. This no bake, allergy-friendly recipe will win your family over!
Ingredients
- ½ cup creamy peanut butter or peanut butter alternative
- 1 cup dairy-free chocolate chips
- 1 cup gluten-free pretzels, broken into small pieces
- 1 cup your favorite granola
- ½ cup dried fruit
Instructions
- Put ½ cup of peanut butter or alternative into a medium sauce pan on low heat. Use a silicone spatula to stir regularly.
- Once it starts to melt, add the 1 cup of chocolate chips. Stir often and use the spatula to scrape the bottom. Don’t walk away or it could burn. Keep stirring until all the lumps are gone.
- Dump in the broken pretzels, granola, and dried fruit and stir well.
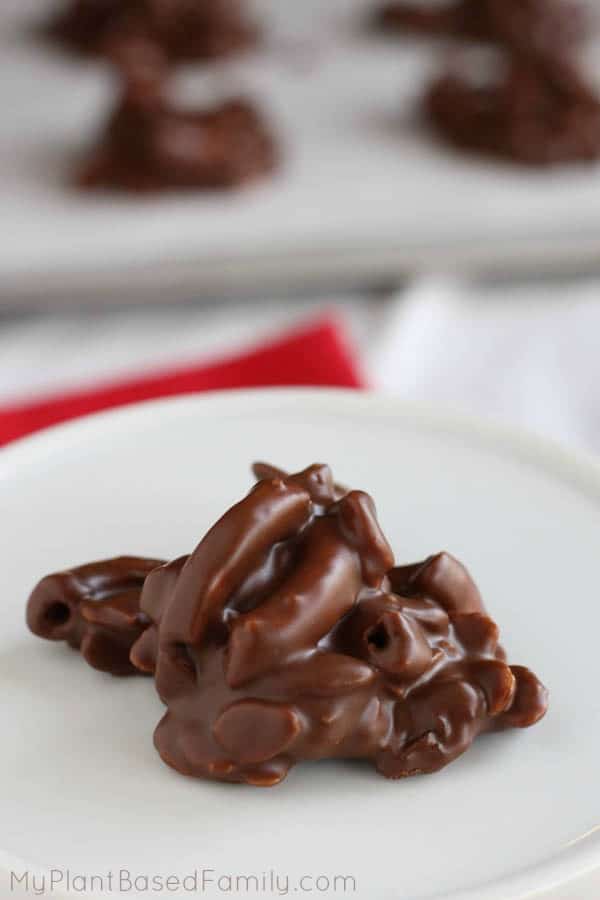
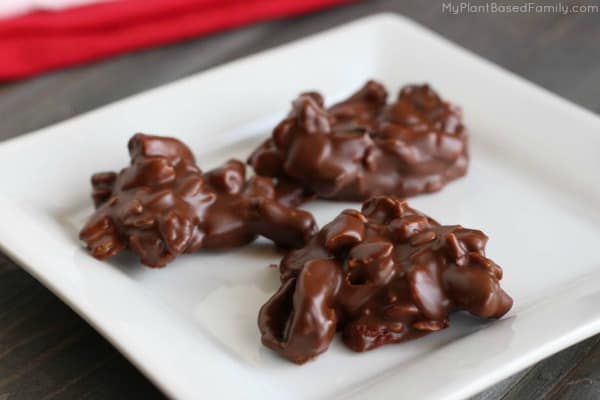
- Remove pan from heat and scoop out in tablespoon size scoops and lay them on a cookie sheet, covered with parchment paper.
- Place the cookie sheet into the refrigerator to cool and harden. Allow at least an hour before eating. These can be left on the counter for a few hours but store in the refrigerator.
Chocolate Crunch Bites
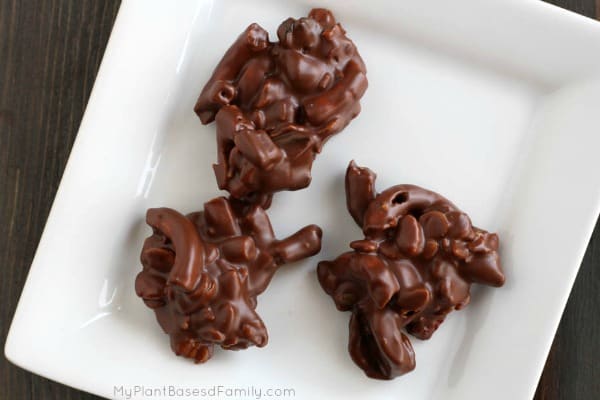
These Chocolate Crunch Bites are peanut-free, dairy-free and gluten-free! They are full of flavor and perfect for a party or cookie exchange! Try these allergy-friendly cookies for dessert.
Ingredients
- ½ cup creamy peanut butter or peanut butter alternative
- 1 cup dairy-free chocolate chips
- 1 cup gluten-free pretzels, broken into small pieces
- 1 cup your favorite granola
- ½ cup dried fruit
Instructions
- Put ½ cup of peanut butter or alternative into a medium sauce pan on low heat. Use a silicone spatula to stir regularly.
- Once it starts to melt, add the 1 cup of chocolate chips. Stir often and use the spatula to scrape the bottom. Don't walk away or it could burn. Keep stirring until all the lumps are gone.
- Dump in the broken pretzels, granola, and dried fruit and stir well.
- Remove pan from heat and scoop out in tablespoon size scoops and lay them on a cookie sheet, covered with parchment paper.
- Place the cookie sheet into the refrigerator to cool and harden. Allow at least an hour before eating. These can be left on the counter for a few hours but store in the refrigerator.