• Skip to primary navigation
  • Skip to main content
  • Skip to primary sidebar
  • Skip to footer

My Plant-Based Family

Eating Whole Food, Plant-Based Diet recipes, On a Budget.

  • Plant-Based Recipes
    • Breakfast
    • Main Dish
    • Instant Pot
    • Daniel Fast Recipes
    • Side Dishes
    • Bread and Muffins
    • Salad and Wraps
    • Soup, Stews, and Chili
    • Sauces, Dips, and Salad Dressings
    • Desserts
    • Crock Pot
    • Mexican Food
  • Videos
  • Resources
    • Getting Started
    • Books
      • The Plant-Based Diet Starter Guide
      • The Plant-Based Holiday Meal Plan & Cookbook
  • Meal Plans
    • Meal Plans 2020
    • Meal Plans 2019
    • Meal Plans 2017
    • Meal Plans 2016
    • Meal Plans 2015
    • Meal Plans 2014
    • Meal Plans 2013
  • About Us
    • Our Family
    • Contact Me
    • Our Food Philosophy
    • Disclosure Policy
      • Privacy Policy
  • Daniel Fast Recipes

Blog

10 Easy Plant-Based Dinners for Busy School Nights

August 17, 2026 by Holly Yzquierdo Leave a Comment

10 easy plant based dinners

Back-to-school season means busy mornings, but sometimes the evenings are even harder. Between homework, activities and everything else that needs to happen before bedtime, getting dinner on the table can feel like one more thing on an already long list.
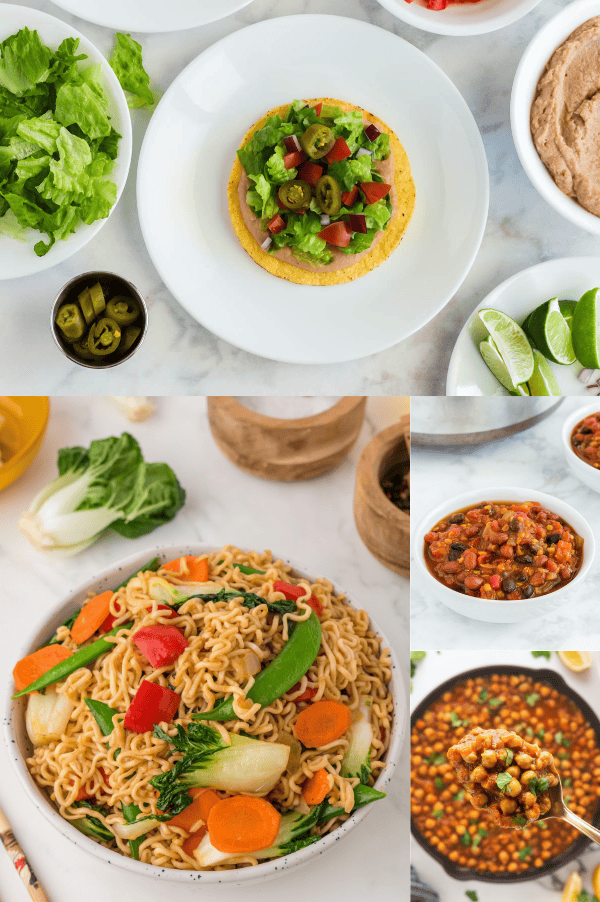
On nights like these, I don’t want a complicated recipe or a sink full of dishes. I want an easy plant-based dinner my family will enjoy that uses familiar ingredients and doesn’t require me to spend the whole evening in the kitchen.

These easy plant-based dinners are made without added oil and use ingredients you can find at a regular grocery store. Many of these are ready in about 30 minutes, made in one pot or skillet, or require very little hands-on cooking. Those that need a longer cooking time have a “hands-off” cooking time so I can get other things done while dinner cooks.

And there’s no meal prep required for the recipes on this list. You can decide what’s for dinner at 5 p.m. and make the recipe from start to finish that evening.

What Makes a Good Busy-Night Dinner?

For me, an easy dinner doesn’t necessarily mean it has to be ready in 15 minutes. A recipe can still make my busy-night list if it saves time in other ways.

I look for meals with:

  • Simple ingredients I usually have or can easily find at the grocery store.
  • Minimal prep so I’m not spending half an hour chopping vegetables before I start cooking.
  • Easy cleanup because fewer pots and pans make the whole evening easier.
  • Little hands-on cooking so I can take care of other things while dinner cooks.
  • Family appeal because a quick dinner isn’t much help if no one wants to eat it.

My family’s favorite recipe on this list is the Plant-Based Tostadas. I make the base and get the toppings out, and everyone makes their own. It’s a win-win and the fastest recipe on the list.

10 Easy Plant-Based Dinners for Busy School Nights

Here are 10 easy plant-based dinners I'd choose when I need to get a family meal on the table without making the evening more complicated.

One Pot Broccoli and Rice

One-Pot Vegan Broccoli and Rice

This Broccoli and Rice cooks in one skillet in less than 30 minutes. Jasmine rice keeps the cooking time short, and the simple combination of creamy rice and broccoli makes this an easy family dinner with very little cleanup.

Image for Vegan Bolognese Sauce with Pasta

Vegan Bolognese Sauce with Pasta

Pasta is always a good option for a busy night, and this plant-based Bolognese makes it a hearty meal. Lentils add substance to the tomato-based sauce for an easy dinner made with familiar ingredients.
Plant-Based Tostadas

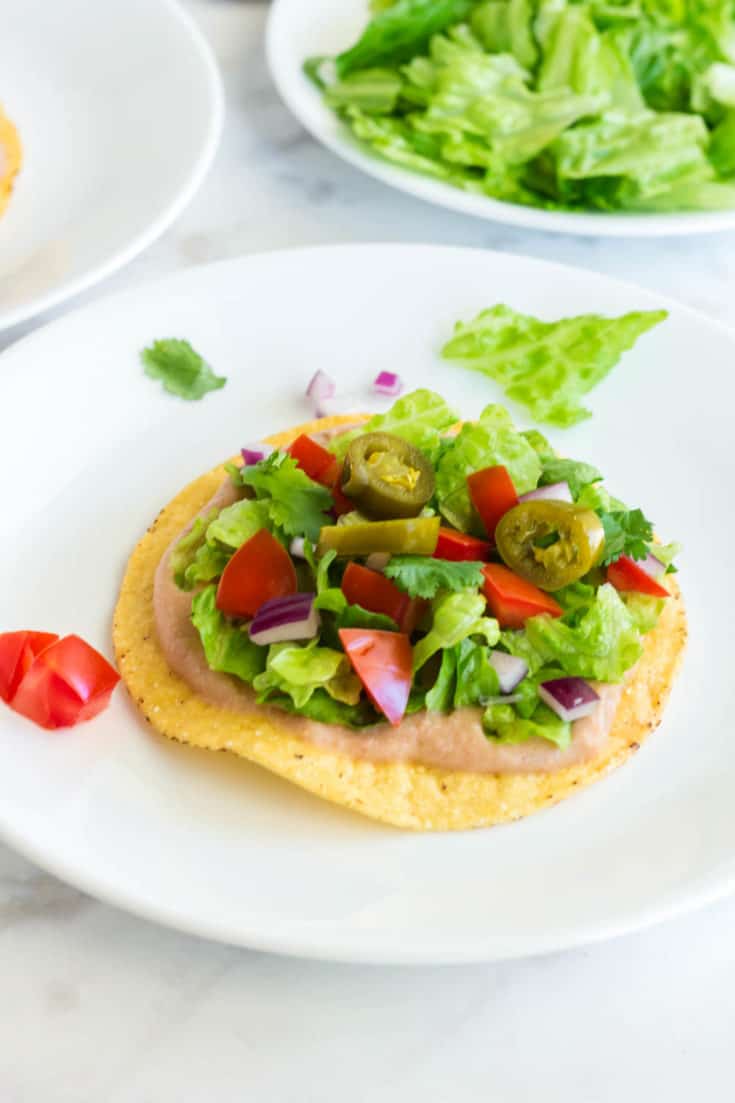
Plant-Based Tostadas

Tostadas are especially good for families because everyone can customize their own. Set out the tostada shells and toppings, then let everyone build dinner the way they like it.

Image for Mexican Rice and Bean Casserole

Mexican Rice and Bean Casserole

Rice and beans are inexpensive pantry staples that come together in this easy casserole. It's a comforting family dinner made with simple ingredients without requiring a complicated preparation.
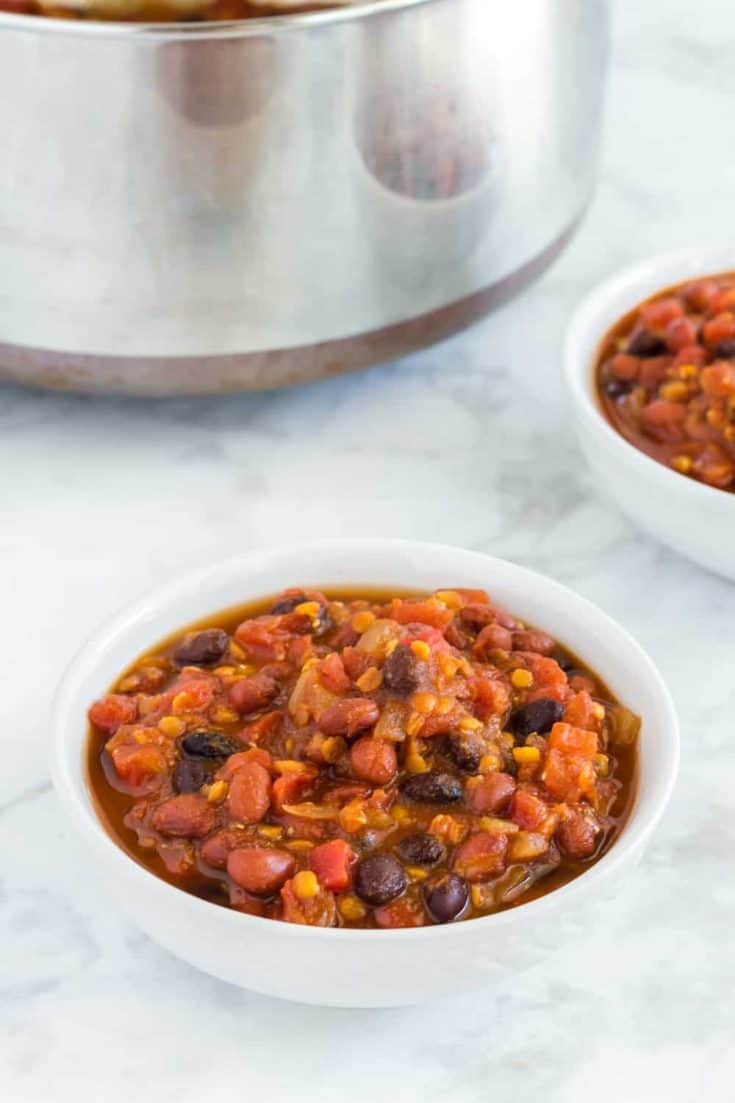
vegan red lentil chili

Easy Red Lentil Chili (Vegan)

This one-pot chili uses inexpensive pantry staples like lentils, beans and canned tomatoes. There's no need to soak the lentils, and the whole meal is ready in about 35 minutes.
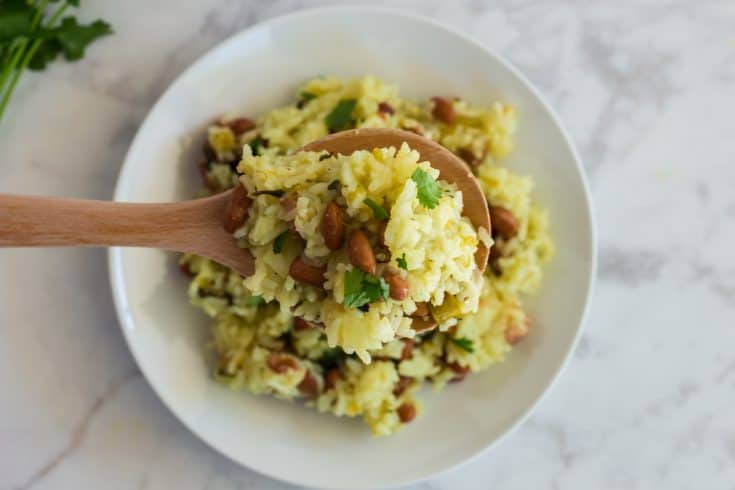
Instant Pot Green Chili Rice

Instant Pot Rice and Beans with Green Chilies

Let the Instant Pot do most of the work for this simple rice-and-beans dinner. Add the beans, lime and cilantro after pressure cooking, and dinner is ready with very little hands-on time.

Image for Ramen Stir Fry

Ramen Stir Fry

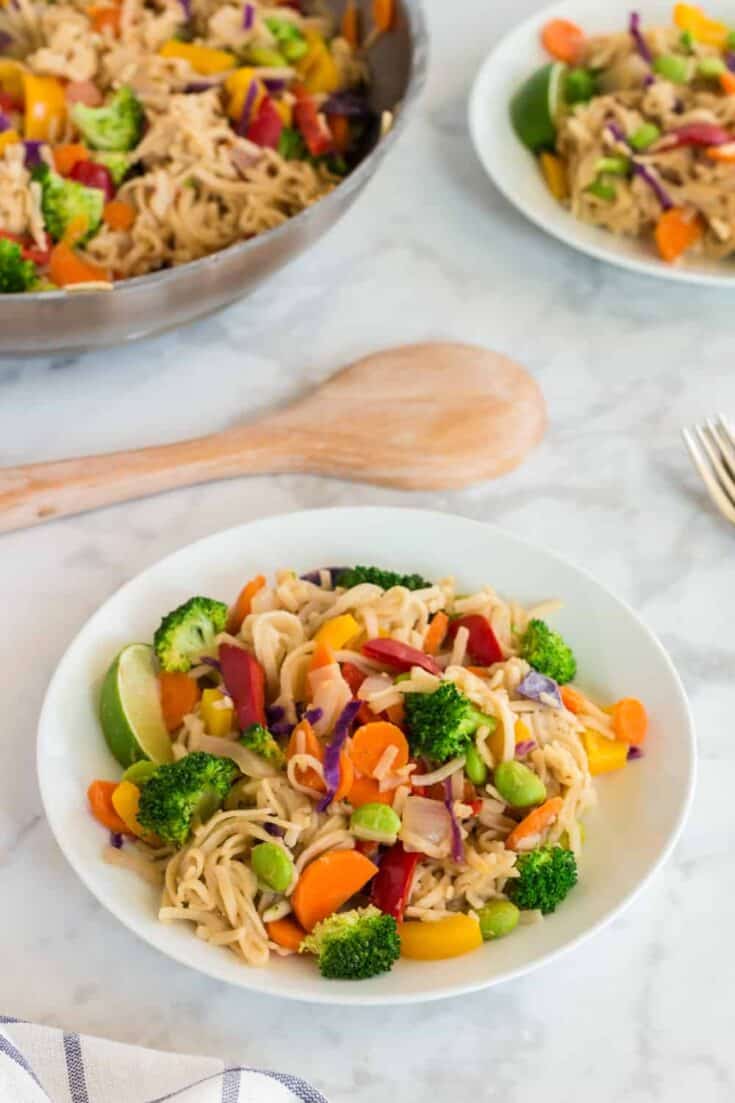
Turn inexpensive ramen noodles into a quick plant-based dinner with vegetables and a flavorful sauce. It's a great option for nights when you need dinner on the table fast.
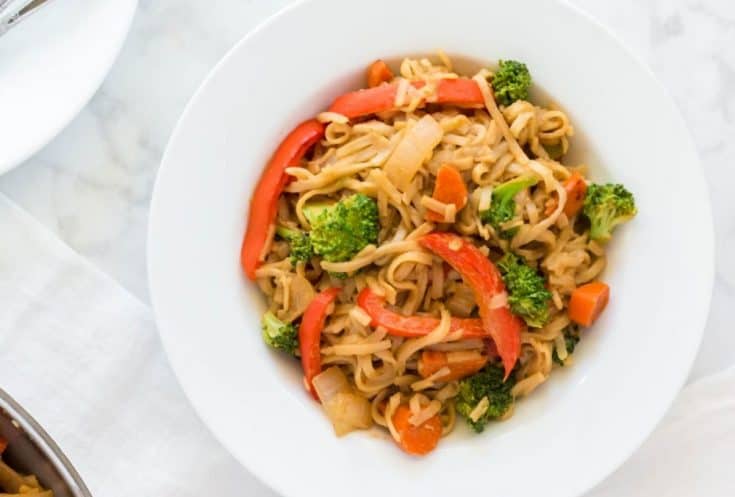
Veggie Pad Thai

Veggie Pad Thai

This quick Veggie Pad Thai can be on the table in about 20 minutes or less. Use a bag of frozen stir-fry vegetables to skip the chopping and make this an especially easy dinner for hectic nights.

Plant-Based Chana Masala

Chana Masala

Chickpeas make this Chana Masala filling while keeping the ingredients simple and budget-friendly. It's a flavorful, pantry-friendly dinner that doesn't require a long list of expensive specialty ingredients.

Vegan Instant Pot Lentil Tacos

Lentil Tacos in the Instant Pot

Let the Instant Pot cook the lentil taco filling while you get the toppings ready. Everyone can assemble their own tacos at the table, making this an easy dinner to customize for different family preferences.

Make Busy School Nights Even Easier

Even when I’m cooking from scratch, a few simple habits make busy evenings easier.

I keep pantry staples like canned beans, pasta, rice and canned tomatoes available so I always have the beginnings of a meal. Frozen vegetables are also helpful when I don’t have fresh produce ready to use.

I also like recipes that don’t require much attention once they’re cooking. If dinner can simmer on the stove or cook in the Instant Pot while I’m doing something else, that time counts as a win.

And when possible, I make enough for leftovers. Tonight’s dinner can become tomorrow’s lunch without any extra cooking.

More Easy Plant-Based Meals

If you need more family meal inspiration, browse my Plant-Based Main Dish Recipes for easy dinners made with simple ingredients and no added oil.

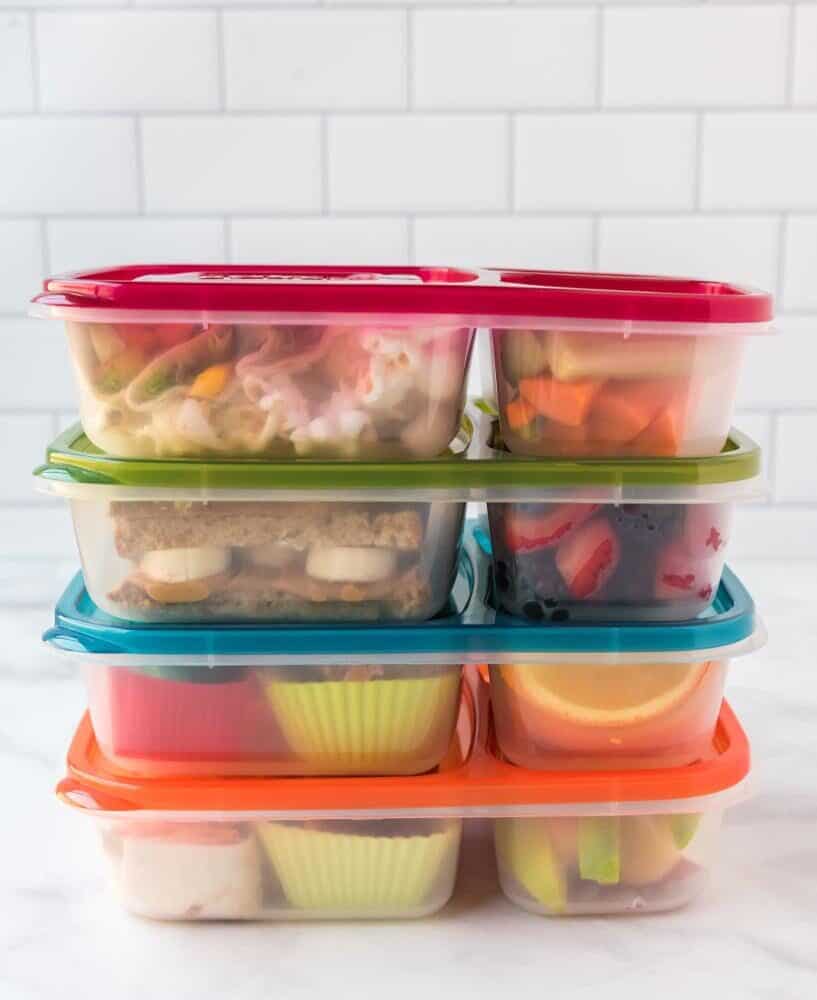
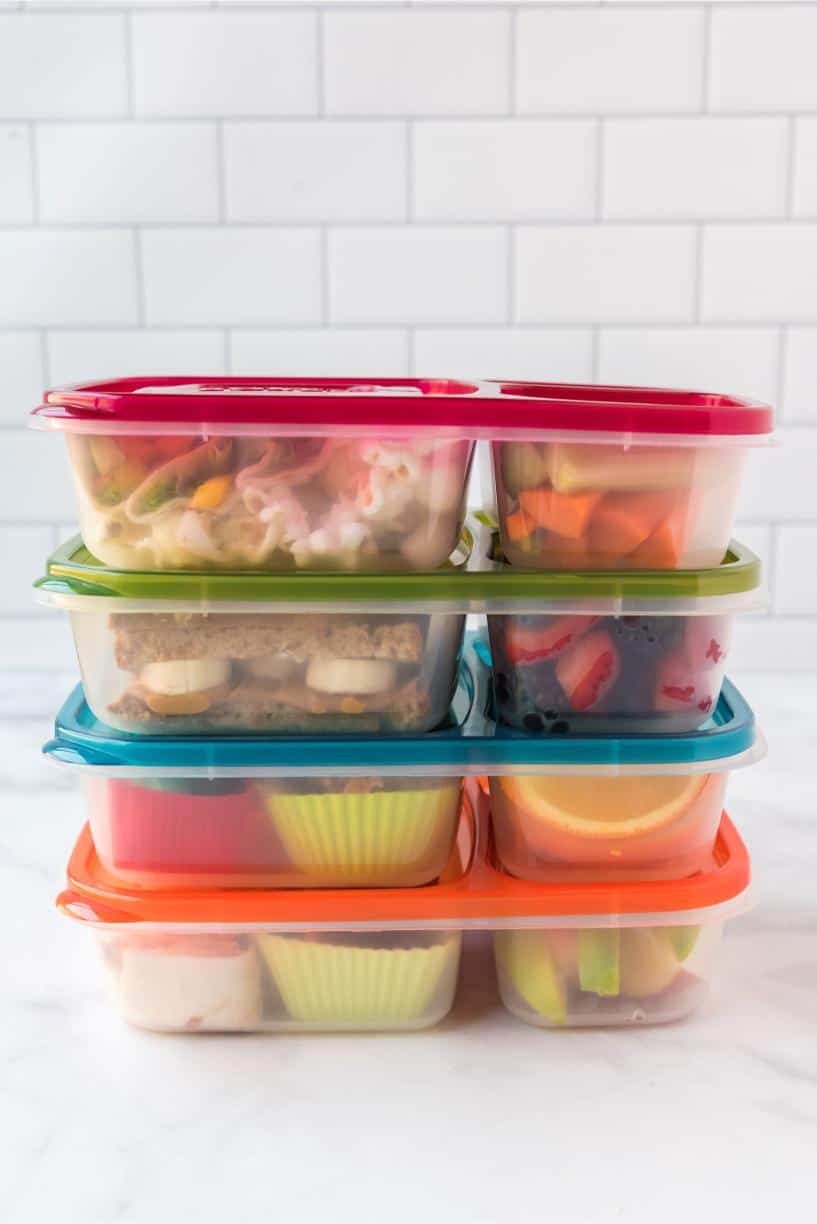
For busy school mornings and lunches, you’ll also find plenty of ideas in my 10 Easy Plant-Based Lunch Box Recipes for Kids.

Filed Under: Back to School, Tips for Plant-Based Living

Homemade Granola

November 11, 2025 by Holly Yzquierdo Leave a Comment

If you’ve ever reached for store-bought granola only to find it overly sweet, expensive, or full of additives, you’re not alone. Making your own homemade granola is easier than you might think. Bursting with the wholesome crunch of oats, nuts, and seeds with a hint of pumpkin pie spice and pure maple syrup, this delicious homemade granola is the perfect balance of cozy, sweet, and satisfying.

This recipe combines pantry staples into something truly special. It’s ideal for meal prepping, gifting, or keeping on hand for quick breakfasts and plant-based snacks all week long.

Why Homemade Granola Is Better Than Store-Bought

Many commercial granolas are loaded with refined sugars, oils, or preservatives that can turn a healthy breakfast into a calorie-heavy dessert. Making granola at home allows you to control both the sweetness and the quality of ingredients.

By choosing pure maple syrup instead of corn syrup and whole nuts instead of processed fillers, you create a nutrient-dense, fiber-rich cereal that’s truly good for you. Plus, homemade granola is far more affordable! You can make about nine cups of this recipe for a fraction of the cost of a few store-bought bags.

Why You’ll Love This Vegan Homemade Granola

There’s something deeply comforting about the smell of granola baking in the oven with its warm spices, toasty nuts, and the caramelized sweetness of maple syrup. It’s a small, simple ritual that transforms your kitchen into a haven.

Once you try this homemade granola, it will become part of your Sunday meal prep routine or your go-to breakfast. It’s adaptable for every season and endlessly customizable. Your future mornings (and snack times) will thank you.

Pro Tips for the Best Granola

  • For big clusters: Add an extra ¼ cup each of cranberry juice, brown sugar, and maple syrup before baking.
  • Don’t rush the cooling process. The granola crisps as it cools. Hands off until it’s completely set.
  • Stick to 325°F. A higher temperature can burn the sugar before the oats and nuts are fully toasted.
  • Get creative. Try mixing in coconut flakes, dried cherries, or vegan chocolate chips after baking for your own twist.

How to Make Homemade Granola

Ingredients

  • 3 ½ Cups Old Fashioned Rolled Oats (Gluten-Free if Needed)
  • 1 Cup Almonds
  • 1 Cup Pecans
  • 1 Cup Pistachios
  • ½ Cup Raw Pumpkin Seeds
  • ½ Cup Raw Sunflower Seeds
  • 2 Tsp Pumpkin Pie Spice
  • 1 ½ Tsp Sea Salt
  • ½ Cup Brown Sugar
  • ⅔ Cup Pure Maple Syrup
  • ⅔ Cup Pure Cranberry Juice
  • 1 ½ Cups Golden Raisins
  • 1 ½ Cups Dried Cranberries

Step 1: Preheat Your Oven

Begin by preheating your oven to 325 degrees.

Step 2: Combine Dry Ingredients

In a large bowl, mix oats, nuts, seeds, pumpkin pie spice, and salt. Set aside.

Step 3: Mix Syrup

In a small saucepan, heat brown sugar, maple syrup, and cranberry juice over medium heat until the sugar dissolves.

Step 4: Combine

Pour the warm syrup mixture over the dry ingredients and stir until evenly coated.

Step 5: Spread

Line two half sheet pans with parchment paper and divide the mixture evenly. Spread into a thin, even layer.

Step 6: Bake

Bake for 16 minutes, stir, then bake another 10 minutes. Add the raisins and cranberries, and return to the oven for another 10 minutes.

Step 7: Cool Completely

Let the granola cool on wire racks without stirring. This helps clusters form naturally.

Step 8: Store

Once fully cooled, either store or enjoy the granola immediately.

Storage

Store your granola in an airtight container at room temperature for up to one month. It keeps beautifully in glass jars or resealable tins, making it easy to grab a handful anytime you need a quick snack or breakfast boost.

How to Enjoy Your Homemade Granola

This homemade granola isn’t just for breakfast!. It’s a pantry staple that can be used in so many ways. Try it:

  • As a parfait topping: Layer it with vegan yogurt and fresh berries for a quick, high-protein breakfast.
  • Over ice cream: Sprinkle on top of non-dairy ice cream for an irresistible crunch.
  • With plant milk: Pour it in a bowl with your favorite almond, oat, or soy milk for a comforting cereal alternative.
  • As a snack: Fill a small jar or reusable bag for a wholesome, portable treat.
  • For gifting: Package it in mason jars with ribbon for thoughtful homemade holiday gifts.

More Plant Based Breakfast Ideas

If you like this recipe, you’ll love these breakfast ideas too:

  • Mango Overnight Oats
  • No Bake Energy Balls
  • Chocolate Chip Breakfast Cookies
  • Oatmeal Cups
  • Peanut Butter Granola Bars
Yield: 9 cups

Homemade Granola

Homemade Granola
No Ratings

Crunchy, cozy, and naturally sweet! This vegan, gluten-free homemade granola recipe is the perfect healthy breakfast or snack made with maple syrup and nuts.

Prep Time 15 minutes
Cook Time 35 minutes
Total Time 50 minutes

Ingredients

  • 3 ½ Cups Old Fashioned Rolled Oats (Gluten-Free if Needed)
  • 1 Cup Almonds
  • 1 Cup Pecans
  • 1 Cup Pistachios
  • ½ Cup Raw Pumpkin Seeds
  • ½ Cup Raw Sunflower Seeds
  • 2 Tsp Pumpkin Pie Spice
  • 1 ½ Tsp Sea Salt
  • ½ Cup Brown Sugar
  • ⅔ Cup Pure Maple Syrup
  • ⅔ Cup Pure Cranberry Juice
  • 1 ½ Cups Golden Raisins
  • 1 ½ Cups Dried Cranberries

Instructions

    1. Preheat the oven to 325°F.
    2. In a large bowl, mix together oats, all the nuts, seeds, pumpkin pie spice, and salt. Set aside.
    3. In a small saucepan, add brown sugar, maple syrup, and cranberry juice. Cook over medium heat until the brown sugar dissolves, about a few minutes.
    4. Remove from heat and pour the liquid mixture over the oat mixture. Stir well.
    5. Line two half sheet pans with parchment paper and divide the mixture evenly among the pans. Spread into a thin layer.
    6. Bake for 16 minutes. Remove from the oven and stir the mixture. Return to the oven for an additional 10 minutes.
    7. Remove from the oven and add the raisins and cranberries evenly among the pans. Return to the oven for another 10 minutes.
    8. Remove from the oven and let cool completely on wire racks.
    9. Once cooled, scoop the granola into jars or airtight containers for storage.
  • Notes

    • For extra clusters, add an additional ¼ cup each of cranberry juice, brown sugar, and maple syrup before baking.
    • The granola will continue to crisp as it cools. Avoid stirring until it’s completely cool.
    • Use gluten-free oats to make the recipe fully gluten-free.
    • Store in an airtight container at room temperature for up to one month.
    • Enjoy as cereal, on yogurt or smoothie bowls, over ice cream, or as a snack on its own.

    Did you make this recipe?

    We'd love to see it! Tag us and use #MyPlantBasedFamily!

    © Holly Yzquierdo
    Category: Breakfast

    Filed Under: Breakfast, Recipes

    Mango Overnight Oats

    September 15, 2025 by Holly Yzquierdo 5 Comments

    If mornings feel rushed, chaotic, or just plain uninspiring, I’ve got a breakfast that will change everything: Mango Overnight Oats.

    Imagine waking up to a chilled, creamy jar of oats infused with tropical coconut, fragrant cardamom, and sweet bursts of juicy mango. No morning prep required.

    This recipe is my personal ode to mornings that feel like vacation days. It’s quick to make, endlessly customizable, and packed with plant-based goodness that will keep you full well past mid-morning.

    Whether you’re meal-prepping for the week or treating yourself to something special, these oats are a low-effort, high-reward kind of breakfast.

    What Makes Overnight Oats So Good?

    Overnight oats are not only delicious, they’re also a nutrition powerhouse. By soaking oats overnight, you let them absorb your milk of choice, softening them into a pudding-like texture that’s both creamy and satisfying. No stove, no mess, no rushing.

    But while classic overnight oats are tasty, adding mango and coconut transforms them into something extra special. Mango brings natural sweetness and bright tropical notes, while creamy coconut milk and yogurt make every bite lush and decadent. The addition of cardamom brings a subtle, almost floral spice that takes the flavor to the next level.

    Tips & Tricks

    Making overnight oats might be simple, but a few small tweaks can take them from good to unforgettable. From picking the sweetest mango to getting that creamy texture just right, these tips will help you nail the recipe every time.

    Choose your mango wisely: Look for mangos that give slightly when squeezed and have a fruity aroma near the stem. If using frozen, thaw completely before using so the juices mix into the oats. For canned mangos, rinse if packed in syrup, but water-packed is best.

    Get the coconut right: Lite coconut milk works best—it’s creamy but not overpowering, and it soaks into the oats better than full-fat. For an even lighter option, use coconut beverage from a carton, but note that it’ll be less rich.

    Don’t skip the cardamom :If you’ve never used cardamom before, start with ⅛ teaspoon and increase to ¼ teaspoon next time. It pairs beautifully with mango without overpowering it.

    Batch prep: Double or triple the recipe and store in individual jars for grab-and-go breakfasts all week. Overnight oats last 4–5 days in the fridge.

    Why this Recipe Works for Busy Lifestyles

    We’ve all been there. Mornings where you’re rushing out the door, coffee in hand, and you realize you skipped breakfast. That’s when overnight oats shine. This recipe takes just 5 minutes to prepare, and by the time you wake up, breakfast is ready and waiting.

    Because it’s portable, you can toss the jar in your bag, eat it at your desk, or enjoy it in the car. Plus, it’s naturally vegan, dairy-free, and gluten-free (if using certified GF oats), so it works for a variety of dietary needs.
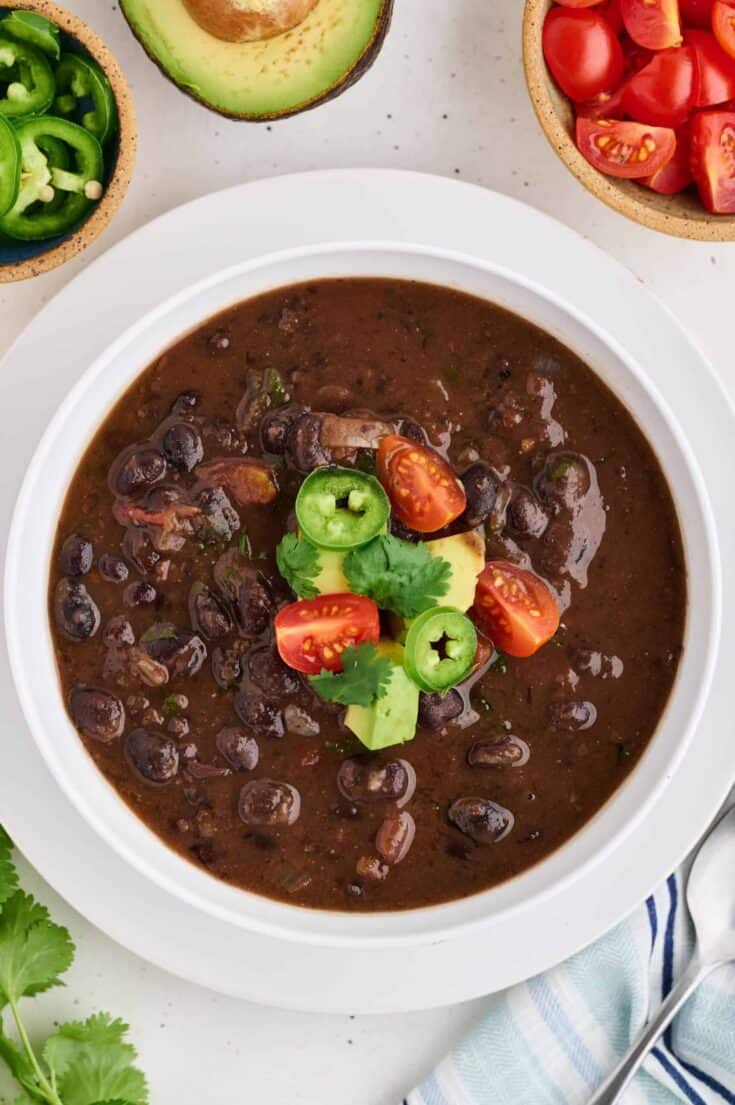
    Your New Favorite Breakfast

    Mango Overnight Oats are more than just breakfast. They’re a small act of self-care. In the middle of a busy week, opening the fridge to find a beautiful jar of creamy, tropical oats waiting for you feels like a little gift you gave yourself.

    The combination of juicy mango, silky coconut, and fragrant cardamom is indulgent without being heavy, nourishing without being boring, and best of all completely fuss-free in the morning.

    So the next time you have 5 minutes before bed, whip up a jar (or three). Your future self will thank you.

    How to Make Mango Overnight Oats

    Ingredients

    • ½  cup Rolled Oats 
    • 1 tablespoon Maple Syrup (optional for sweetening) 
    • 1 teaspoon Chia Seeds 
    • ½ teaspoon Lime Juice (or more to taste) 
    • ¼ teaspoon Ground Cardamom 
    • Pinch of Salt 
    • ½ cup Lite Coconut Milk (or your favorite plant-based milk) 
    • ¼ cup Diced Mango (fresh, canned in water, or frozen and thawed will work) 
    • ¼ cup Unsweetened Coconut Yogurt (or your favorite plant-based yogurt) 

    Optional Toppings

    • Optional toppings: 
    • Diced Mango 
    • Sliced Almonds or other nuts of your choice 
    • Toasted Coconut 
    • Granola 
    • Lime Zest 

    Instructions

    Step 1 – Mix the Base

    In a jar or small bowl (at least 10 ounces), add rolled oats, maple syrup (if using), chia seeds, lime juice, cardamom, salt, and coconut milk. Stir well to make sure everything is evenly distributed.

    Step 2 – Add Mango

    Gently fold in the diced mango. Don’t mash it. You want those juicy chunks intact.

    Step 3 – Add Yogurt

    Spoon the coconut yogurt on top without stirring it in just yet. This helps keep the layers distinct and makes for a prettier presentation if you’re prepping ahead.

    Step 4 – Refrigerate

    Cover and refrigerate for at least 2 hours, but ideally overnight (8–12 hours). This is when the magic happens. The oats absorb the liquid, the flavors mingle, and everything transforms into creamy perfection.

    Step 5 – Serve

    When you’re ready to eat, stir in the yogurt to create extra creaminess. Add your favorite toppings, and enjoy straight from the jar or in a bowl.

    Flavor Variations

    Once you master the basic recipe, try these flavor combinations:

    Tropical Paradise: Add pineapple chunks and passionfruit pulp along with the mango.

    Mango Lassi-Inspired: Replace coconut yogurt with plain plant-based yogurt, add a drizzle of maple syrup, and a pinch of turmeric.

    Nutty Delight: Top with cashews, pistachios, and a swirl of almond butter.

    Dessert-Inspired: Sprinkle with cacao nibs or mini dairy-free chocolate chips before serving.

    More Plant Based Breakfast Ideas

    If you like this recipe, you’ll want to try these plant based ideas for breakfast too:

    • Chocolate Chip Breakfast Cookies
    • Pumpkin Pie Overnight Oats
    • Baked Oatmeal Bars with Fruit
    • Vanilla Coconut Chia Pudding
    • Peanut Butter Banana Overnight Oats
    Yield: One Serving

    Mango Overnight Oats

    Mango Overnight Oats
    No Ratings

    Creamy mango overnight oats with coconut and cardamom. An easy, tropical, make-ahead breakfast that’s vegan, flavorful, and ready when you wake.

    Prep Time 5 minutes
    Additional Time 2 hours
    Total Time 2 hours 5 minutes

    Ingredients

    • ½ cup Rolled Oats
    • 1 tablespoon Maple Syrup (optional for sweetening)
    • 1 teaspoon Chia Seeds
    • ½ teaspoon Lime Juice (or more to taste)
    • ¼ teaspoon Ground Cardamom
    • Pinch of Salt
    • ½ cup Lite Coconut Milk (or your favorite plant-based milk)
    • ¼ cup diced Mango (fresh, canned in water, or frozen and thawed, will work)
    • ¼ cup Unsweetened Coconut Yogurt (or your favorite plant-based yogurt)

    Optional Toppings

    • Diced Mango
    • Sliced Almonds (or other nuts of your choice)
    • Toasted Coconut
    • Granola
    • Lime Zest

    Instructions

    1. Add rolled oats, maple syrup, chia seeds, lime juice, cardamom, salt, and coconut milk to a jar or small bowl (at least 10 ounces in size) and give it a stir until mixed.  
    2.  Gently mix in diced mango. 
    3.  Top with coconut yogurt (I used plain, unsweetened). 
    4.  Cover and refrigerate for at least 2 hours, but  8-12 hours overnight is best. 
    5.  When ready to eat, stir in the coconut yogurt to make it extra creamy and top with desired toppings. 

    Notes

    Any plant-based milk or yogurt can be substituted, but you will lose that creamy, tropical, coconut flavor. I used canned lite coconut milk for a creamy texture, since it is more easily absorbed by the oats than full-fat coconut milk. 

    Diced fresh, frozen (thawed), or canned mango can be used. 

    Did you make this recipe?

    We'd love to see it! Tag us and use #MyPlantBasedFamily!

    © Holly Yzquierdo
    Category: Breakfast

    Filed Under: Breakfast, Recipes

    10 Plant-Based Lunch Box Recipes for Adults

    August 26, 2025 by Holly Yzquierdo 1 Comment

    Packing lunch as an adult can sometimes feel routine or uninspired, but it doesn’t have to be that way!

    Here are 10 fantastic recipes that bring bold flavors, satisfying nutrition, and simple prep to your midday meal. Whether you’re headed to the office, working from home, or packing for an on-the-go day, these recipes are easy to make ahead and delicious served cold or reheated.

    10 Plant-Based Lunch Box Recipes for Adults

    This collection of 10 plant-based lunch recipes offers a diverse range of delicious, nutritious, and easy-to-prepare meals perfect for adults on the go.

    From hearty soups and vibrant salads to flavorful wraps and comforting pasta dishes, each recipe is designed to be portable and satisfying whether eaten cold or reheated.

    Whether you’re packing for work or a busy day out, these recipes bring variety and vibrant flavors to keep your midday meals enjoyable and nourishing.

    Image for Greek Chickpea Quinoa Salad

    Greek Chickpea Quinoa Salad

    This vibrant salad combines protein-rich quinoa and chickpeas with fresh herbs and a tangy lemon vinaigrette. Perfect cold and portable.

    Image for Vegan Pad Thai in Less Than 30 Minutes

    Vegan Pad Thai in Less Than 30 Minutes

    Rice noodles tossed in a creamy, flavorful peanut sauce with crunchy fresh vegetables. This recipe packs well and tastes even better the next day.

    Image for Black Bean Corn Salad with Avocado

    Black Bean Corn Salad with Avocado

    There's no cooking involved and meant to be served cold. Perfect to prep for the week!

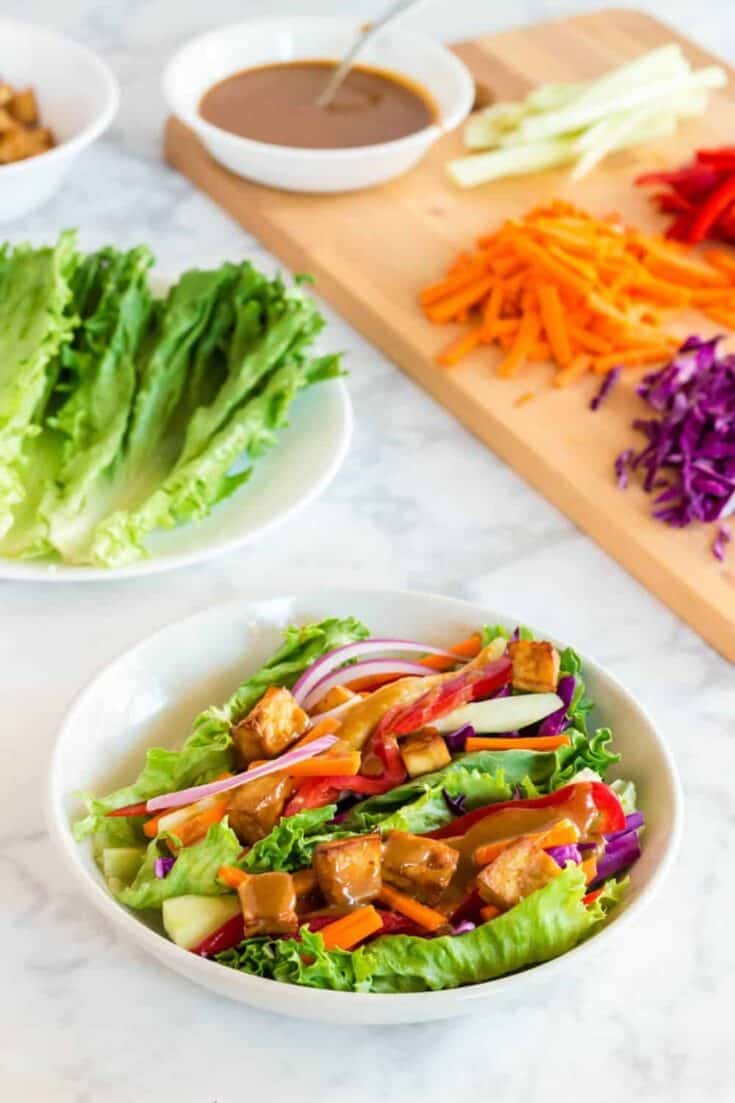
    Vegan Lettuce Wraps

    Vegan Lettuce Wraps

    The perfect light meal for hot or busy days. Great for customizing to taste too.

    Image for Best Taco Soup

    Best Taco Soup

    A satisfying comfort food that will keep you full and smiling all day. Pack it in a heat safe bowl and warm it up in the microwave at work.

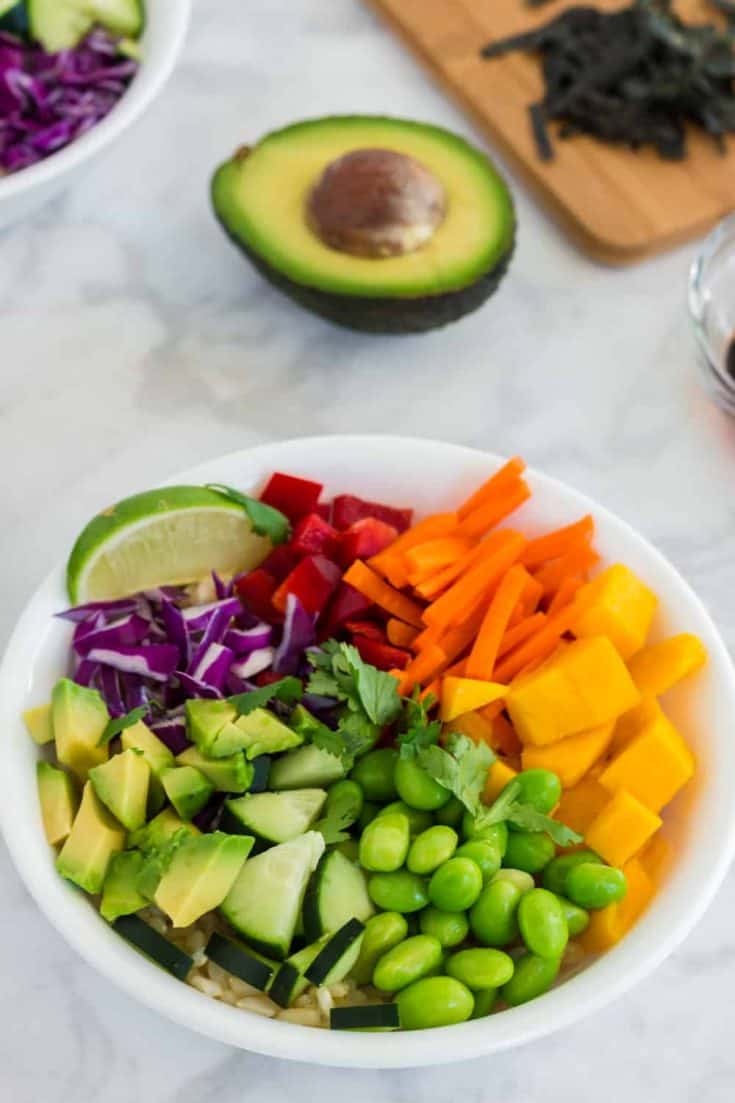
    Image for Vegan Sushi Bowl

    Vegan Sushi Bowl

    Pack all the fun of a sushi bowl, but make it plant-based! The star of this dish is nori seaweed sheets to hold all the ingredients together.

    Plant-Based Instant Pot Goulash

    Plant-Based Instant Pot Goulash

    Goulash makes the best leftovers for lunch the next day. It soaks up more sauce and flavor as time goes on.

    Spicy Black Bean Soup

    Spicy Black Bean Soup

    There's always more soup than you can eat for one meal. Pack up the leftovers to go! This one is mildly spicy and great for busy days without the fuss.

    Image for Roasted Red Pepper Dip

    Roasted Red Pepper Dip

    A filling dip with all the veggies makes a great lunch. It's like you're eating a rainbow!

    Enjoy restaurant style refried beans without sacrificing your health. These oil-free, plant-based refried beans are made in the Instant Pot.

    Instant Pot Refried Beans

    Cook up a batch of refried beans to make burritos, tostadas and tacos throughout the week. This meal prep hack will save time for lunch and dinner.

    Bonus: Snacks to Pack in Your Lunch Box for Adults

    Here’s a list of tasty, plant-based snack ideas that pair perfectly with your adult lunch box recipes:

    • Fresh fruit (apple slices, grapes, berries, orange segments)
    • Raw veggie sticks (carrots, cucumber, celery, bell peppers)
    • Hummus or guacamole for dipping
    • Mixed nuts and seeds (almonds, walnuts, pumpkin seeds)
    • Roasted chickpeas or spiced nuts
    • Whole grain crackers or rice cakes
    • Plant-based yogurt or coconut yogurt cups
    • Energy bites or granola bars made from nuts and dried fruit
    • Dried fruit (apricots, figs, raisins)
    • Popcorn (lightly salted or nutritional yeast flavored)
    • Dark chocolate squares or cacao nibs
    • Edamame pods (steamed and lightly salted)
    • Seaweed snacks
    • Homemade kale chips or veggie chips
    • Fresh salsa or pico de gallo with baked tortilla chips

    These snacks offer a nice balance of nutrients, crunch, and flavor to keep your energy up between meals!

    More Plant-Based Recipes You’ll Love

    If you like these recipes, you’ll love these ideas for breakfast and dinner too:

    • Power Berry Smoothie Bowl
    • Balsamic Marinated Mushrooms
    • Chocolate Chia Overnight Oats
    • Vegan Stuffed Peppers
    • Sheet Pan Chickpea and Sweet Potato Tacos

    My Favorite Lunchboxes and Accessories

    Table could not be displayed.

    Filed Under: On the Go, Recipes

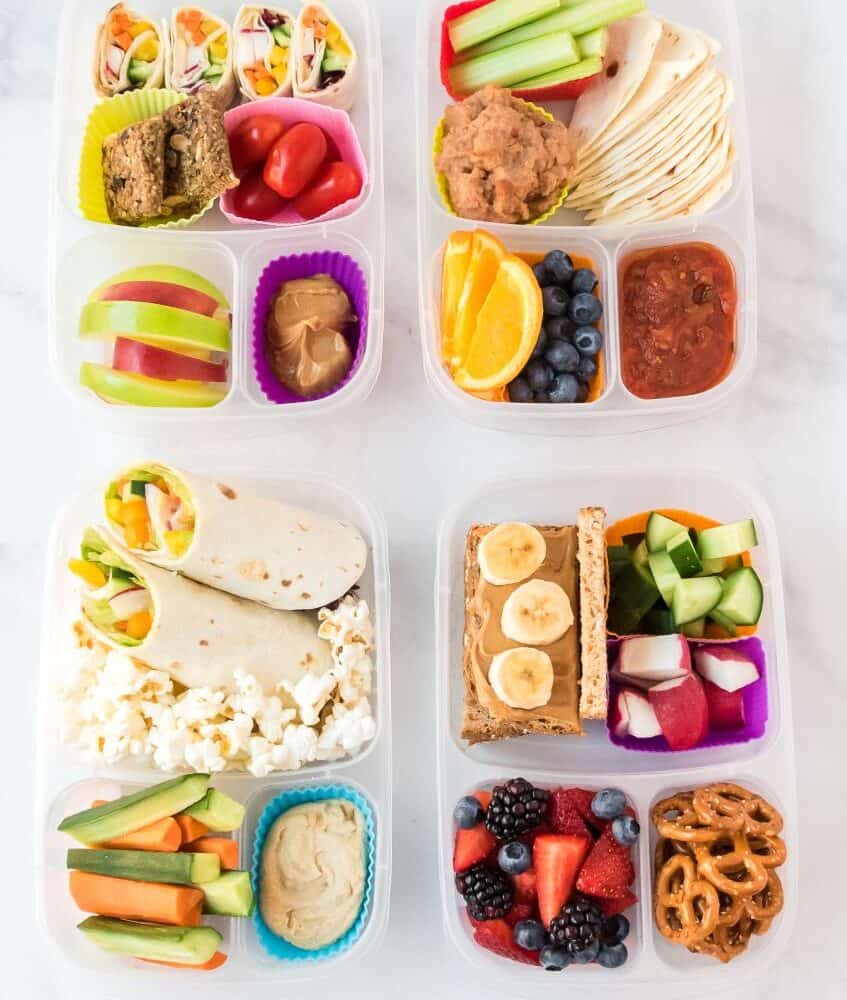
    10 Easy Plant-Based Lunch Box Recipes for Kids

    August 26, 2025 by Holly Yzquierdo 2 Comments

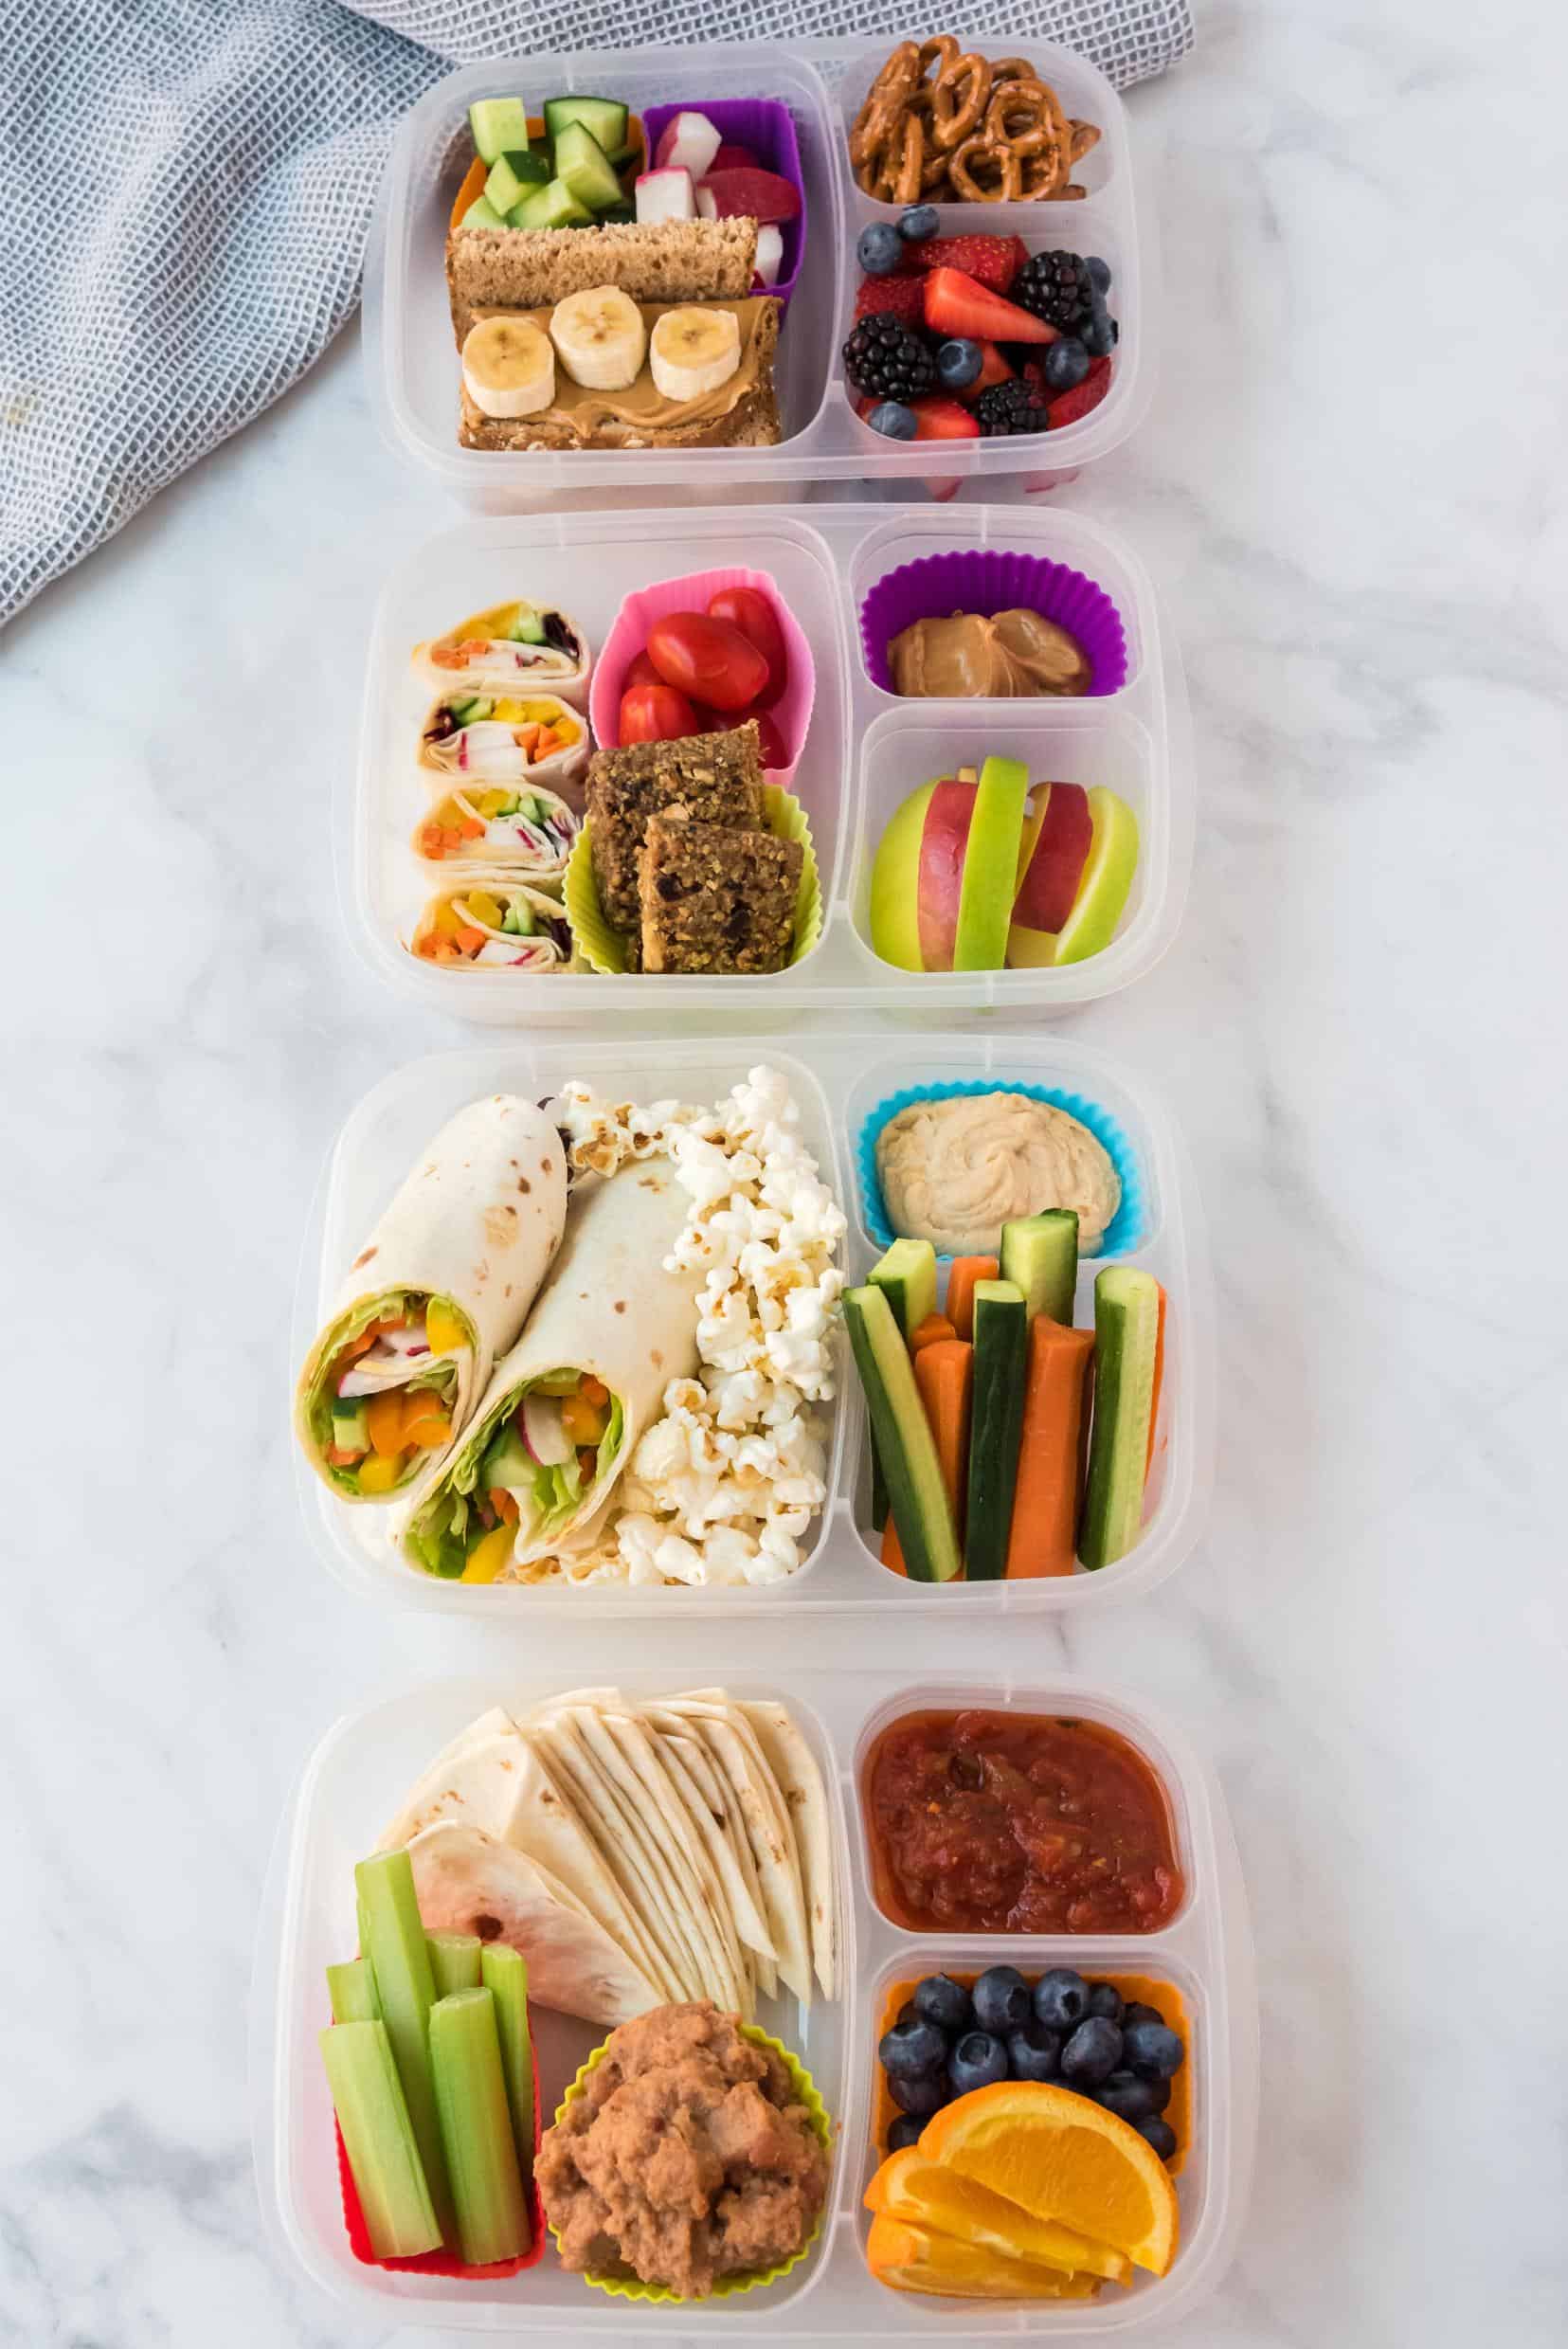
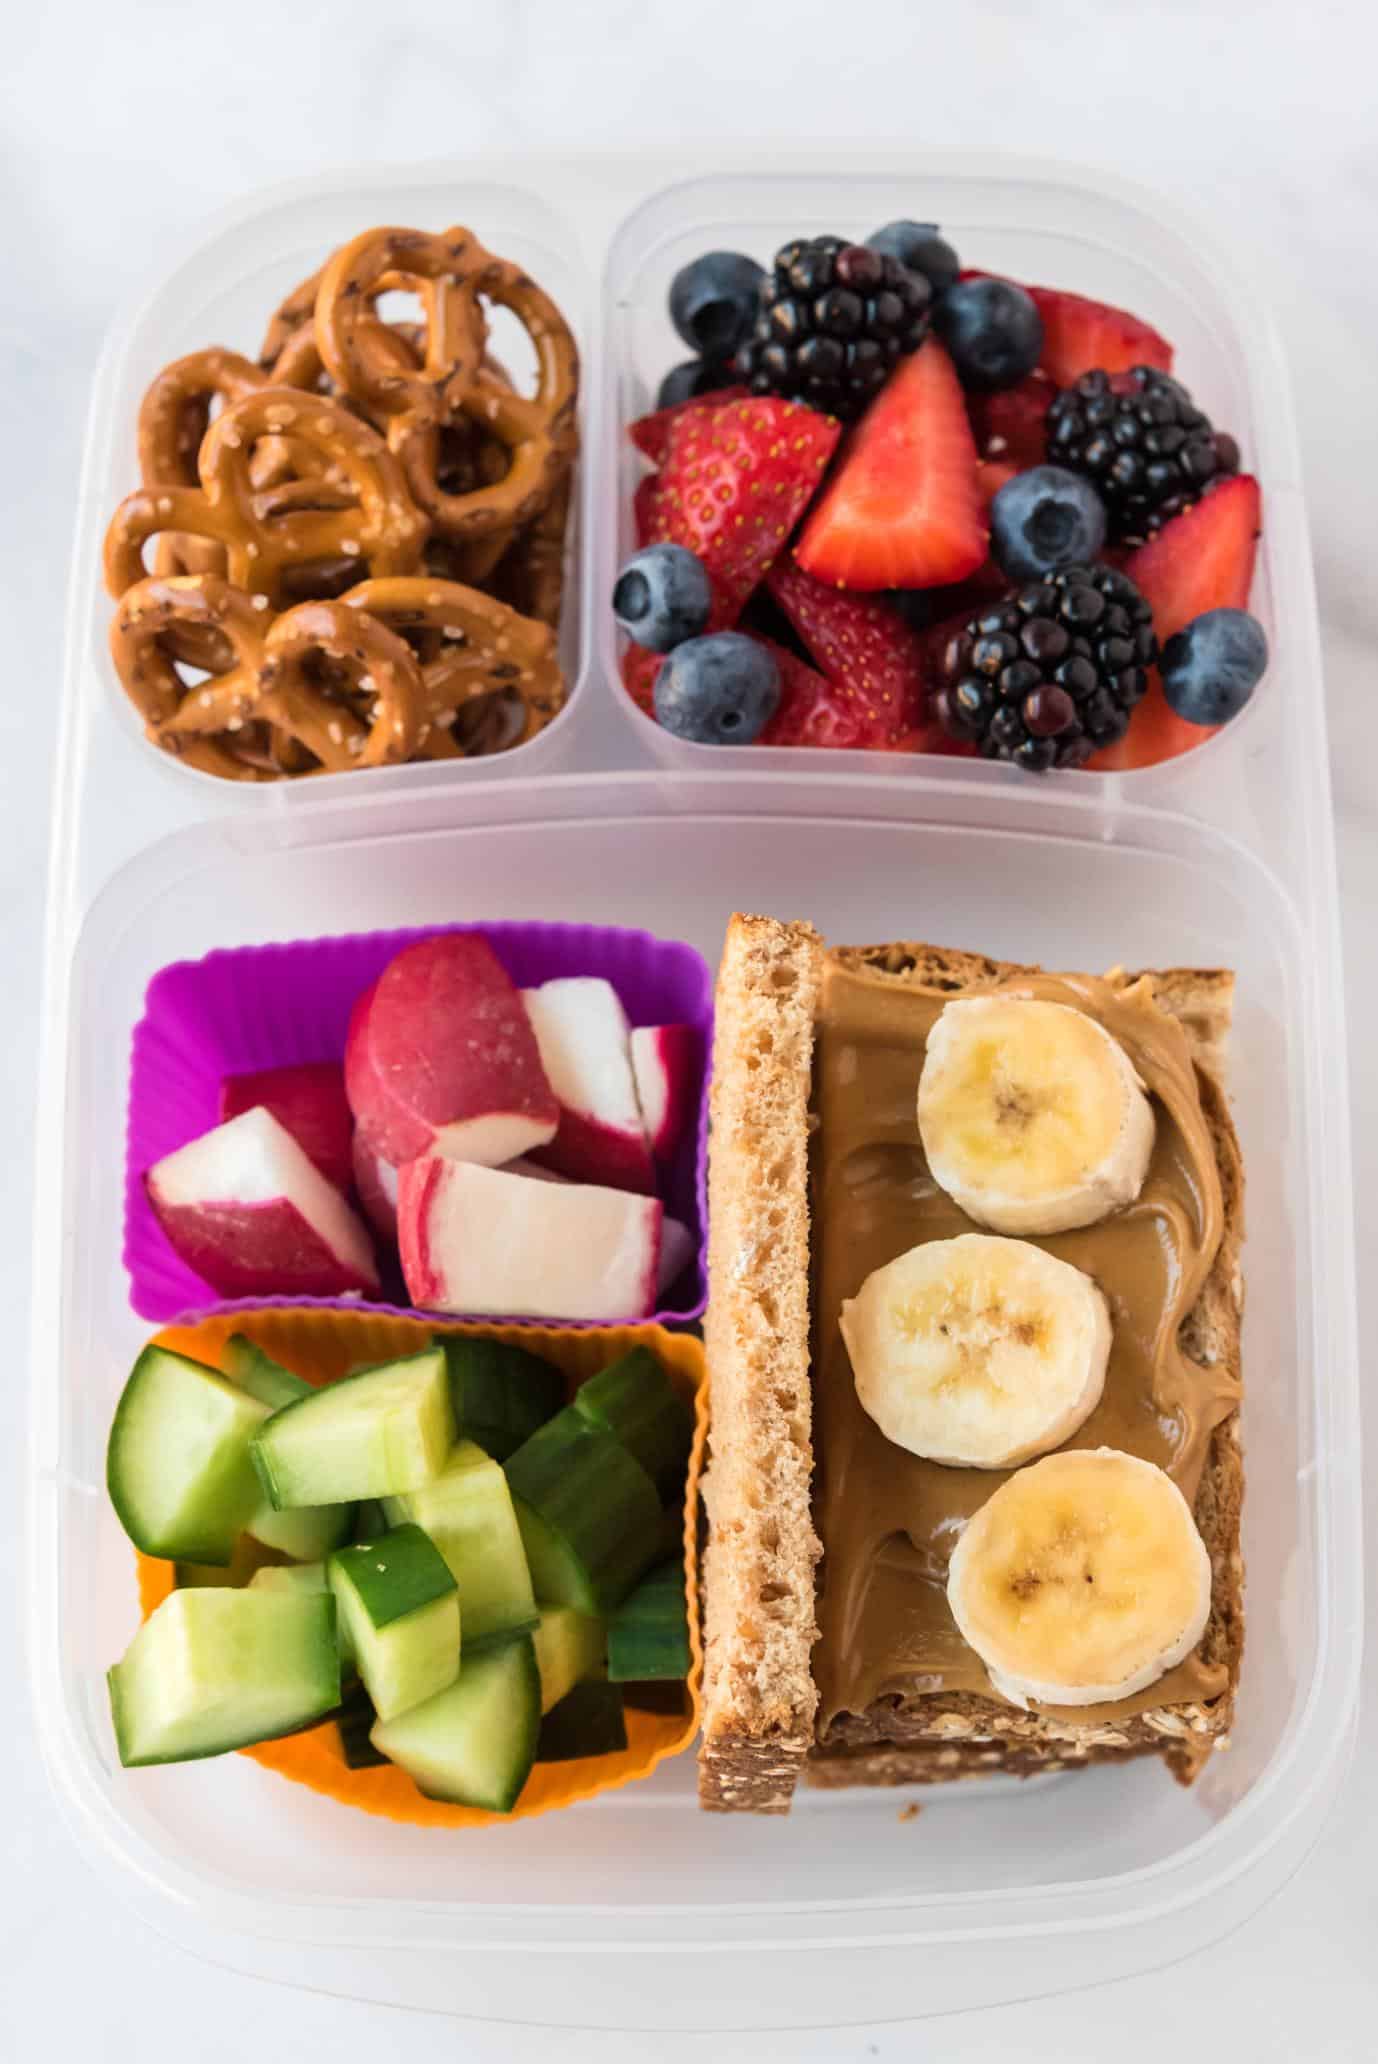
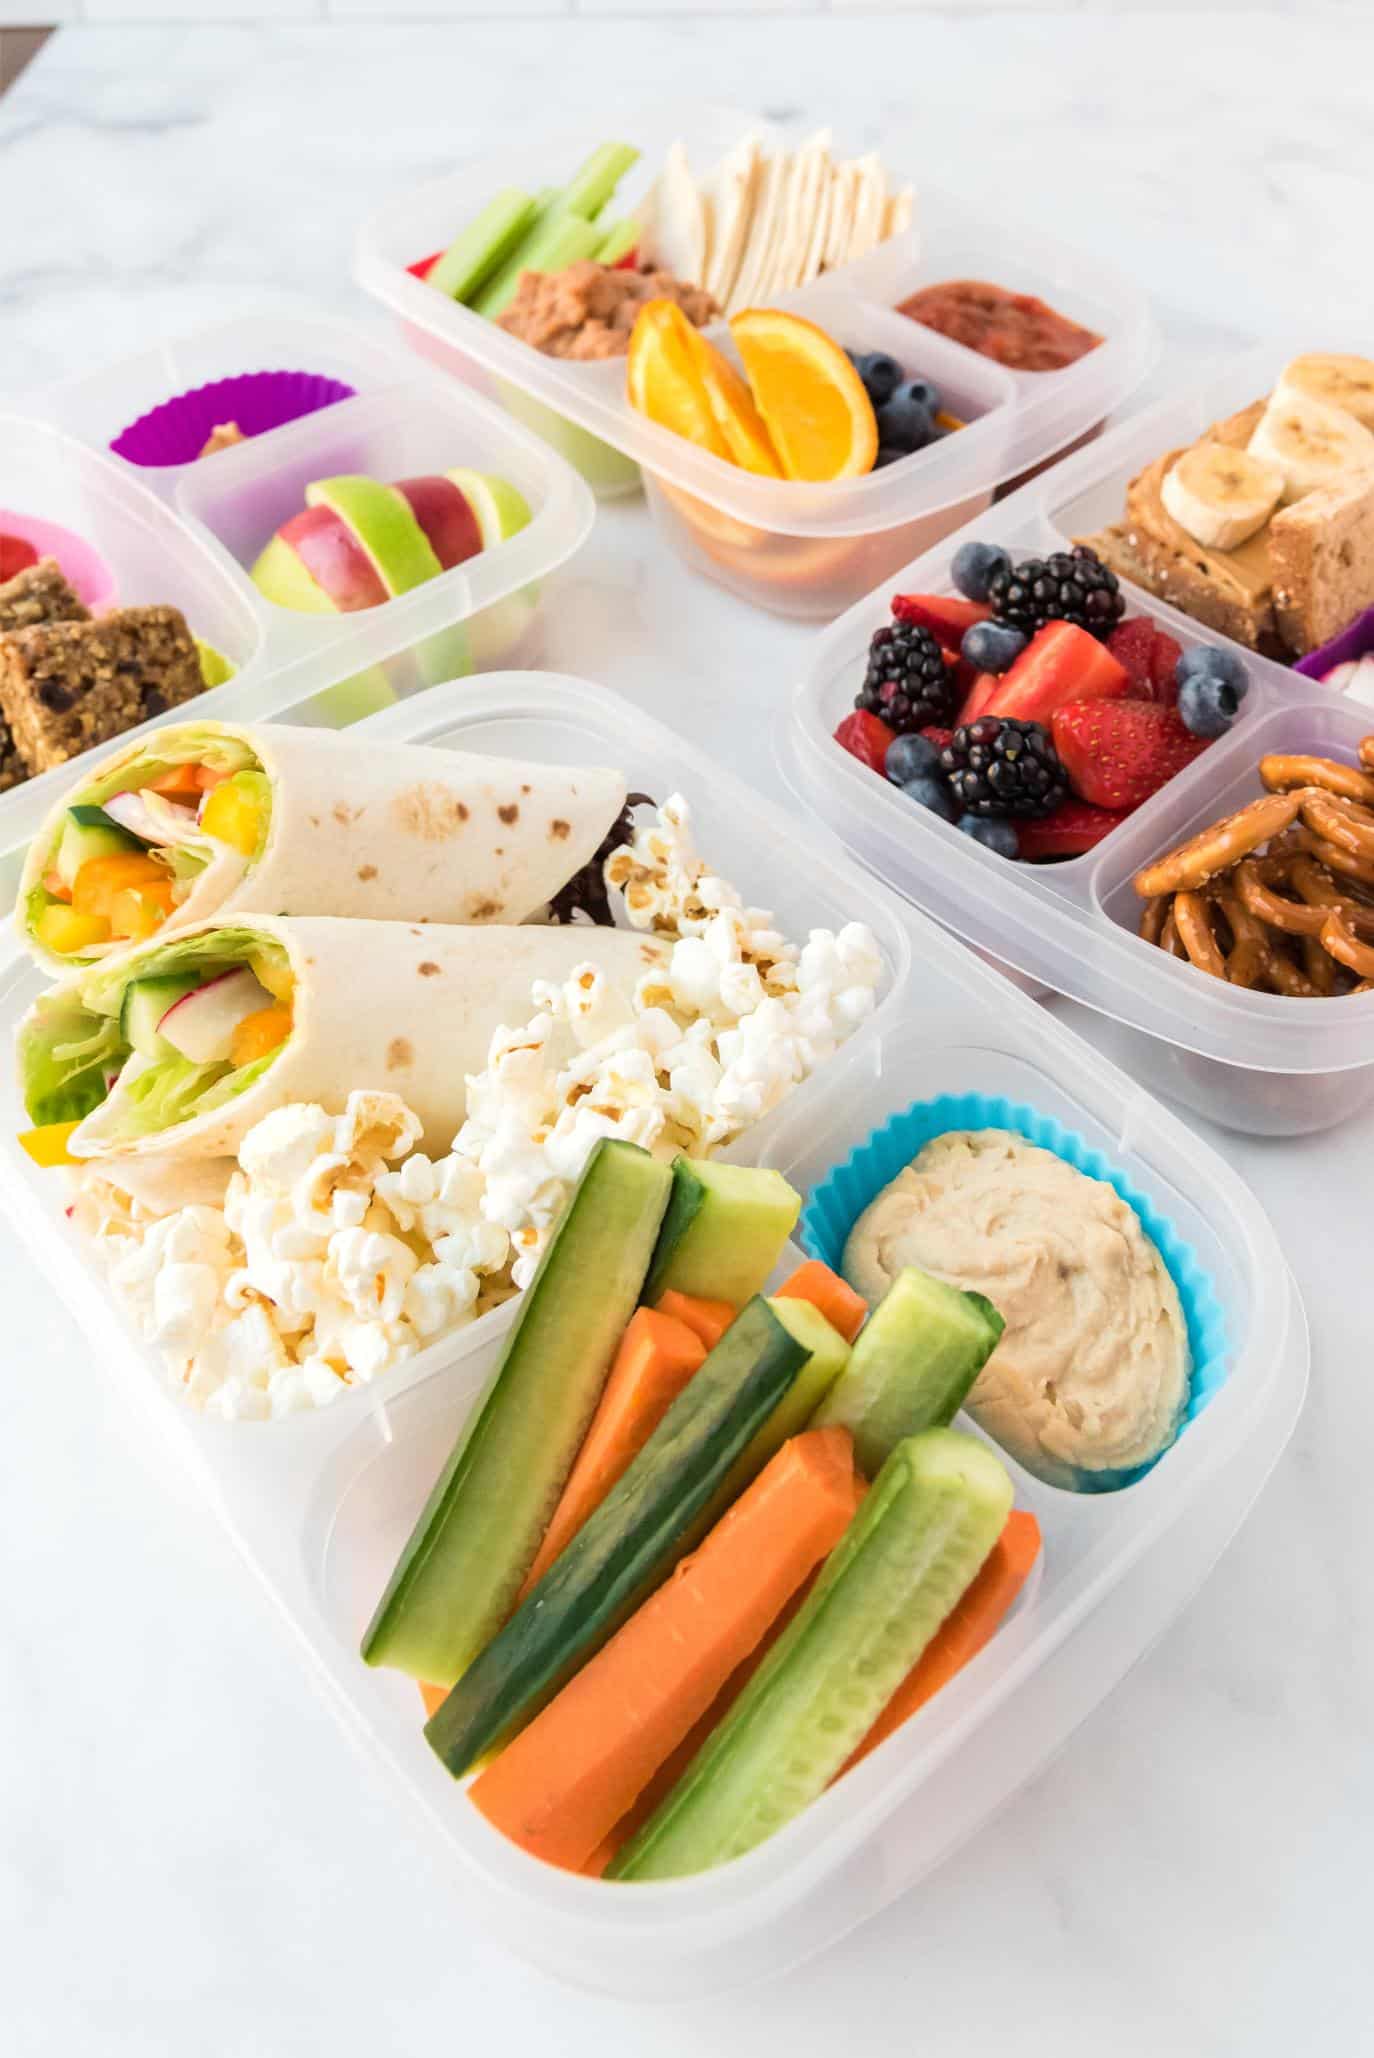
    Packing plant-based school lunches doesn’t have to mean making something different every day. After years of packing lunches for my kids, I’ve learned that a handful of dependable meals makes school mornings much easier. These simple plant-based lunchbox recipes use familiar ingredients, and many can be prepared ahead of time.

    “Build a Lunch Box” Formula

    Many kids, mine included, do better with limited options. When they followed a formula, packing lunch boxes was easier. We didn’t have to choose what to pack from everything in our pantry and refrigerator; we followed our formula and made 3 easy choices.

    Main + fruit/vegetable + easy side

    My youngest son likes big meals and will eat all the fruit and veggies. His older brother eats a much smaller variety of foods. By following our formula, they have more say in what they pack and are more likely to eat their lunch at school.

    Kid-Approved & Portable: Options like quesadillas, pinwheels, tostadas, and wraps are easy to hold, fun to eat, and lunchbox-ready.

    Nutrient-Packed: Combos with beans, legumes, whole grains, and vegetables give a balance of protein, fiber, and energy.

    Customizable & Inclusive: Plant-based, many are gluten-free or allergy-aware—plus flexible to suit preferences.

    Easy Prep: Many dishes hold up through the morning—salads, wraps, and bento-style mixes stay fresh with an ice pack.

    10 Lunch Box Recipes for Kids

    With these lunch box recipes for kids, packing nutritious, plant-based lunches becomes both manageable and enjoyable. Whether it’s the cheesy comfort of a black bean quesadilla, the veggie rainbow of pinwheels, or the creative build-your-own burrito, every meal offers flavor, fun, and flexibility.

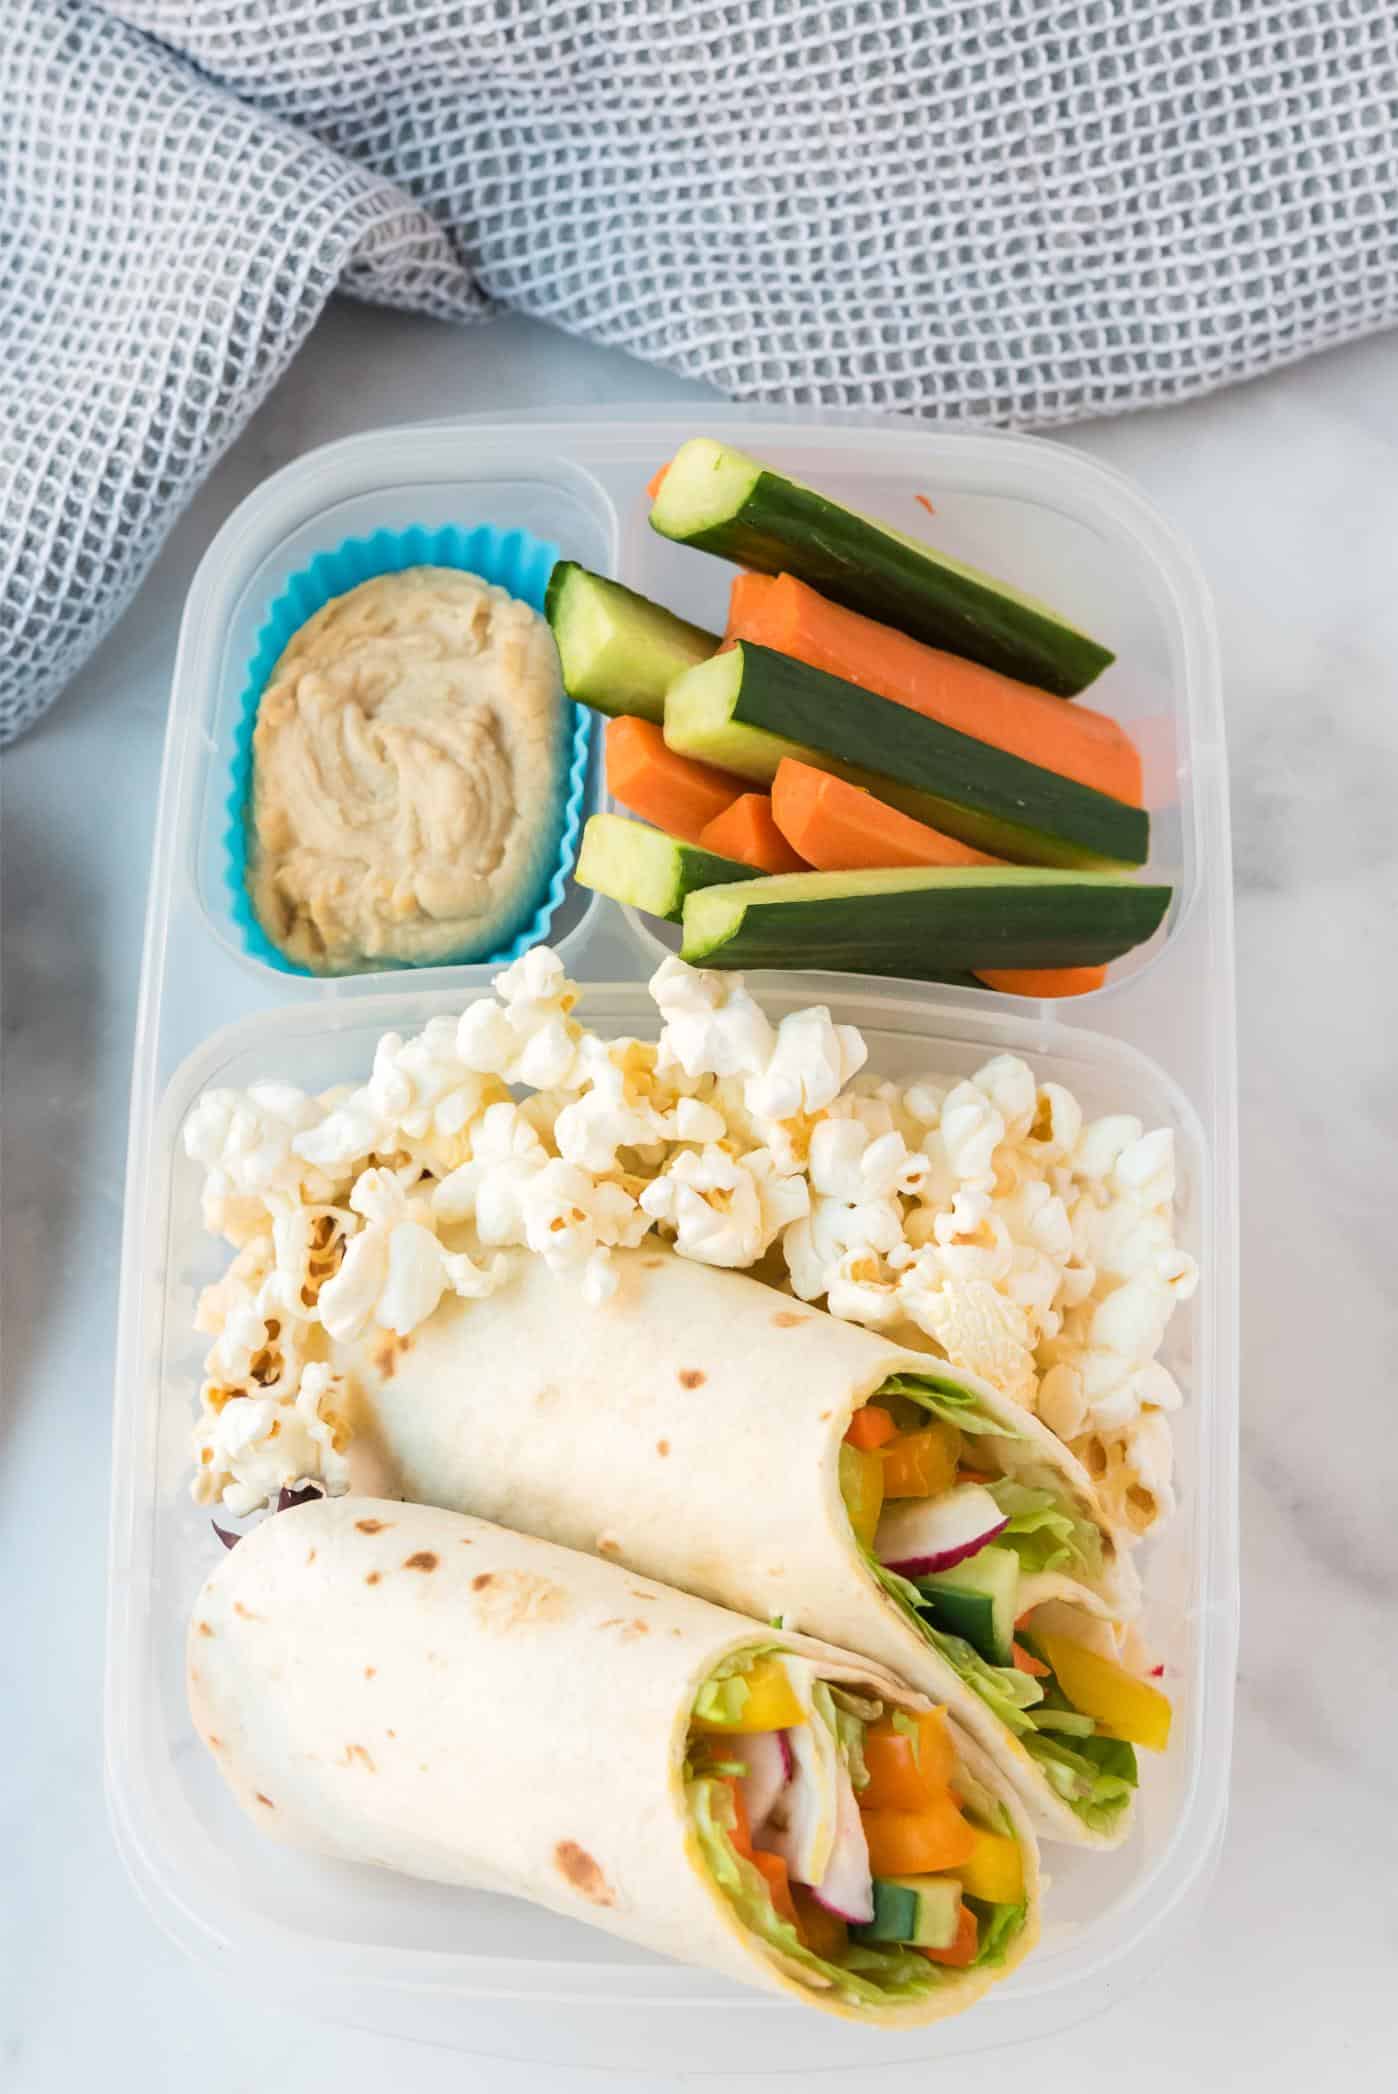
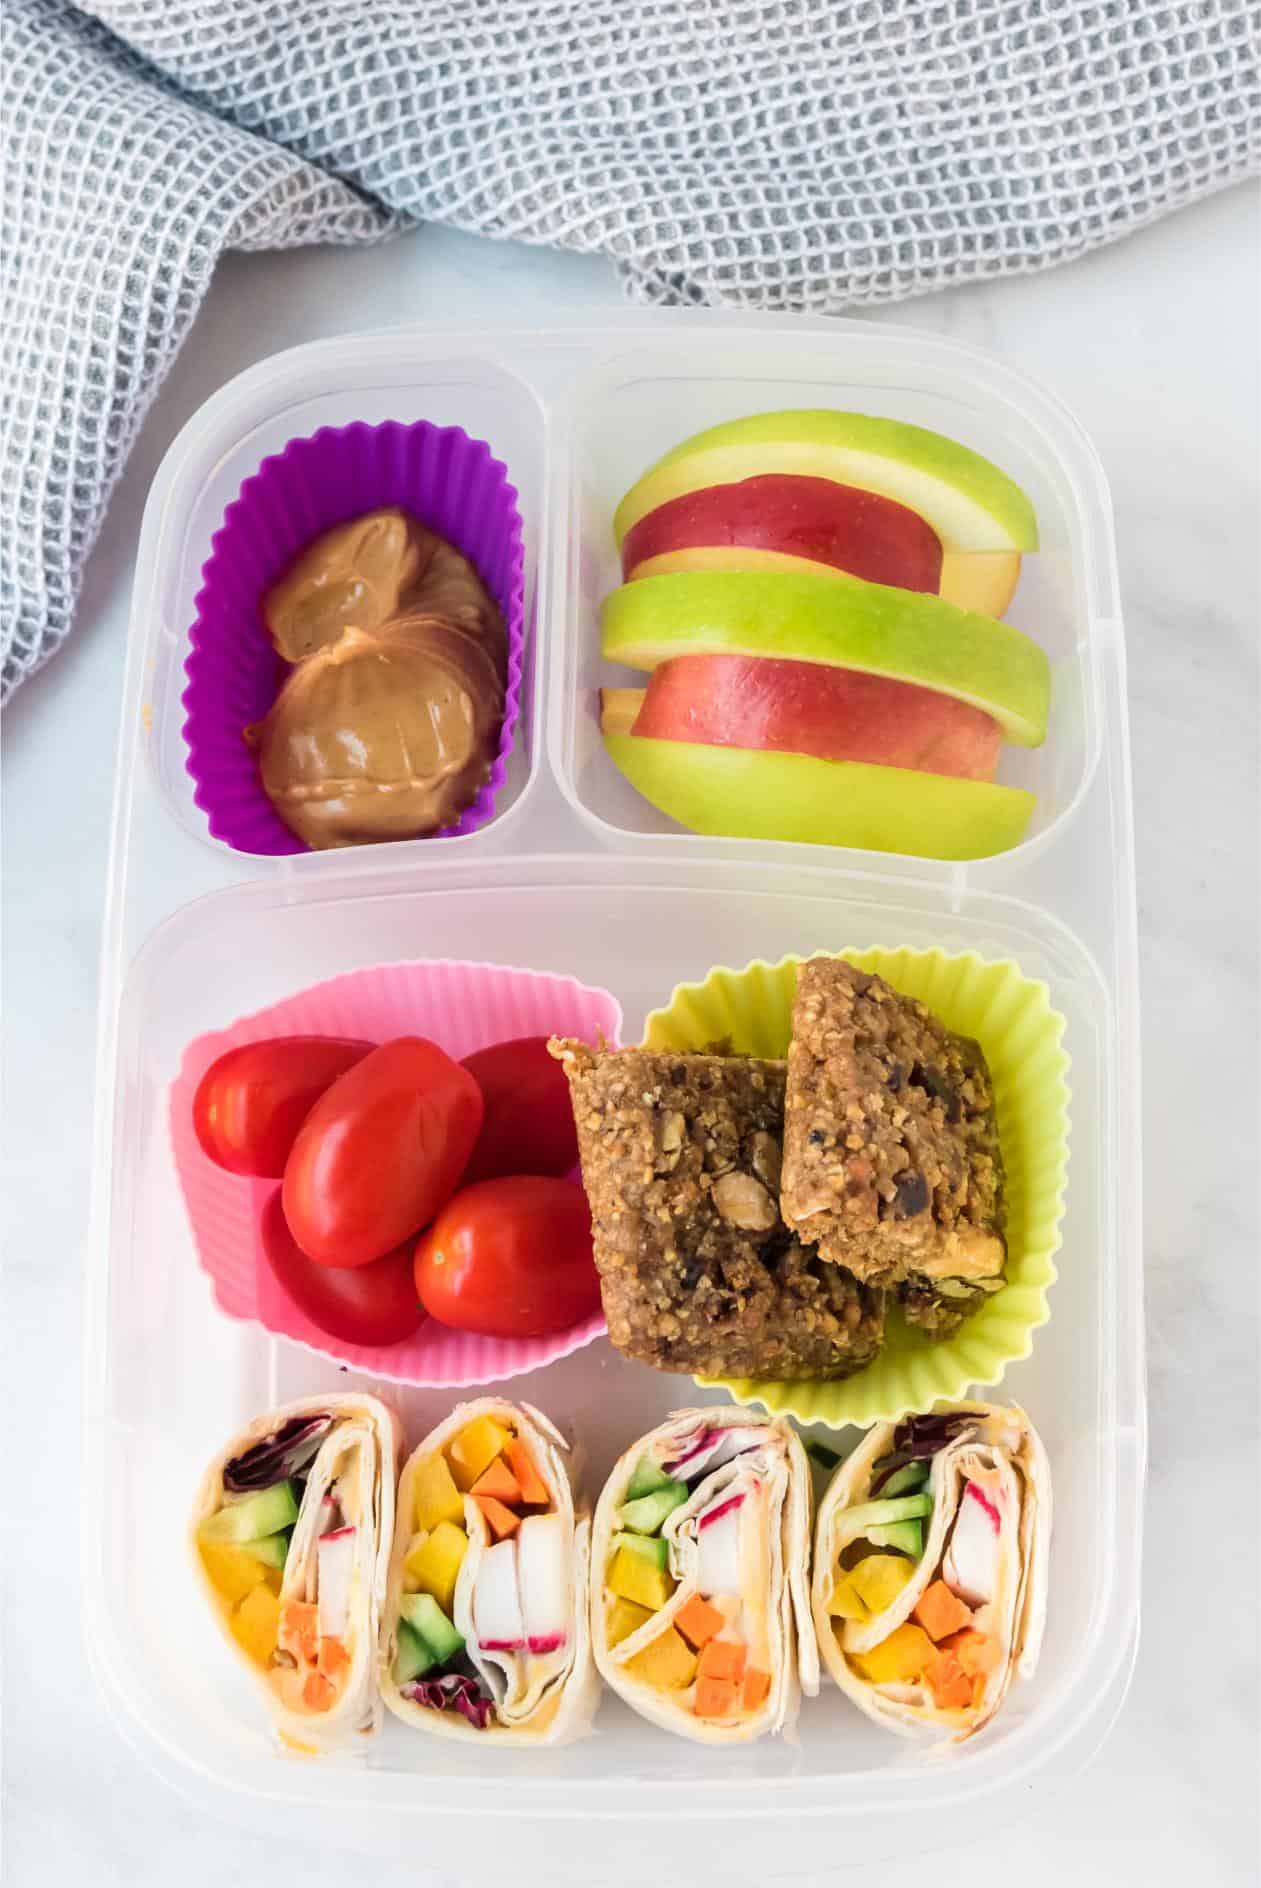
    Rainbow Veggie Pinwheels

    Rainbow Veggie Pinwheels

    Bright, colorful, and fun to eat. Hummus spread on a tortilla, layered with vibrant veggies, rolled up and sliced into bite-sized pinwheels. A perfect sneak-in veggie fix!

    Plant-Based Tostadas

    Plant-Based Tostadas

    A crunchy corn tortilla base topped with beans, lettuce, tomato, and optional salsa. It's versatile, easy to make and kid-friendly. Pack the ingredients separately so they can build their own.

    Image for Greek Chickpea Quinoa Salad

    Greek Chickpea Quinoa Salad

    A vibrant, protein-packed salad with quinoa, chickpeas, fresh veggies, and zesty dressing. Nutritious, easy to prep, and holds up well for school lunches.

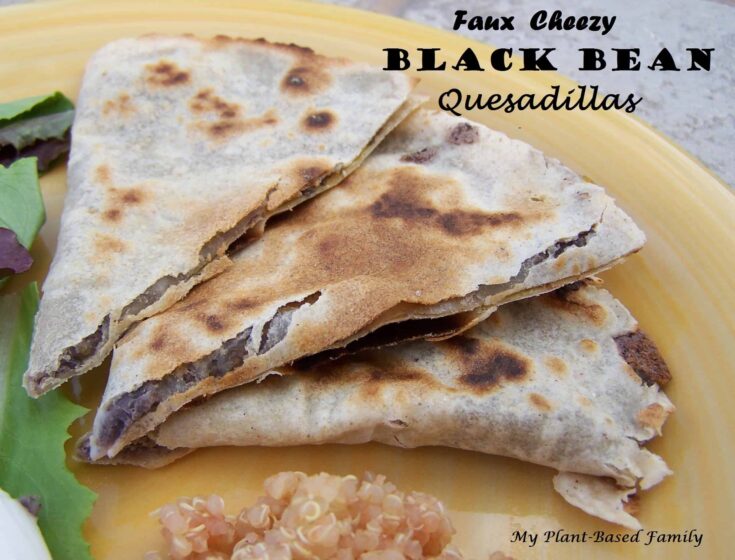
    Gluten-Free Vegan Black Bean Quesadillas

    Faux Cheezy Black Bean Quesadillas (Gluten-Free)

    A vegan twist on a classic favorite with black beans and creamy dairy-free "cheese" nestled in a gluten-free tortilla. Toast till golden and slice into triangles for easy lunch box dipping.

    Image for Greek Pasta Salad

    Greek Pasta Salad

    Kid-friendly pasta tossed with crisp veggies and a tangy plant-based Greek dressing. Easy to make ahead and delicious cold or at room temperature.

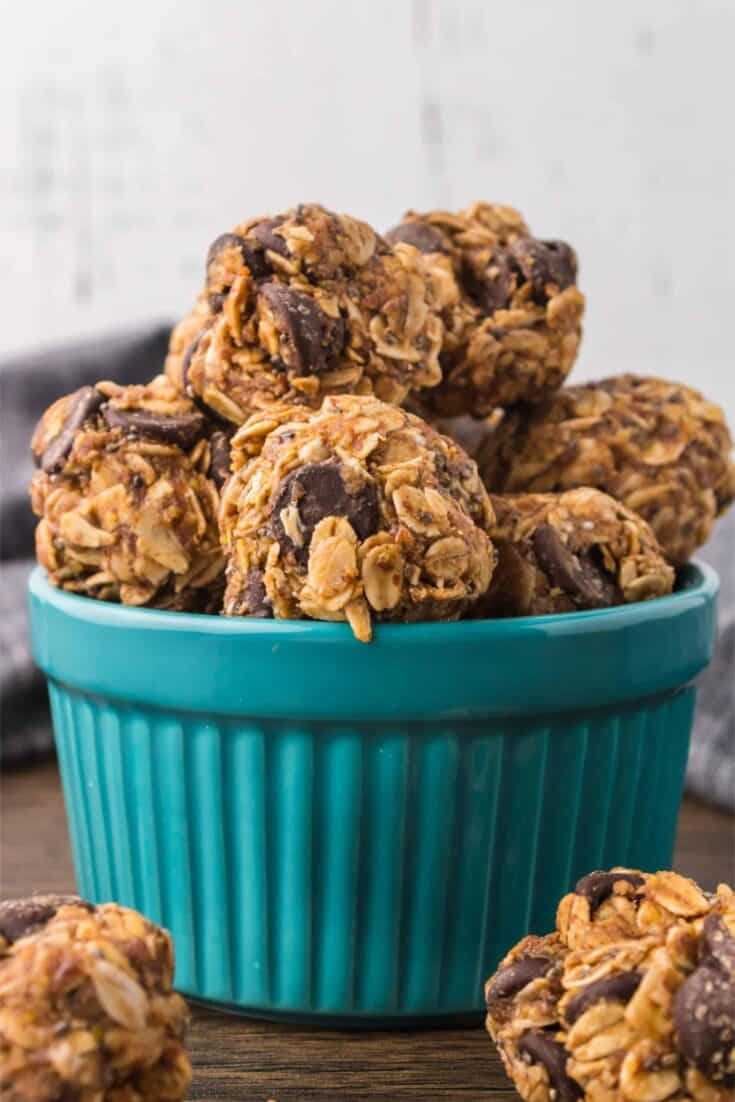
    Chocolate Chip Energy Balls

    No Bake Energy Balls

    With oats as a base, they are a nutritious option for satisfying cravings and boosting energy throughout the day. They fit perfectly in lunch or snack boxes.

    Chickpea Nuggets are plant-based (vegan) and allergy-friendly. These easy nuggets are delicious my husband and kids loved them.

    Chickpea Nuggets

    These kid-friendly Chickpea Nuggets are crispy on the outside and tender inside. Made with simple plant-based ingredients and no added oil, they're easy to pack in a lunch box with your child's favorite dipping sauce and sides.

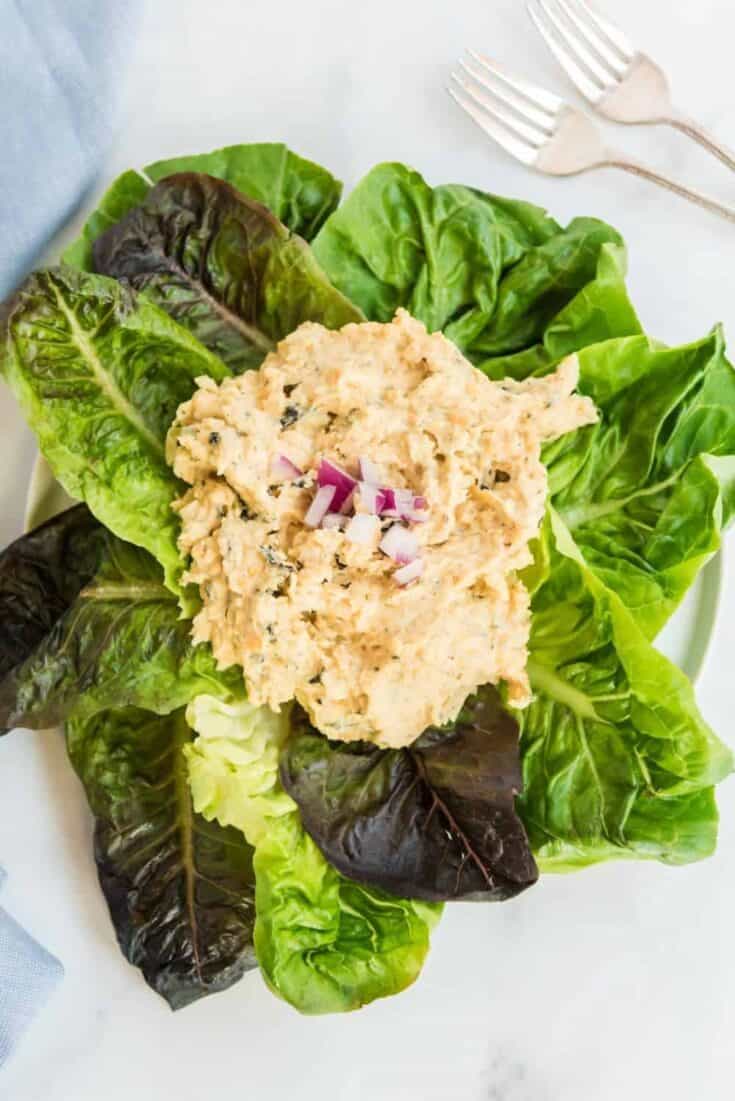
    Vegan Tuna Salad

    Vegan Tuna Salad

    This easy Vegan Tuna Salad uses chickpeas to make a plant-based version of a classic lunch favorite. Pack it alongside bread, a wrap or crackers so they don't get soggy before lunchtime. Serve it with veggies and fruit.

    Oil-Free Hummus

    Oil-Free Hummus

    With only a few ingredients, you can blend up a healthier hummus that little fingers love to dip in. Add a side of cut-up veggies or pita bread, and you're all set.

    This easy and delicious banana bread is an old family recipe that has been updated with healthier ingredients. The best part is, no one knows its healthy!

    Banana Bread

    This easy plant-based Banana Bread is soft, naturally sweet, and made without added oil. Pack a slice in a lunch box for a kid-friendly treat or make a loaf ahead of time for quick breakfasts and snacks throughout the week.

    Tips for Packing These Recipes for School

    • Make what you can the night before.
    • Consider whether a particular meal needs an ice pack.
    • Pack portions your child can realistically finish during their lunch period.
    • Use containers they can open independently.
    • Think about texture—some foods are better assembled in the morning rather than the night before.

    Bonus: Smart Lunch Box Side Ideas for Kids

    Round out the main dishes with tasty, easy-to-pack sides that kids love:

    SaltySweet
    Pretzels (GF or regular)Raisins
    Tortilla chips (for dipping beans)Apple Slices
    Rice cakesDried fruit
    CrackersGranola (bars or bites)
    PopcornFresh Fruit

    These sides complement any of the main dishes above, offering variety and ease.

    More Plant-Based Recipes

    If you love these lunch ideas, you’ll love these recipes for breakfast and dinner too:

    • Chocolate Chip Breakfast Cookies
    • Vegetable Udon Stir Fry
    • Oatmeal Cups
    • Vegan Lettuce Wraps
    • Vegetable Spaghetti

    No products found.

    Filed Under: Back to School, Life with Kids, Recipes

    Greek Chickpea Quinoa Salad

    July 1, 2025 by Holly Yzquierdo 4 Comments

    Looking for a vibrant, nutritious, and easy-to-make dish that’s perfect for meal prep, potlucks, or just a wholesome weeknight dinner? This Greek Chickpea and Quinoa Salad is exactly what you need. It’s packed with protein, fiber, and a rainbow of veggies, all brought together with a zesty Greek dressing. Whether you’re vegan, gluten-free, or just love Mediterranean-inspired flavors, this salad is bound to become your new favorite.

    This Greek Chickpea and Quinoa Salad is the perfect combination of nutrition, flavor, and convenience. It’s quick to make, packed with plant-based protein, and can be enjoyed in so many ways. Whether you’re preparing it for a potluck, a family dinner, or your weekly meal prep, it’s a satisfying, nutrient-dense dish that’s sure to please everyone at the table.

    With its fresh veggies, hearty quinoa, and zesty dressing, it’s a versatile salad that you can enjoy on its own or pair with your favorite Mediterranean-inspired dishes. Give it a try, and let it become a regular part of your healthy, plant-based repertoire!

    Why You’ll Love This Salad

    This Greek Chickpea and Quinoa Salad isn’t just a dish—it’s an experience. Here’s why:

    • Loaded with plant-based protein and fiber: Thanks to the quinoa and chickpeas, this salad is a filling and satisfying meal that won’t leave you hungry.
    • Fresh and colorful: Crisp cucumbers, sweet cherry tomatoes, and crunchy bell peppers create a beautiful medley of textures and flavors.
    • Customizable: Add artichoke hearts, olives, or pepperoncini for extra Mediterranean flair. The salad can be adjusted to suit your personal tastes.
    • Perfect for meal prep: It stores well for a few days, making it ideal for making ahead and enjoying throughout the week.
    • Easy and quick: With minimal cooking time (just cooking quinoa and chopping veggies), it’s perfect for busy days when you want something nutritious but don’t want to spend hours in the kitchen.

    Customizing Your Salad

    One of the best parts about this salad is how adaptable it is. Here are some ways you can tweak it based on your preferences:

    • Make it spicy: Add a little chili powder or cayenne pepper for a kick of heat.
    • Add extra protein: If you need more protein, consider adding extra chickpeas, or even some tofu or tempeh.
    • Change up the grains: Swap the quinoa for another grain like farro, bulgur, or couscous if you prefer a different texture.
    • Use different veggies: You can also add things like zucchini, carrots, or spinach to the mix, depending on what you have on hand.

    How to Make Greek Chickpea Quinoa Salad

    Ingredients

    • 1 cup uncooked quinoa 
    • 1 15 ounce can of chickpeas, drained and rinsed 
    • 1 cup cucumbers, chopped  
    • 1 cup cherry tomatoes, sliced  
    • ¼ cup red onion, diced  
    • 1 red or yellow bell pepper, diced 
    • Artichoke Hearts (optional) 
    • pepperoncini’s (optional) 
    • olives (optional) 
    • Greek Salad Dressing (separate recipe) 

    Note on Substitutions

    This recipe is highly customizable. You can swap out the quinoa for couscous, farro, or brown rice if you prefer. Likewise, feel free to use any type of bean instead of chickpeas, like cannellini beans, kidney beans, or black beans.

    Instructions

    1. Cook the Quinoa

    Start by bringing 2 cups of water to a boil in a medium-sized pot. Once the water is boiling, rinse the quinoa in a fine-mesh strainer under cold water to remove its natural coating, called saponin, which can make it taste bitter. Add the quinoa to the boiling water.

    Lower the heat to a simmer, cover the pot, and cook according to the package instructions (usually about 15 minutes). You’ll know it’s done when the quinoa has absorbed the water and the little “tails” of the grains begin to unravel.

    For added flavor, consider cooking your quinoa in vegetable broth instead of water, or add a veggie broth mix to the water to infuse more savory depth into the grains.

    2. Prep the Veggies

    While your quinoa is cooking, it’s time to prep the vegetables. Chop your cucumber into small bite-sized pieces, slice the cherry tomatoes, and dice the bell pepper and red onion. If you’re using any optional add-ins like artichoke hearts, pepperoncini, or olives, chop or slice them as well.

    These fresh, colorful vegetables are the heart of the salad, offering crisp textures and vibrant flavors that complement the nutty quinoa and hearty chickpeas.

    3. Drain and Rinse the Chickpeas

    Drain and rinse the chickpeas thoroughly. I recommend using canned chickpeas for convenience, but you can also cook dried chickpeas if you prefer. Once drained, you can give them a light mash with a fork if you want them to be a bit more broken down in the salad, but I like to keep them whole for a more substantial bite.

    4. Make the Salad

    Once your quinoa is cooked and cooled slightly, transfer it to a large mixing bowl. Add the chopped veggies, chickpeas, and any optional add-ins like artichoke hearts or olives. Toss everything together gently to combine.

    Finally, pour your Greek salad dressing over the mixture. Stir well to ensure all the ingredients are coated evenly with the tangy, herby dressing.

    5. Chill and Serve

    The salad can be served right away, but it tastes even better after sitting in the fridge for a couple of hours to allow the flavors to meld together. If you’re meal prepping for the week, store it in an airtight container in the fridge for up to 4 days.

    While this salad is delicious right from the fridge, I recommend letting it sit out for about 10–15 minutes before serving, especially if you like it a little less cold.

    Storing and Serving Tips

    This salad is perfect for making ahead, especially if you’re preparing for the week. Here’s how to get the most out of your leftovers:

    • Store in the fridge: This salad can stay fresh for up to 4 days in the fridge, making it a great option for meal prep.
    • Serve at room temperature: While you can eat it cold, it’s best served at room temperature for maximum flavor.
    • Revive the flavors: If the salad has been sitting in the fridge for a couple of days, you might want to add a little more dressing or a squeeze of fresh lemon juice before serving to refresh the flavors.

    More Plant Based Salad Recipes

    If you like this recipe, you’ll love these salad ideas too:

    • Black Bean Corn Salad with Avocado
    • BBQ Chickpea Salad
    • Sweet Potato and Black Bean Bowl
    • Vegan Potato Salad
    • Chopped Asian Salad
    Yield: 4 Servings

    Greek Chickpea Quinoa Salad

    Greek Chickpea Quinoa Salad
    No Ratings

    This Greek Chickpea and Quinoa Salad is a vibrant, protein-packed dish with fresh veggies, perfect for meal prep, potlucks, or a quick, healthy meal.

    Prep Time 10 minutes
    Cook Time 10 minutes
    Total Time 20 minutes

    Ingredients

    • 1 cup uncooked quinoa
    • 1 15 ounce can of chickpeas, drained and rinsed
    • 1 cup cucumbers, chopped
    • 1 cup cherry tomatoes, sliced
    • ¼ cup red onion, diced
    • 1 red or yellow bell pepper, diced
    • Artichoke Hearts (optional)
    • pepperoncini’s (optional)
    • olives (optional)
    • Greek Salad Dressing (separate recipe)

    Instructions

    1. Bring 2 cups of water to a boil.  
    2. Rinse quinoa in a fine mesh strainer before adding to water.  
    3. Cook quinoa according to the package directions, feel free to add veggie broth mix to your water if you want more flavor.  
    4. While the quinoa is cooking, chop your veggies, drain the chickpeas and make your salad dressing. 
    5. Once quinoa is cooked, mix in the veggies, chickpeas and salad dressing. Stir well. 
    6. Store in the refrigerator for a few days.  

    Notes

    This salad can stay fresh for up to 4 days in the fridge, making it a great option for meal prep.

    Did you make this recipe?

    We'd love to see it! Tag us and use #MyPlantBasedFamily!

    © Holly Yzquierdo

    Filed Under: Recipes, Salads & Wraps

    Next Page »

    Primary Sidebar

    Footer

    Find it here!

    Amazon Affiliate Disclosure

    Holly Yzquierdo of My Plant-Based Family is a participant in the Amazon Services LLC Associates Program, an affiliate advertising program designed to provide a means for sites to earn advertising fees by advertising and linking to amazon.com.

    Disclosures

    Unauthorized use and/or duplication of any part of this website or content without express and written permission from Holly Yzquierdo is prohibited. Excerpts and links may be used, provided that full credit is given to Holly Yzquierdo and MyPlantBasedFamily.com with links to the original content.

    More information on our Privacy Policy and other Disclosures are available.

    Copyright © 2026 · Wellness Pro on Genesis Framework · WordPress · Log in