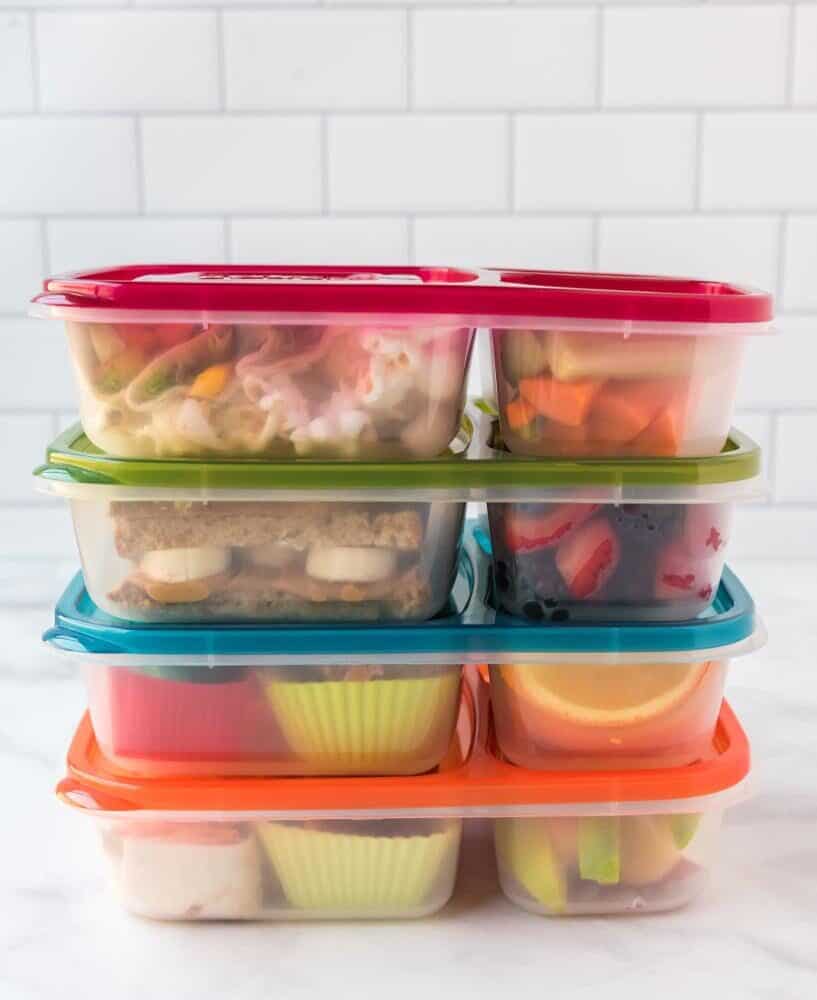
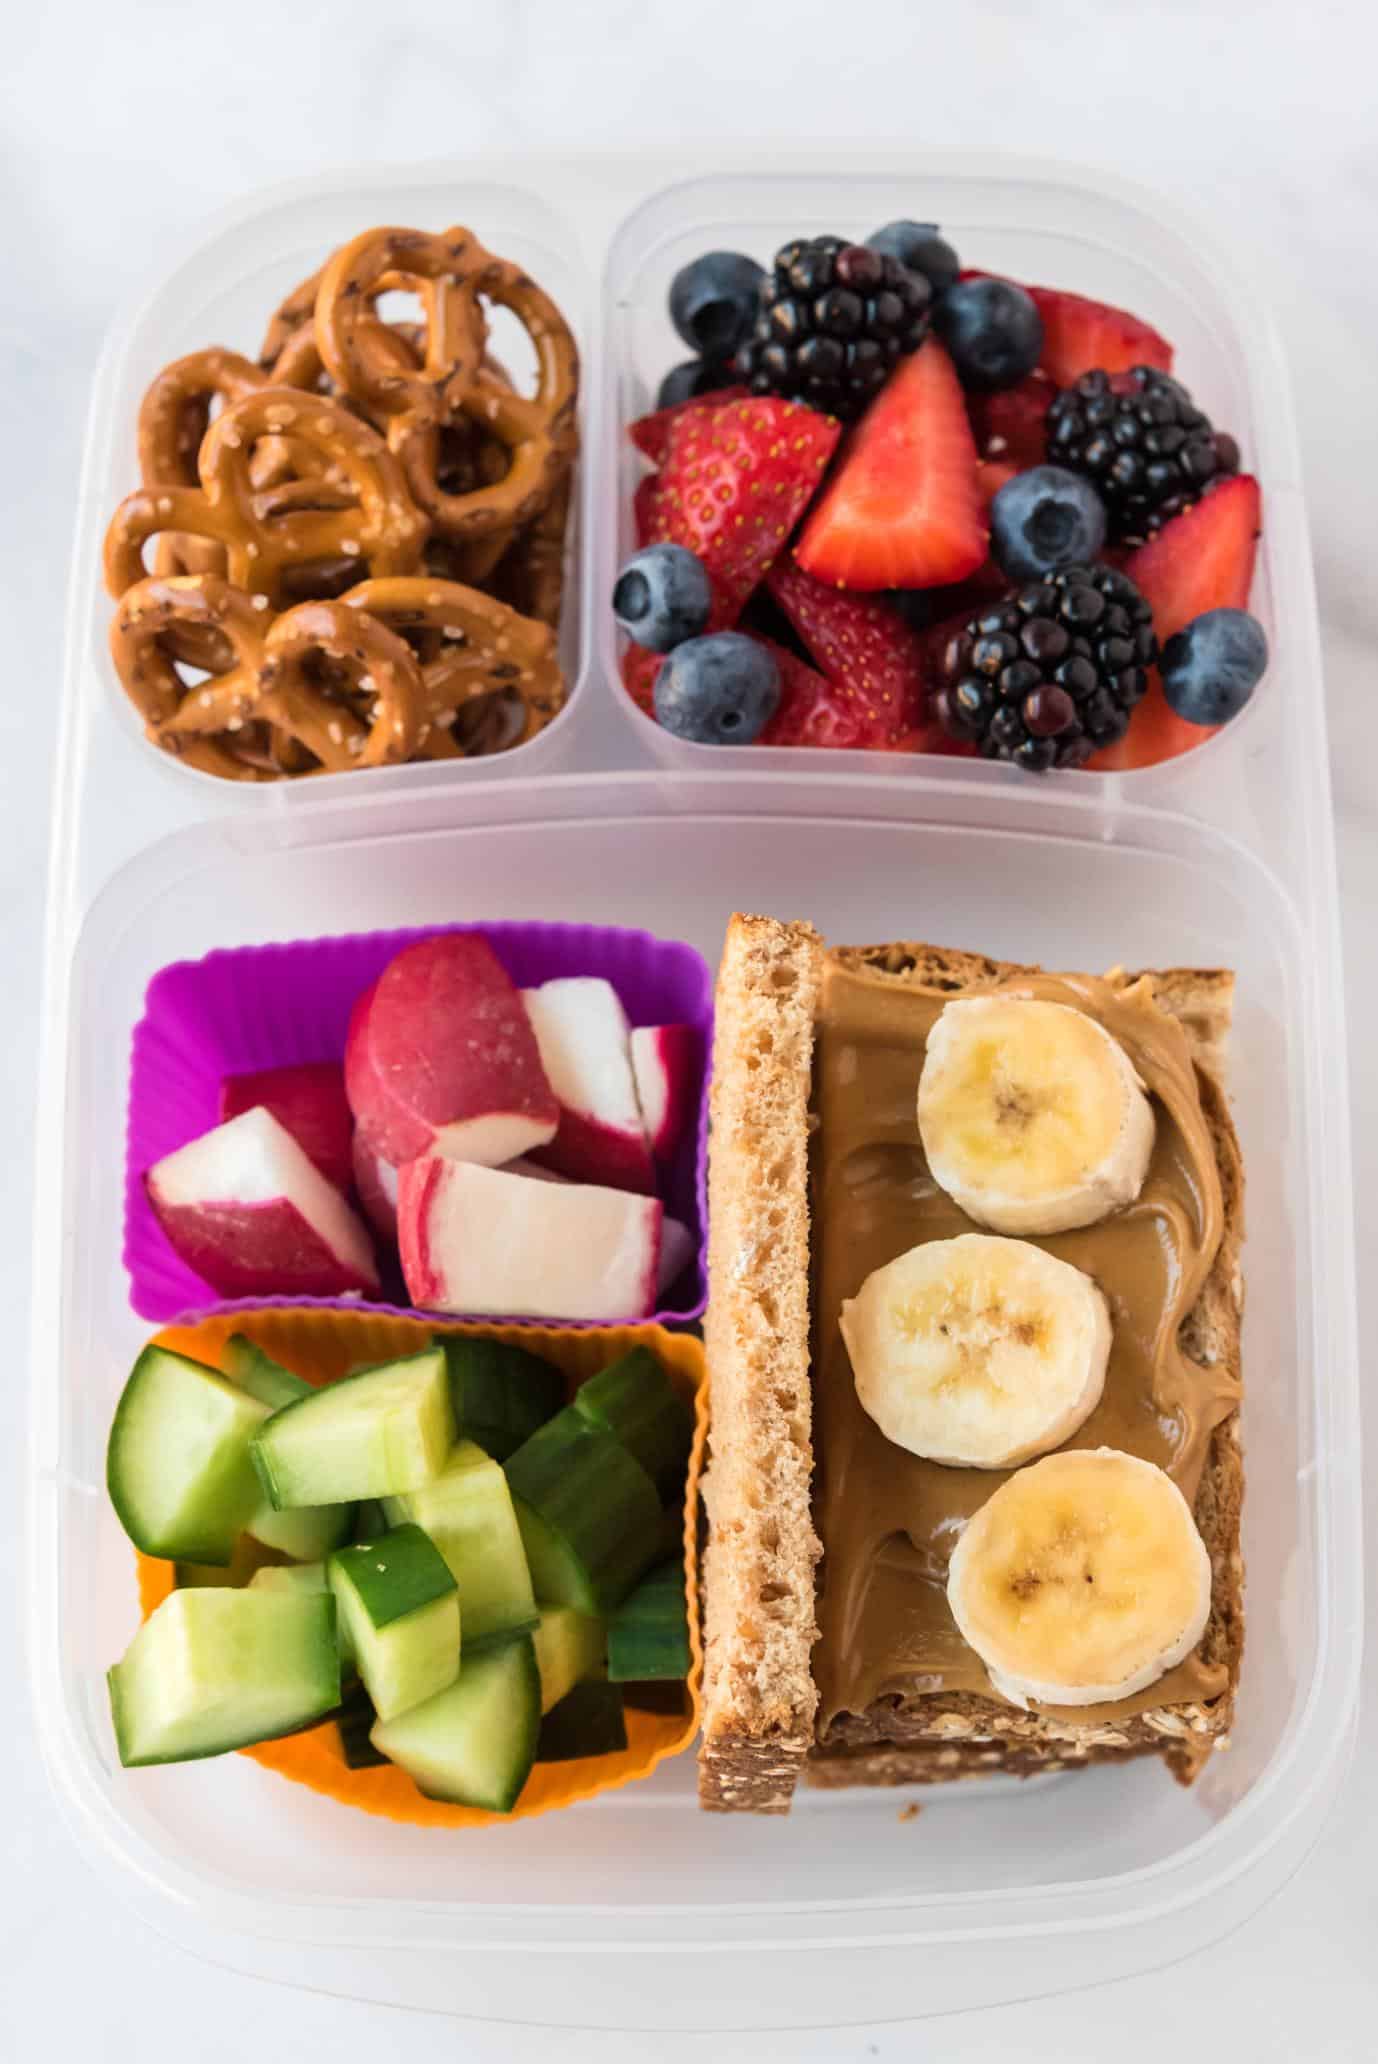
Packing lunch as an adult can sometimes feel routine or uninspired, but it doesn’t have to be that way!
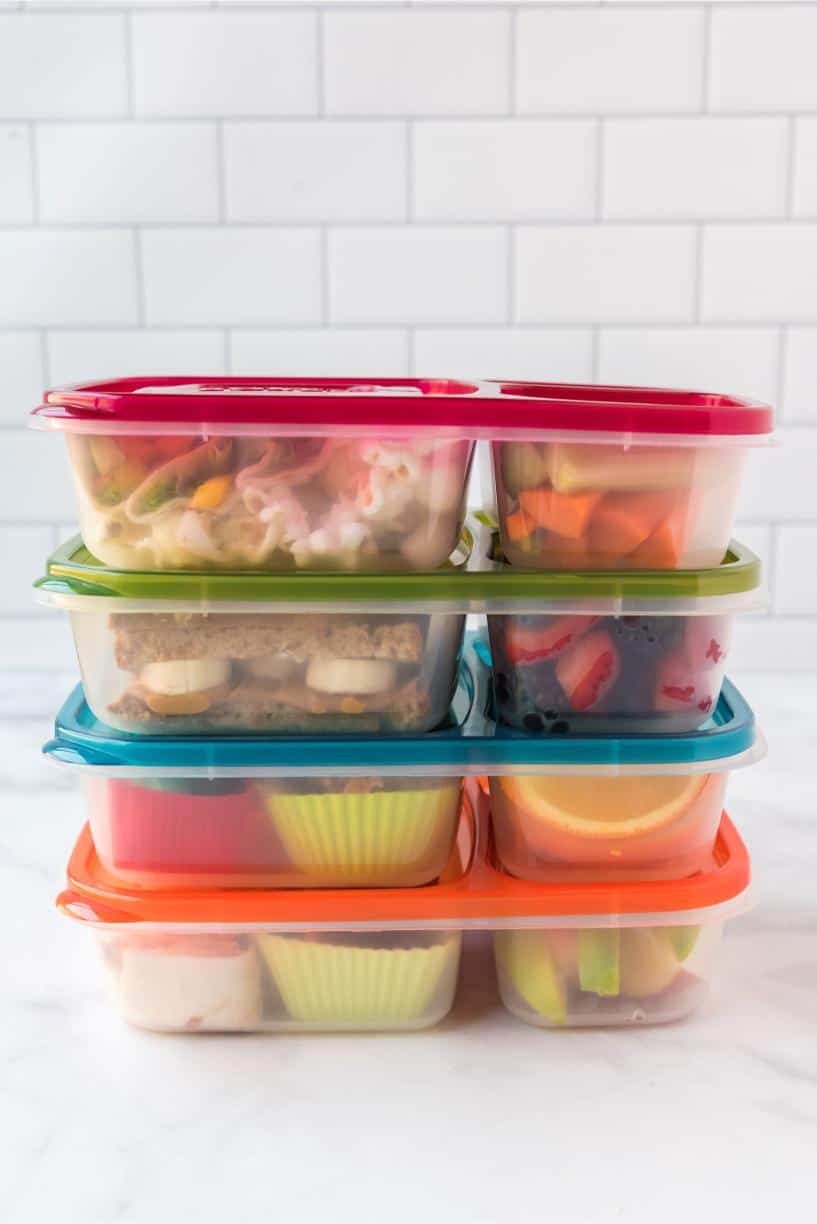
Here are 10 fantastic recipes that bring bold flavors, satisfying nutrition, and simple prep to your midday meal. Whether you’re headed to the office, working from home, or packing for an on-the-go day, these recipes are easy to make ahead and delicious served cold or reheated.
10 Plant-Based Lunch Box Recipes for Adults
This collection of 10 plant-based lunch recipes offers a diverse range of delicious, nutritious, and easy-to-prepare meals perfect for adults on the go.
From hearty soups and vibrant salads to flavorful wraps and comforting pasta dishes, each recipe is designed to be portable and satisfying whether eaten cold or reheated.
Whether you’re packing for work or a busy day out, these recipes bring variety and vibrant flavors to keep your midday meals enjoyable and nourishing.

This vibrant salad combines protein-rich quinoa and chickpeas with fresh herbs and a tangy lemon vinaigrette. Perfect cold and portable.

Rice noodles tossed in a creamy, flavorful peanut sauce with crunchy fresh vegetables. This recipe packs well and tastes even better the next day.

There's no cooking involved and meant to be served cold. Perfect to prep for the week!
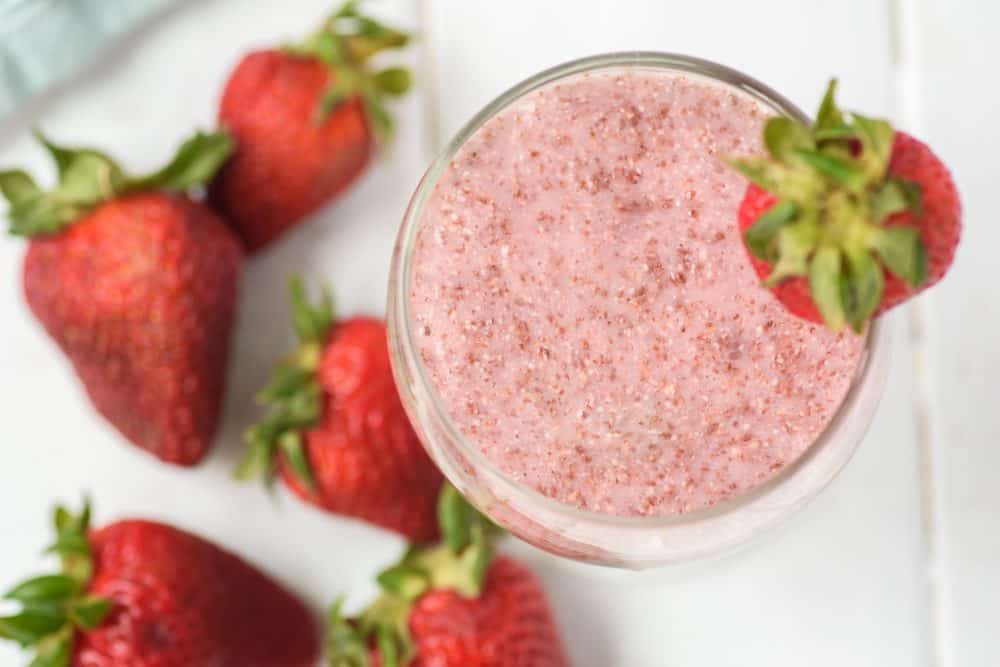
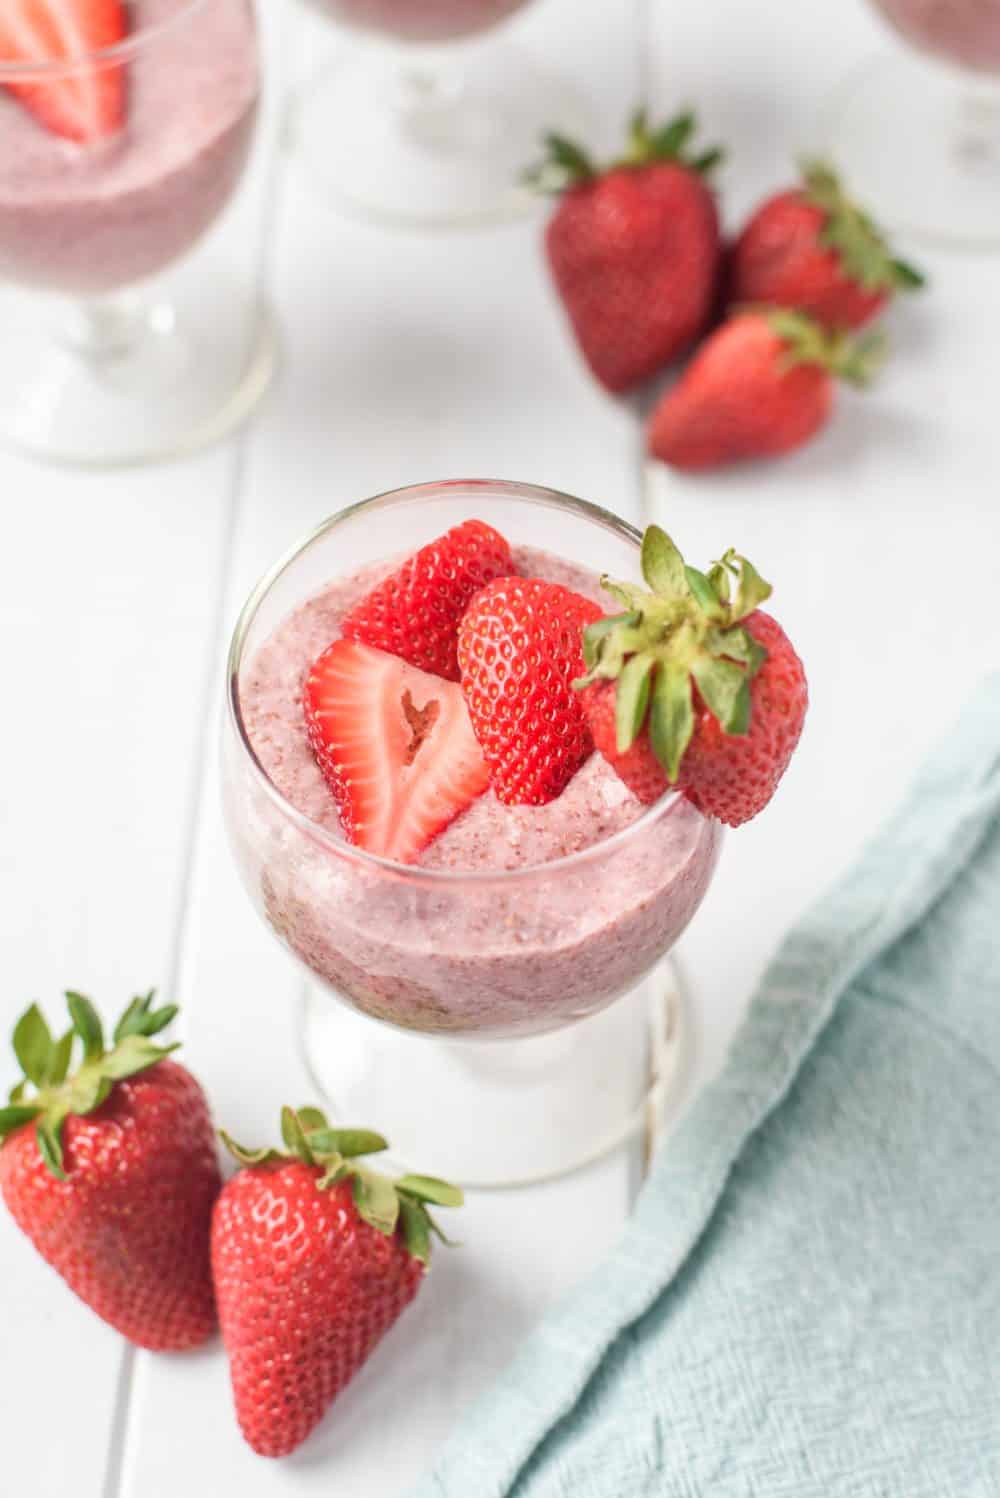
The perfect light meal for hot or busy days. Great for customizing to taste too.

A satisfying comfort food that will keep you full and smiling all day. Pack it in a heat safe bowl and warm it up in the microwave at work.
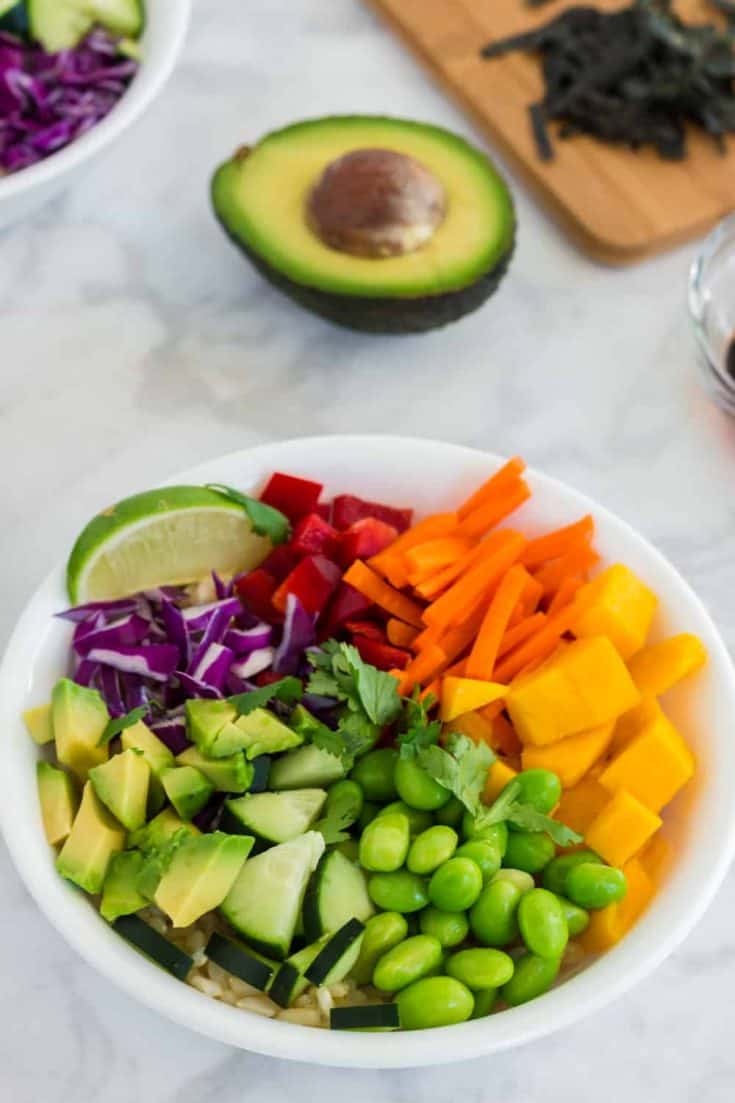
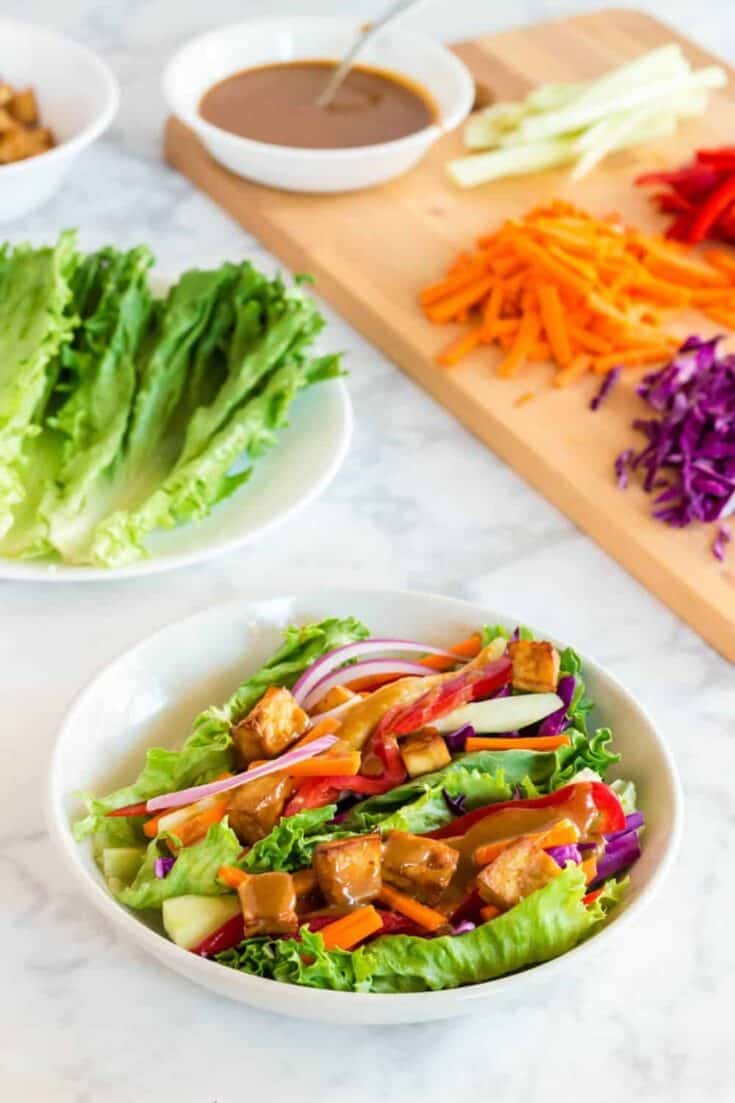
Pack all the fun of a sushi bowl, but make it plant-based! The star of this dish is nori seaweed sheets to hold all the ingredients together.

Goulash makes the best leftovers for lunch the next day. It soaks up more sauce and flavor as time goes on.
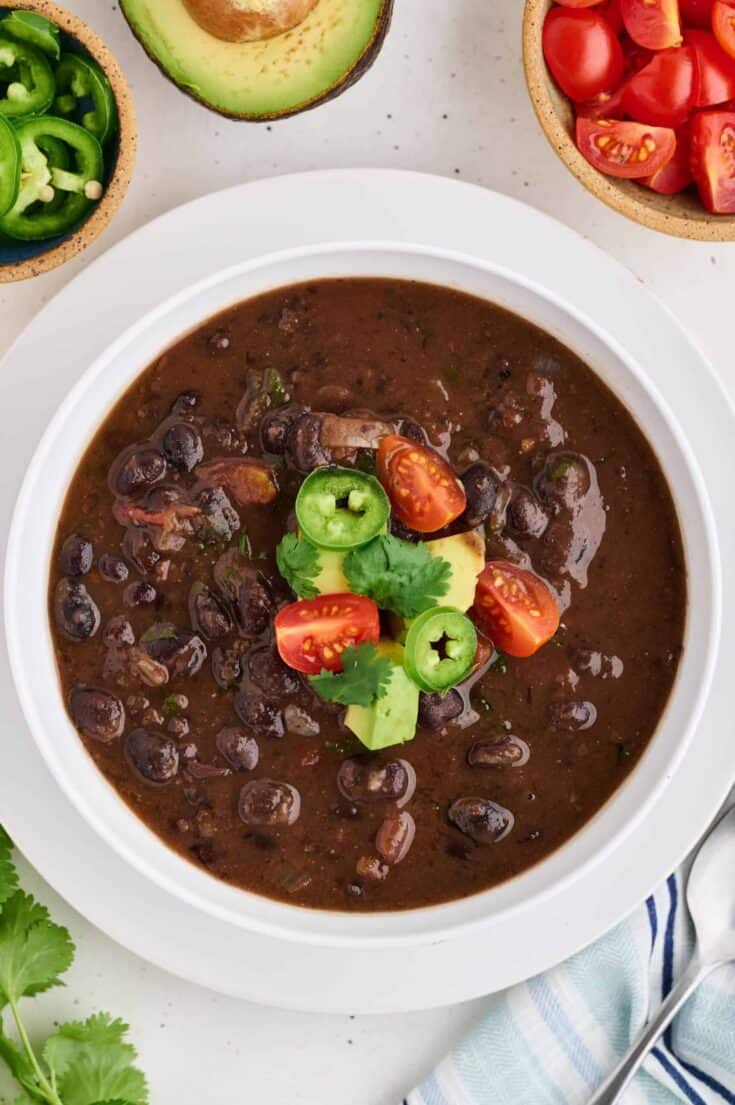
There's always more soup than you can eat for one meal. Pack up the leftovers to go! This one is mildly spicy and great for busy days without the fuss.

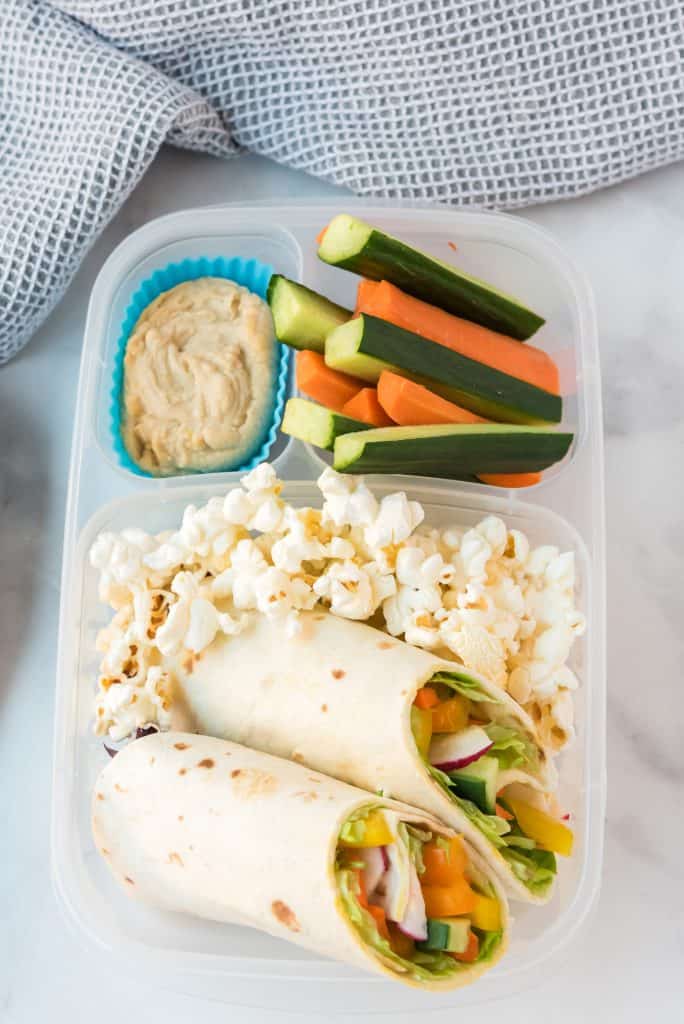
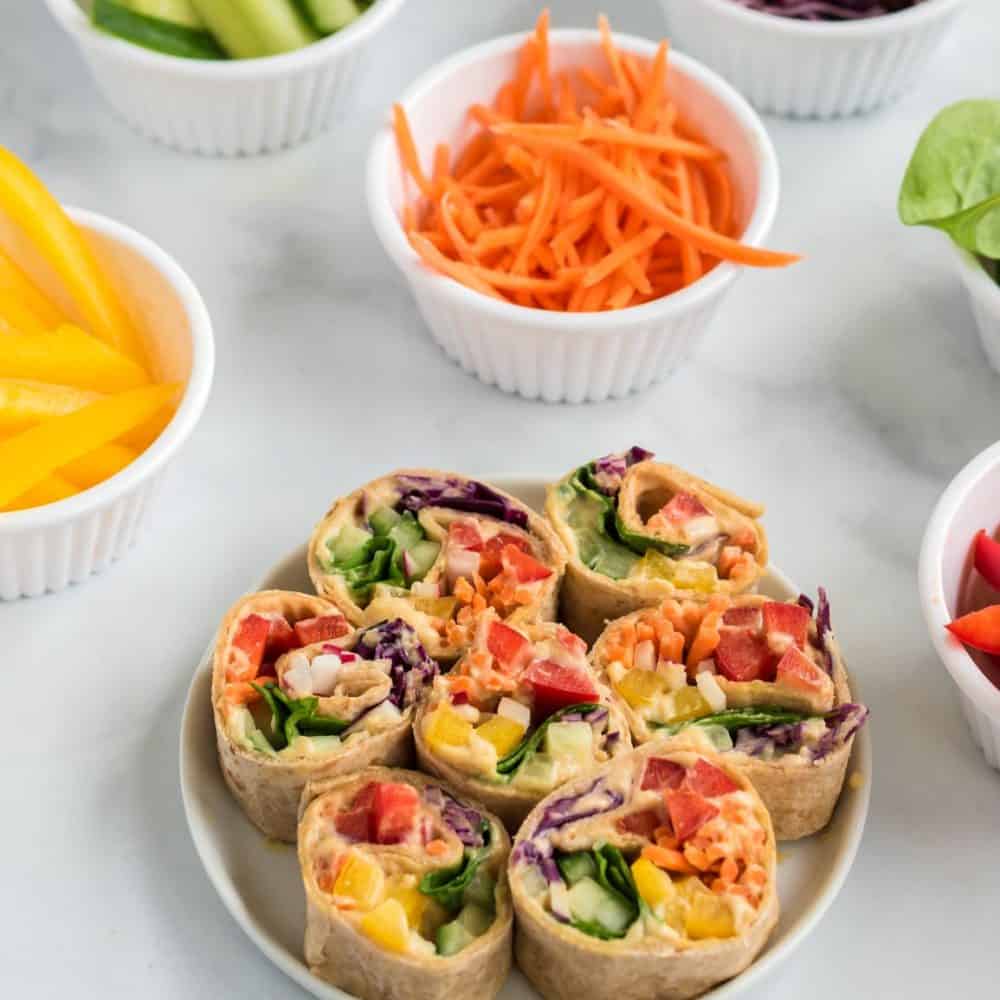
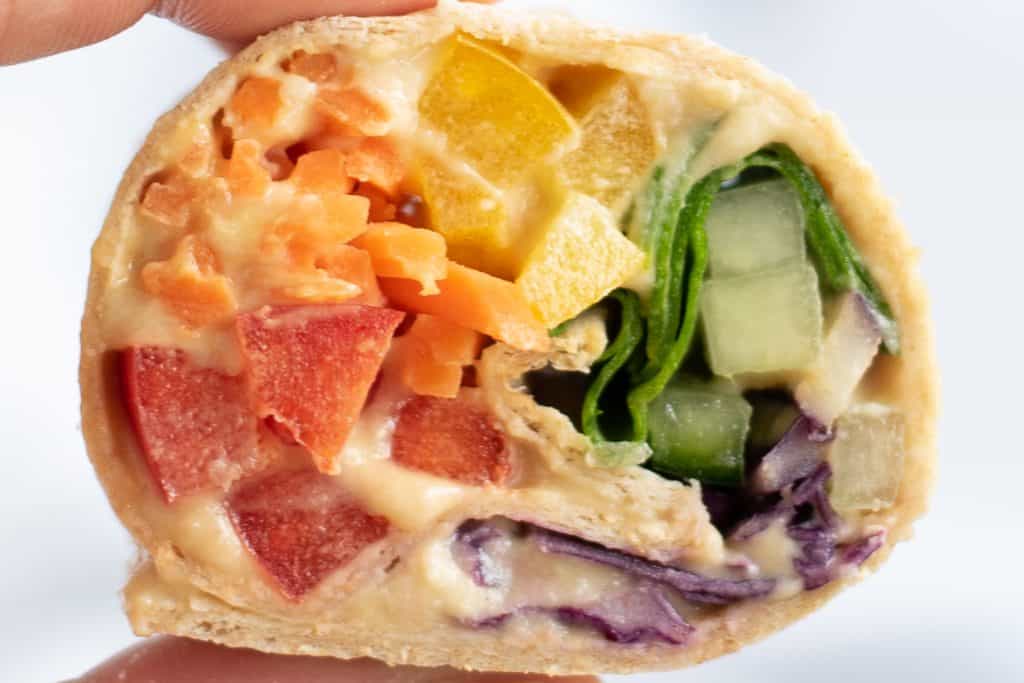
A filling dip with all the veggies makes a great lunch. It's like you're eating a rainbow!

Cook up a batch of refried beans to make burritos, tostadas and tacos throughout the week. This meal prep hack will save time for lunch and dinner.
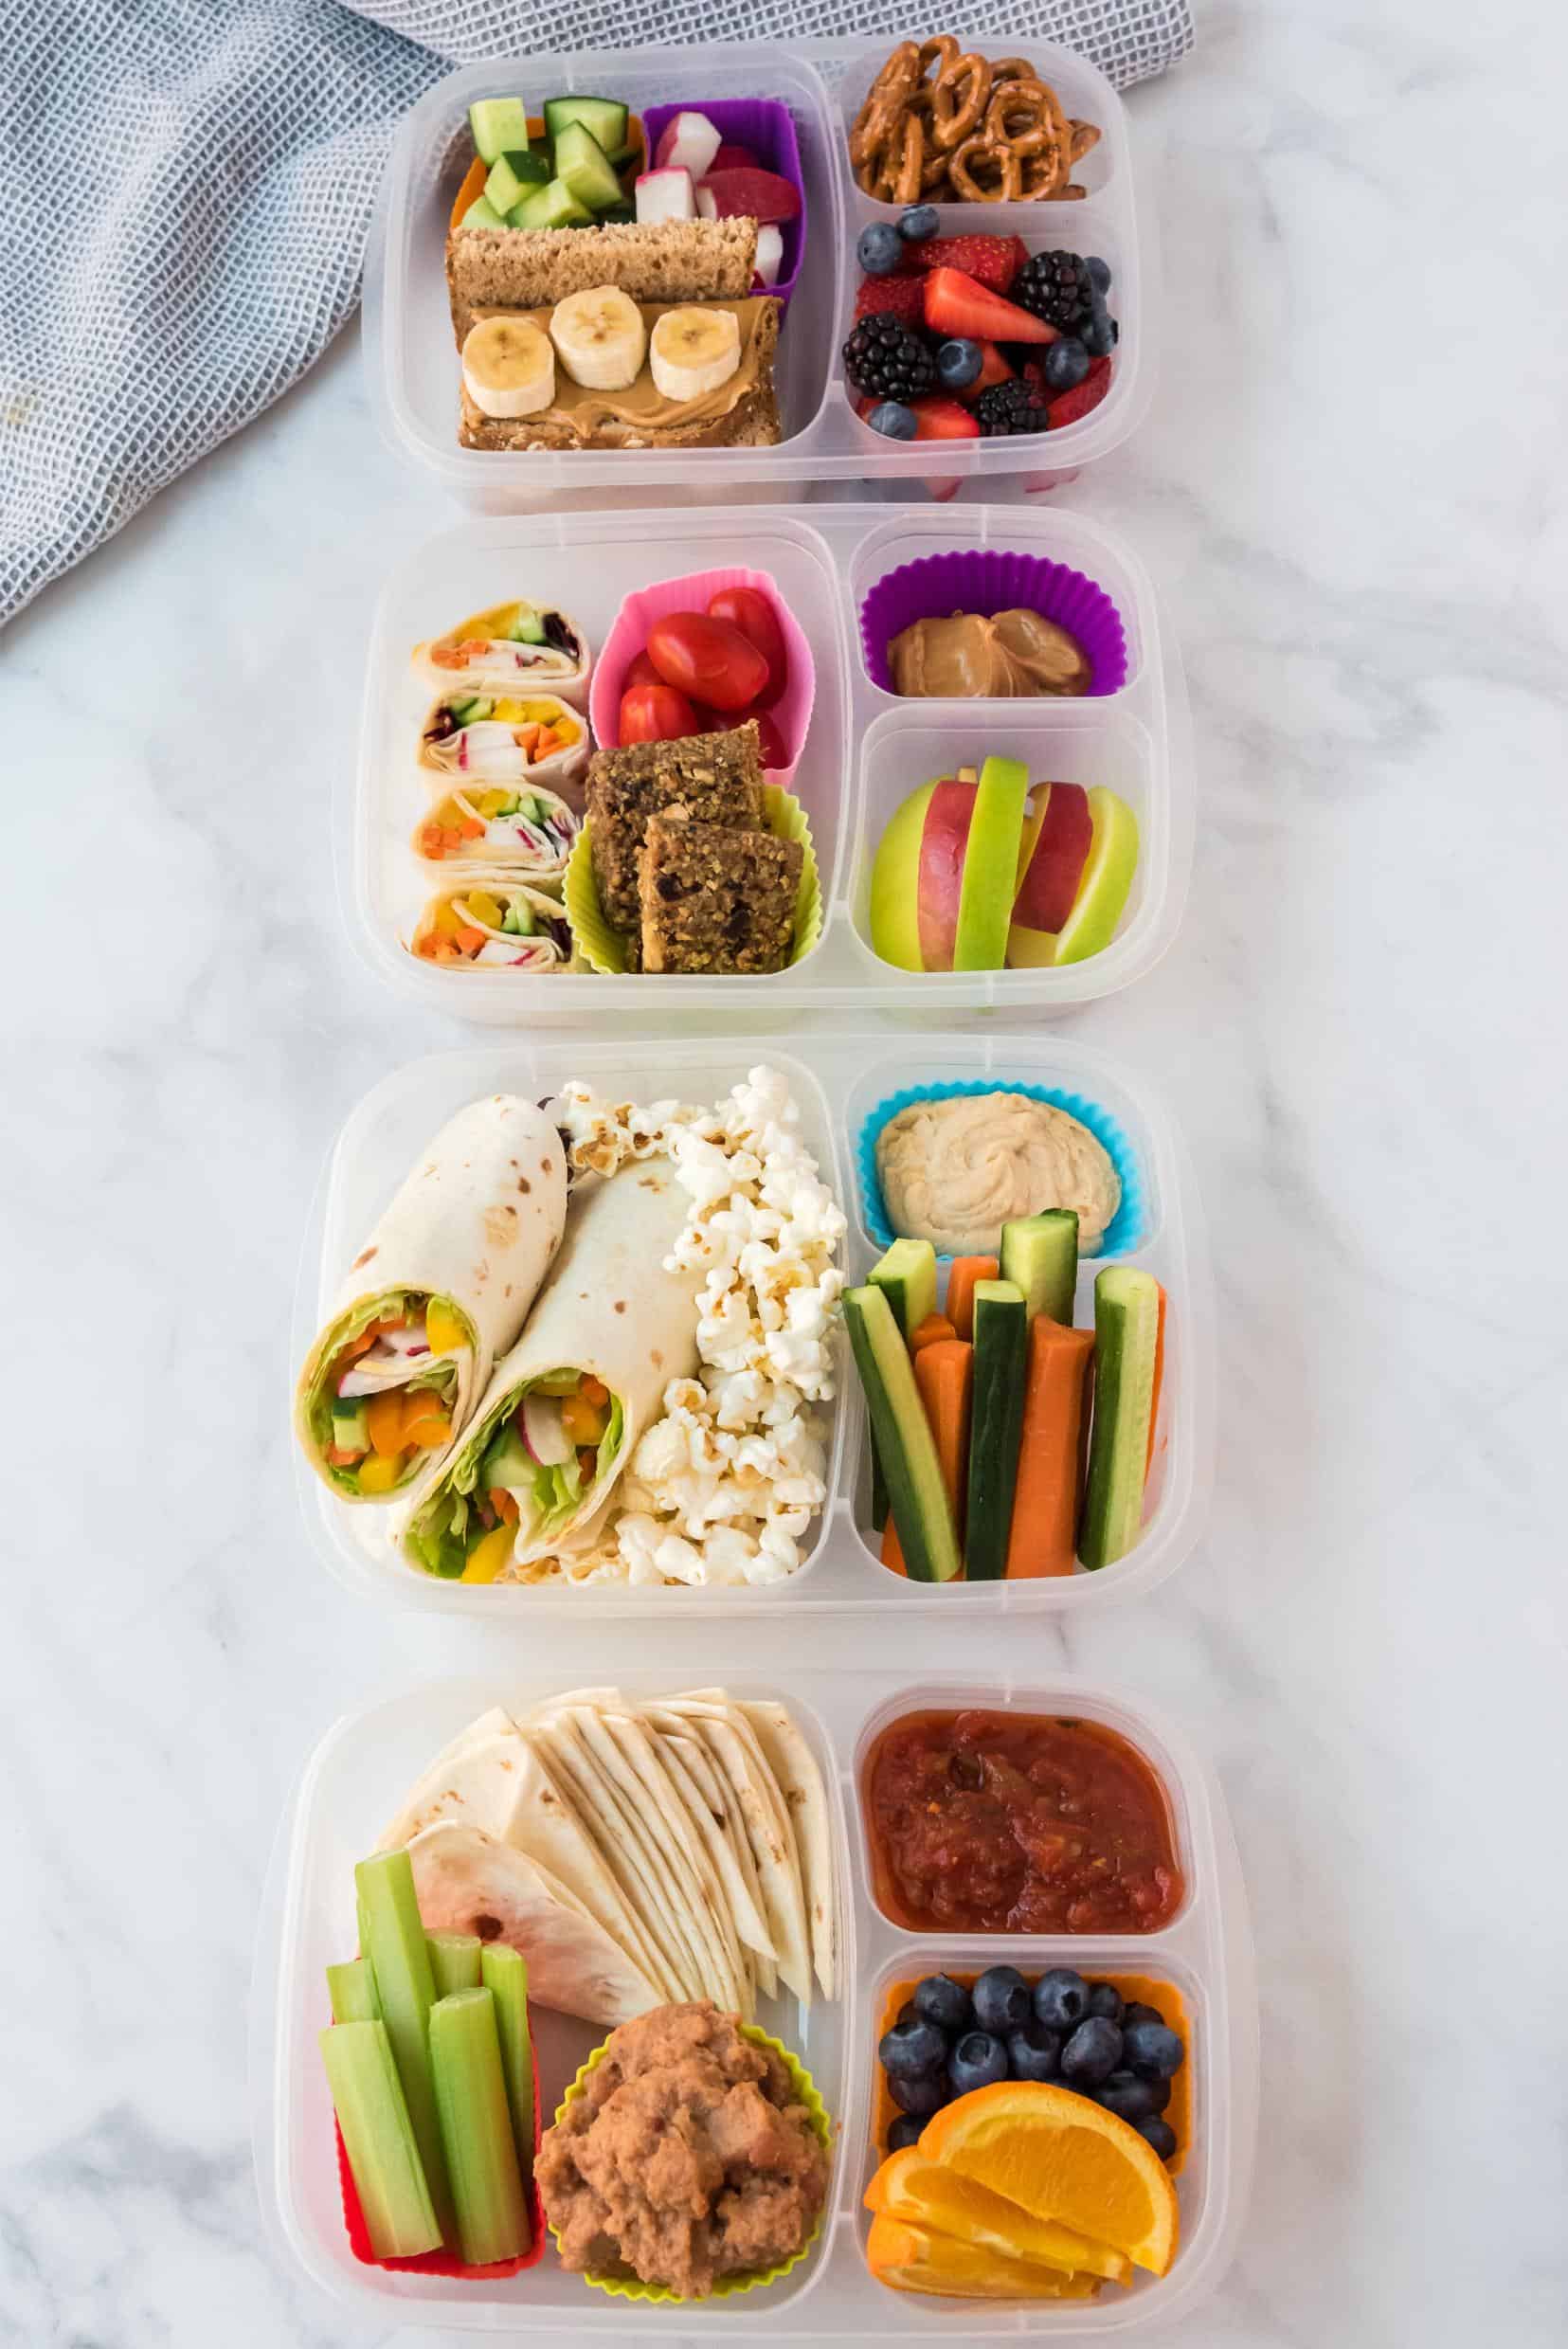
Bonus: Snacks to Pack in Your Lunch Box for Adults
Here’s a list of tasty, plant-based snack ideas that pair perfectly with your adult lunch box recipes:

- Fresh fruit (apple slices, grapes, berries, orange segments)
- Raw veggie sticks (carrots, cucumber, celery, bell peppers)
- Hummus or guacamole for dipping
- Mixed nuts and seeds (almonds, walnuts, pumpkin seeds)
- Roasted chickpeas or spiced nuts
- Whole grain crackers or rice cakes
- Plant-based yogurt or coconut yogurt cups
- Energy bites or granola bars made from nuts and dried fruit
- Dried fruit (apricots, figs, raisins)
- Popcorn (lightly salted or nutritional yeast flavored)
- Dark chocolate squares or cacao nibs
- Edamame pods (steamed and lightly salted)
- Seaweed snacks
- Homemade kale chips or veggie chips
- Fresh salsa or pico de gallo with baked tortilla chips
These snacks offer a nice balance of nutrients, crunch, and flavor to keep your energy up between meals!
More Plant-Based Recipes You’ll Love
If you like these recipes, you’ll love these ideas for breakfast and dinner too:
- Power Berry Smoothie Bowl
- Balsamic Marinated Mushrooms
- Chocolate Chia Overnight Oats
- Vegan Stuffed Peppers
- Sheet Pan Chickpea and Sweet Potato Tacos