These vegan Oatmeal Cups are beautiful and delicious. I started making these in early 2020. We were addicted and made a batch every week until it became too hot to bake here in Arizona.

I’ve made a lot of baked oatmeal recipes but these always seemed more festive. The combination of the dried fruit and the nuts and seeds always made them feel like a Christmas snack. I decided to wait all year to share them and now it’s time.
Most of the time I made them in my Pampered Chef brownie pan. You may have seen some Instagram stories of them. They taste just as good whether they are square or round.

I love that these are oil-free but taste decadent thanks to the seeds, nuts, and dried fruit. Those all help them to be really filling too! We eat them for breakfast, snack and dessert!
Another bonus to this recipe is it makes 18 oatmeal cups. Trust me, a dozen is never enough for our crew. We are also able to package some up and give them to others.
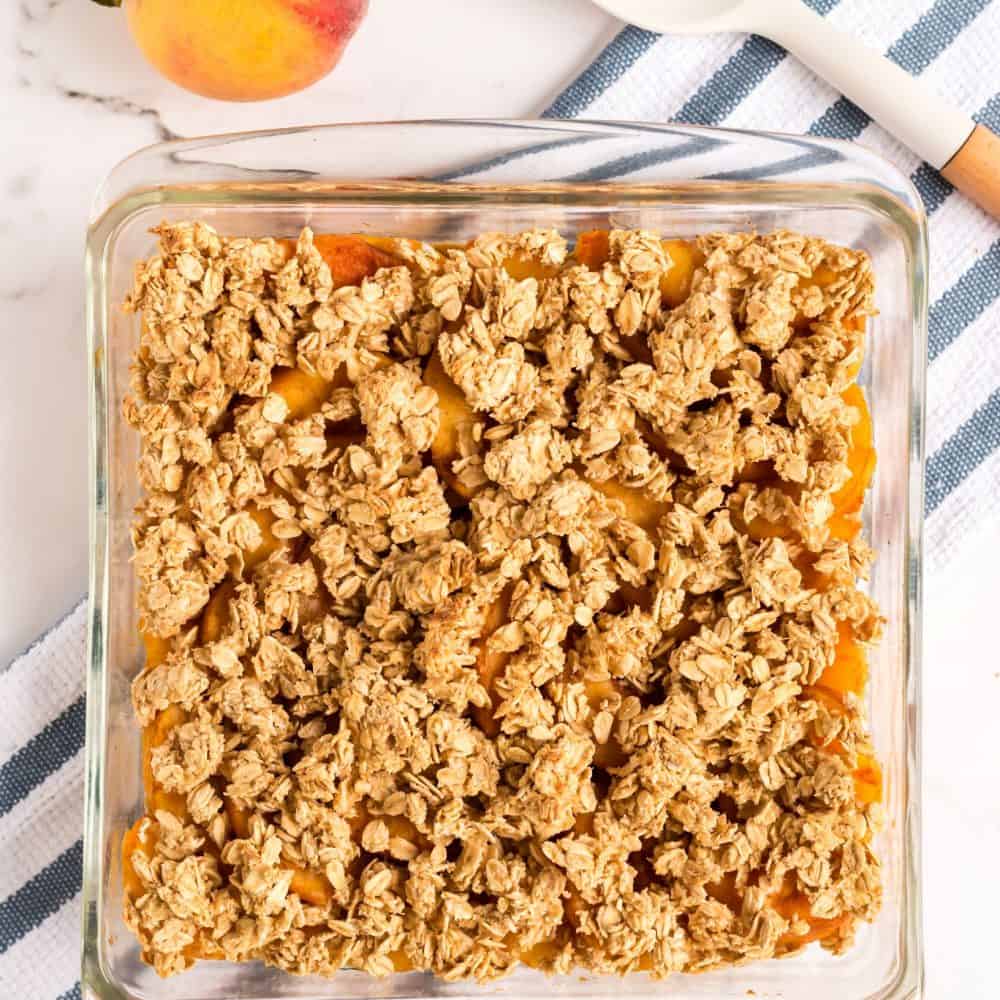
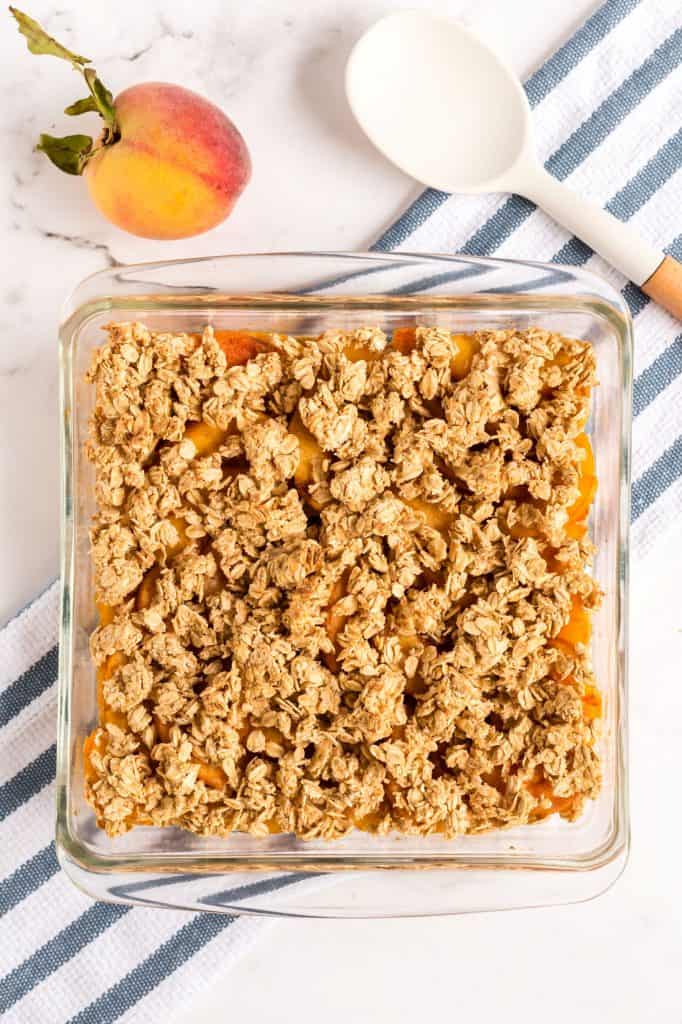
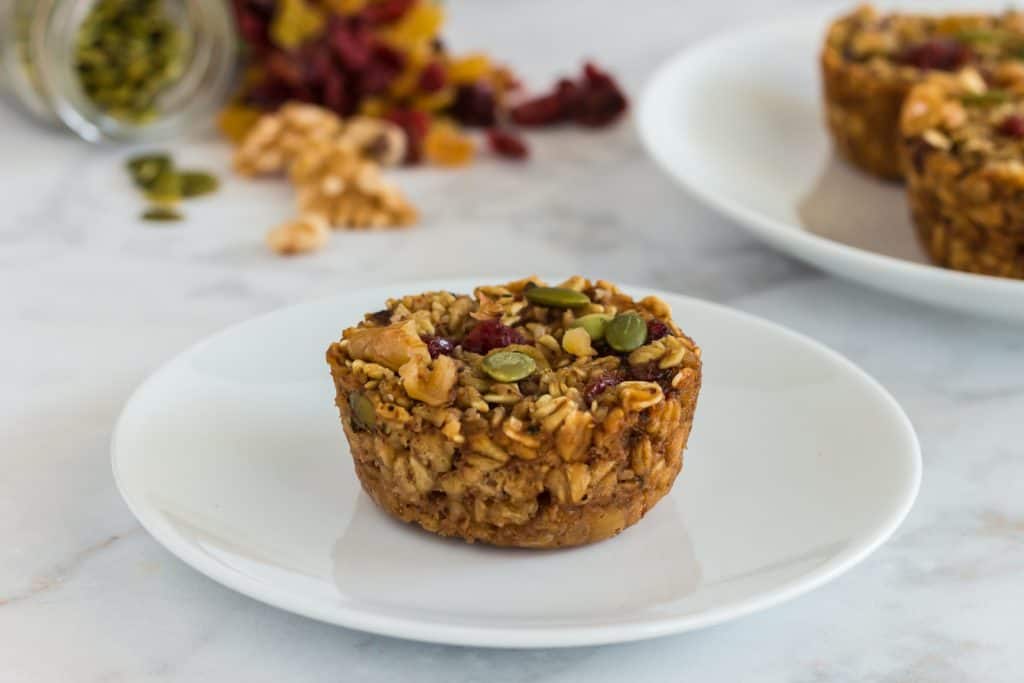
Fruit and Nut Oatmeal Cups

These plant-based Fruit and Nut Oatmeal Cups are not only delicious, they are also beautiful.
Ingredients
- 2 Tablespoons ground flax seed
- 6 Tablespoons water
- 3/4 cup applesauce
- 1 teaspoon vanilla
- 1/2 teaspoon salt
- 1/3 cup maple syrup
- 1 teaspoon pumpkin spice seasoning
- 1 teaspoon baking soda
- 1 cup dried fruit (I use a cranberry, golden raisin and cherry mix)
- 1/4 cup dried fruit (for topping)
- 2 Tablespoon raw pepitas (divided)
- 2 Tablespoon hemp seeds (divided)
- 1/4 cup chopped walnuts
- 2 1/2 cups rolled oats
- 1 1/2 cup plant-based milk (we use rice milk)
Instructions
- Make flax eggs by combining ground flax seed and water in a small bowl. Stir well then set aside.
- Preheat over to 350 degrees.
- In a big bowl, add applesauce, vanilla, salt, maple syrup, pumpkin spice seasoning together and stir well.
- Next, add baking soda, 1 cup of the dried fruit, have the hemp seeds and half the raw pepitas, and all the walnuts. Stir well.
- Add the oats, flax seed mixture, plant-based milk and stir well. I like to let this sit for 5-10 minutes so the oats absorb the liquid.
- Scoop the mixture into a muffin pan. My muffin pan is nonstick. I use a 1/4 cup measuring cup. The muffin cups will rise slightly. If things tend to stick in your pan, use a little cooking spray.
- Sprinkle the remaining dried fruit and seeds on top of the muffin cup. (If you forgot and added it all inside that is ok too. You can add a little more on top if you want).
- Bake for 20-25 minutes. The oatmeal cups will be golden brown.
Notes
Store muffin cups in the refrigerator in an air tight container for about a week.
Recommended Products
As an Amazon Associate and member of other affiliate programs, I earn from qualifying purchases.


Substitutions
This versatile recipe works with a lot of substitutions.
- If you don’t have applesauce you can used mashed bananas. See more tips here.
- Can’t have nuts, you can skip them all together.
- Can’t have seeds? The flax seeds work as a binder so you could try an egg replacer. I think it would work fine if you skipped it.
- Can’t have oats? We are working on some variations using other grains because my husband can’t have oats.
- Don’t have this dried fruit mix? You can use other dried fruit like raisins or dried cherries. I haven’t tried dried tropical fruit yet.
- No maple syrup? You can use another sweetener like date paste or agave. You could also use sugar.
- Want to use less sweetener? Go for it. The applesauce and dried fruit provide some sweetener already.
Our family LOVES this oatmeal cups recipe! If you make these I’d love to hear what you think!