• Skip to primary navigation
  • Skip to main content
  • Skip to primary sidebar
  • Skip to footer

My Plant-Based Family

Eating Whole Food, Plant-Based Diet recipes, On a Budget.

  • Plant-Based Recipes
    • Breakfast
    • Main Dish
    • Instant Pot
    • Daniel Fast Recipes
    • Side Dishes
    • Bread and Muffins
    • Salad and Wraps
    • Soup, Stews, and Chili
    • Sauces, Dips, and Salad Dressings
    • Desserts
    • Crock Pot
    • Mexican Food
  • Videos
  • Resources
    • Getting Started
    • Books
      • The Plant-Based Diet Starter Guide
      • The Plant-Based Holiday Meal Plan & Cookbook
  • Meal Plans
    • Meal Plans 2020
    • Meal Plans 2019
    • Meal Plans 2017
    • Meal Plans 2016
    • Meal Plans 2015
    • Meal Plans 2014
    • Meal Plans 2013
  • About Us
    • Our Family
    • Contact Me
    • Our Food Philosophy
    • Disclosure Policy
      • Privacy Policy
  • Daniel Fast Recipes

Preserving

Intro to Canning and Sweet Canned Blackberries

August 28, 2014 by Holly Yzquierdo 4 Comments

I’m excited today to present a very special guest post from Sarah at Gazing In and Trail Cooking. As you can see she is multi-talented. She also has a ton of delicious allergy-friendly recipes.

Sarah and I became blog buddies years ago. We both strive for a mostly plant-based diet and generally cook the same kids of foods. One of our differences is that Sarah is great at preserving food. If you have questions about canning or dehydrating you’ll need to ask her because I know nothing.

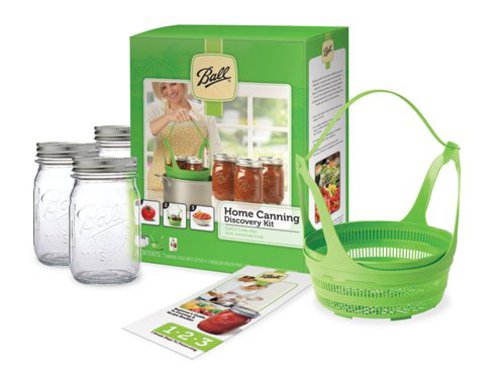
I am thrilled she agreed to share today and give us an intro to canning along with a recipe for Canned Blackberries. Please welcome Sarah!


Tucked away into a low shelf in many grocery stores are cans of berries. Many people never notice them, and even if they did, would they buy them? They are usually very expensive for a small can, that only has a few berries in it. And are packed in a heavy syrup, which simply means a heavier amount of sugar. The berries become too sweet.
Have a bumper crop of berries given to you by Mother Nature? Ever thought of preserving them for winter? By canning them in a simple syrup, you can drain them later and make pies, cobblers and even mixed into yogurt. And you can control the amount of sugar used. PS: Once you get confident in canning, you can pack these berries in hot apple juice even!
Canning need not be time consuming, nor scary. A few simple tools and you can be making small batches of goodies in your kitchen – that you can enjoy ALL year long. Canning is renewable, resourceful and after a few visits to the water bath, more than pays for itself. A simple kit, such as the Ball® Home Canning Discovery Kit, will get you going:
Home Canning Kit
Add in a Ball Canning Utensil Kit:
Canning Utensil Kit
And a few kitchen towels and canning jars, and you are all set. You don’t even need a dedicated water bath canning pot – and large pot will work. If you do decided you love canning, you needn’t spend a lot. A Granite Ware Covered Preserving Canner is all you will need. (Made in the USA as well!)
Canner
Just buy quality upfront. Don’t try to save money with off brand jar – buy Ball or Kerr, they are made in the USA. Same with the lids – only buy them. They are BPA free, made in the USA. Off brands are made in China, so you get what you pay for. I see mason jars as an investment. I often give jars away, but mention this “What is the first rule of the Mason Jar Club? You return the jar and band, and you might get refills” 😉 Funny is, I said that to a guy recently and he was “Oh…that is why people quit giving me stuff”. Hahaha!
Canned Blackberries
Cold Pack Sweet Canned Blackberries
Ingredients:
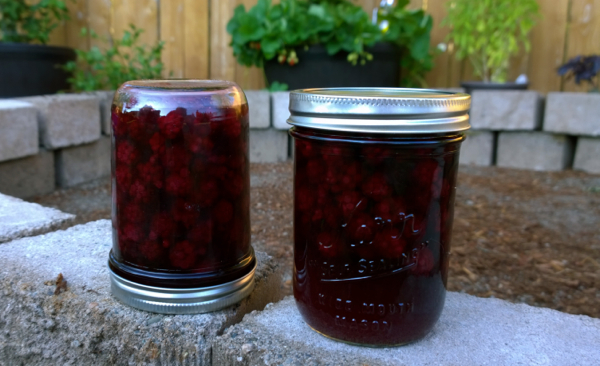
  •  Blackberries, washed and drained (see below for how many)
  • 2 cups granulated sugar
  • ¼ cup brown sugar, packed
  • 5¼ cups water
Directions:
Wash canning jars, with bands and new lids, in hot, soapy water. Rinse well, and drain on a clean kitchen towel. Bring a large pot of water to boil, take off stove, add in clean jars and bands, and keep covered.
Fill canning pot or large stockpot halfway with water, bring to a near boil, then let simmer.
Make syrup by combining sugars and water, bring to a boil, either use immediately or keep warm.
Drain jars using tongs, place on a clean kitchen towel. Ladle ¼ cup hot syrup into the bars, using a sterilized canning funnel. Pack in 1 cup blackberries, gently tap on counter. Add more berries. Pour hot syrup over the top, then run a sterilized chopstick (or a plastic air bubble remover) around the inside of the jar. Top off with more syrup if needed. Leave a ¼” headspace.
Dip a clean paper towel in hot water, then run around the top of each jar. Place a lid on each jar, then a band, screw on finger tight.
Turn canner up to high, place jars in water bath rack, lower rack into water. Water should cover by 1 – 2″, if not add a bit more from the other pot that held the jars. Bring to a rolling boil, covered, process pint jars for 15 minutes, quart jars for 20 minutes. Turn off the heat, carefully remove jars, placing on a clean dry kitchen towel to cool.
Once cooled, check again that seals are down (you should hear the Ping! as each one seals). Gently remove bands (wash, dry and store for your next project. While they look nicer on, if they have water inside from processing, they can rust. If you are giving away your canned items, you can always slip one back on), note on jar or lid what is in jar with a date. Store in a dry/cool/dark area and use within a year.
As always, if you ever go to use a canned item and the lid is not sealed anymore, or bulging, discard the contents immediately!!!!!! (I have only ever lost one jar in all my canning, so don’t fret!) As long as you sterilize the jar, it is fine to reuse later.
Notes:
The syrup makes about 6½ cups, and is considered a “light syrup”. When canning fruit and berries, you will need 1 to 1½ cups of syrup per quart jar, or ½ to ¾ cup per pint jar. Always hedge on the higher amount being needed, and keep an extra jar or two ready to be used “just in case”. That said, you can expect 4 to 6 quart jars or 8 to 10 pint jars total. Now for the berries, I can fit 1 to 2 cups blackberries per pint, so aim to have 15 cups of berries at minimun. If you have extra berries, no loss, just toss them on a baking sheet and freeze, then transfer to a zip-top freezer bag. You can use frozen blackberries later on for eating, baking and even making jams & jellies.
Disclaimer:
While I can on a glass top stove, I cannot tell you that is a good choice. Many glass top stoves forbid canning in their warranties. This video from Fresh Preserving is helpful, and if you are out of warranty, well…you can be like me 😉

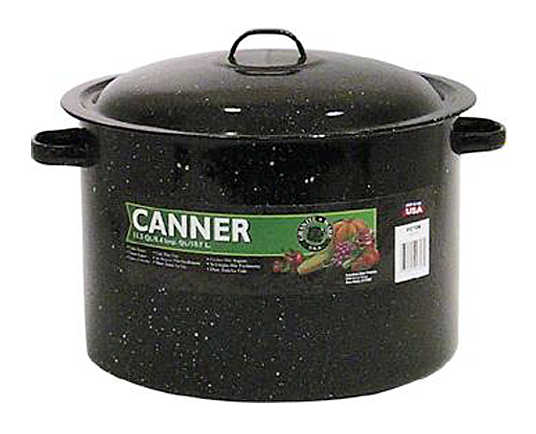
As you can see from this great guest post canning isn’t nearly as difficult as I though. It is also a lot less expensive than I thought it would be to get started. Don’t forget to stop by Gazing In and Trail Cooking for more great recipe ideas.

This page contains affiliate links. If you make a purchase using links on this page I may make a small percentage at no additional cost to you. 

Filed Under: How to Tagged With: Canning, gluten free, Guest Post, Plant Based Diet, Preserving

Primary Sidebar

Footer

Find it here!

Amazon Affiliate Disclosure

Holly Yzquierdo of My Plant-Based Family is a participant in the Amazon Services LLC Associates Program, an affiliate advertising program designed to provide a means for sites to earn advertising fees by advertising and linking to amazon.com.

Disclosures

Unauthorized use and/or duplication of any part of this website or content without express and written permission from Holly Yzquierdo is prohibited. Excerpts and links may be used, provided that full credit is given to Holly Yzquierdo and MyPlantBasedFamily.com with links to the original content.

More information on our Privacy Policy and other Disclosures are available.

Copyright © 2025 · Wellness Pro on Genesis Framework · WordPress · Log in