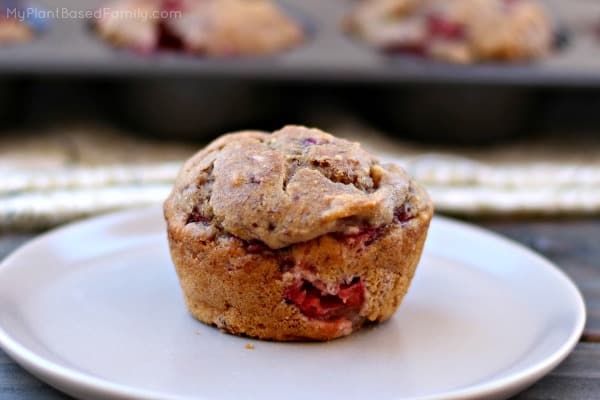
I want to eat a healthy breakfast but some days I don’t have the time to cook. Overnight Oats are a healthy option for busy mornings.
This page contains affiliate links.
You know I love my Instant Pot Oatmeal but Overnight Oats are even faster. Just spend a few minutes before bed and a few minutes in the morning for an easy breakfast.
I use old fashioned oats. Bob’s Red Mill oats is our brand of choice. But if you need gluten-free I recommend GF Harvest Oats! Their manufacturing process is as good as it gets for keep gluten out of the picture.
We use Rice Dream for most of our cooking. My kids love the vanilla but I prefer the regular unsweetened. I like that it’s shelf stable so I can keep a few in my pantry and not worry about running out without a backup. I have 3 cartons in my pantry right now!

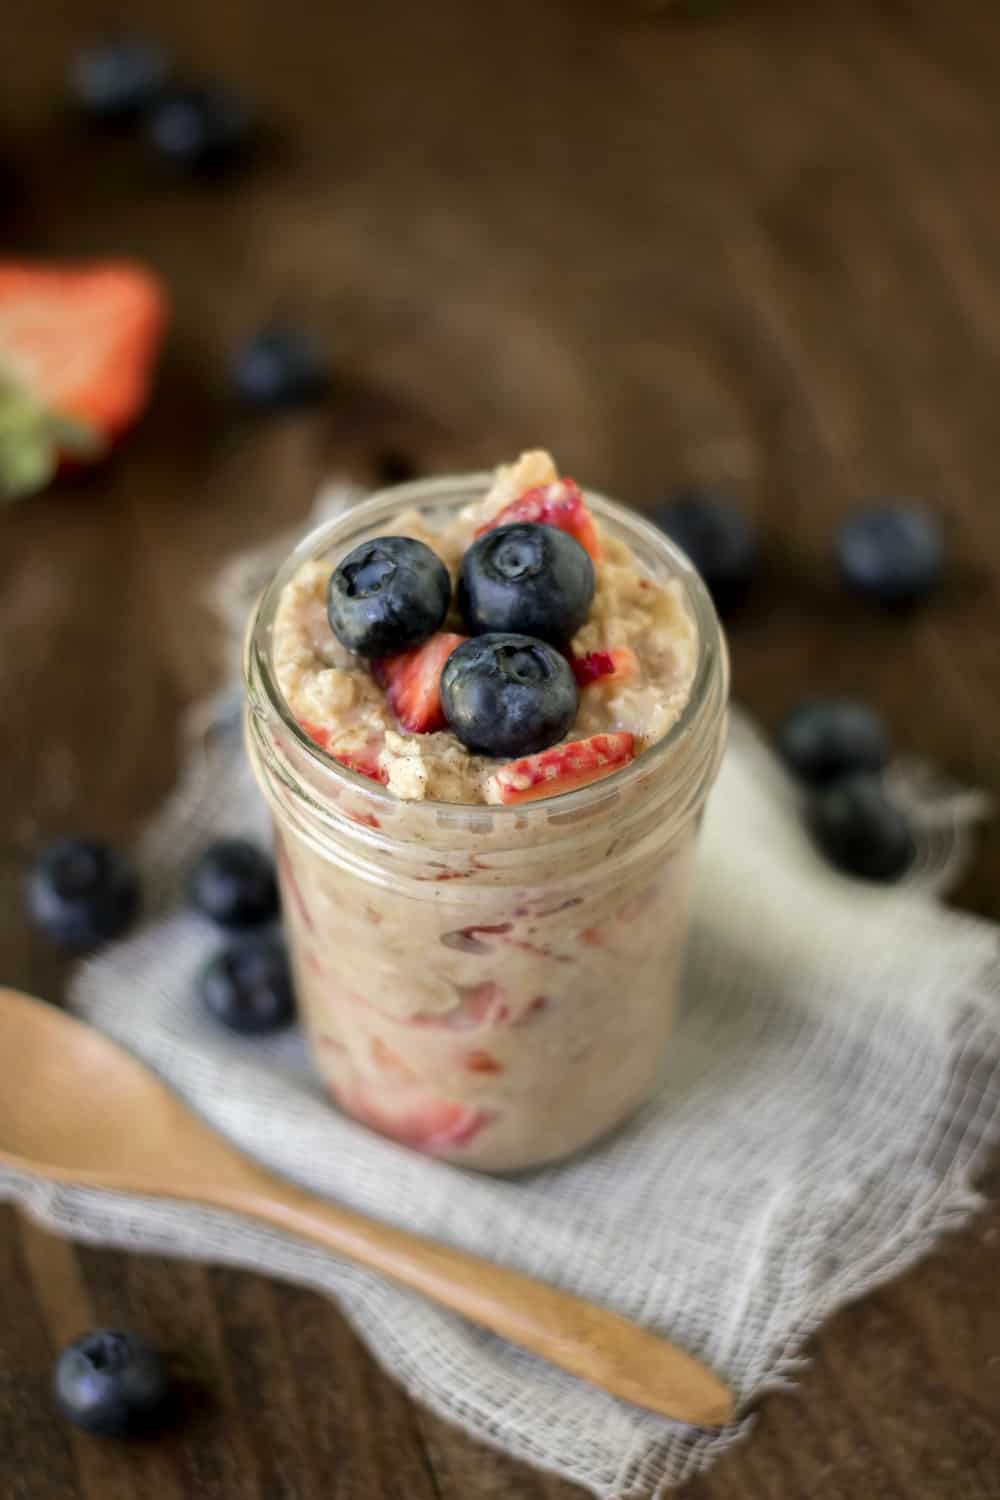
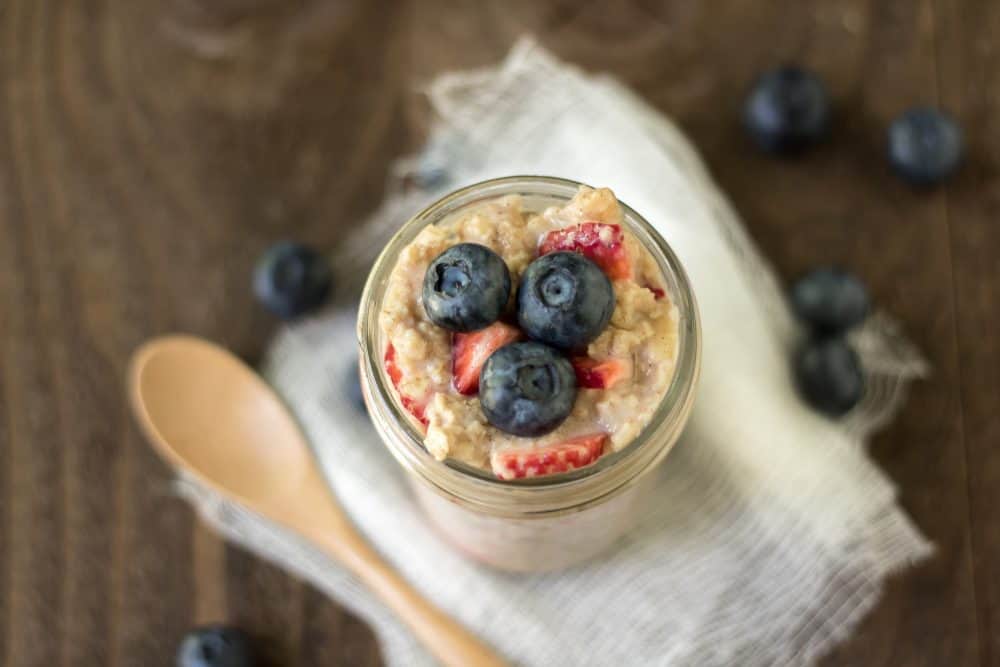
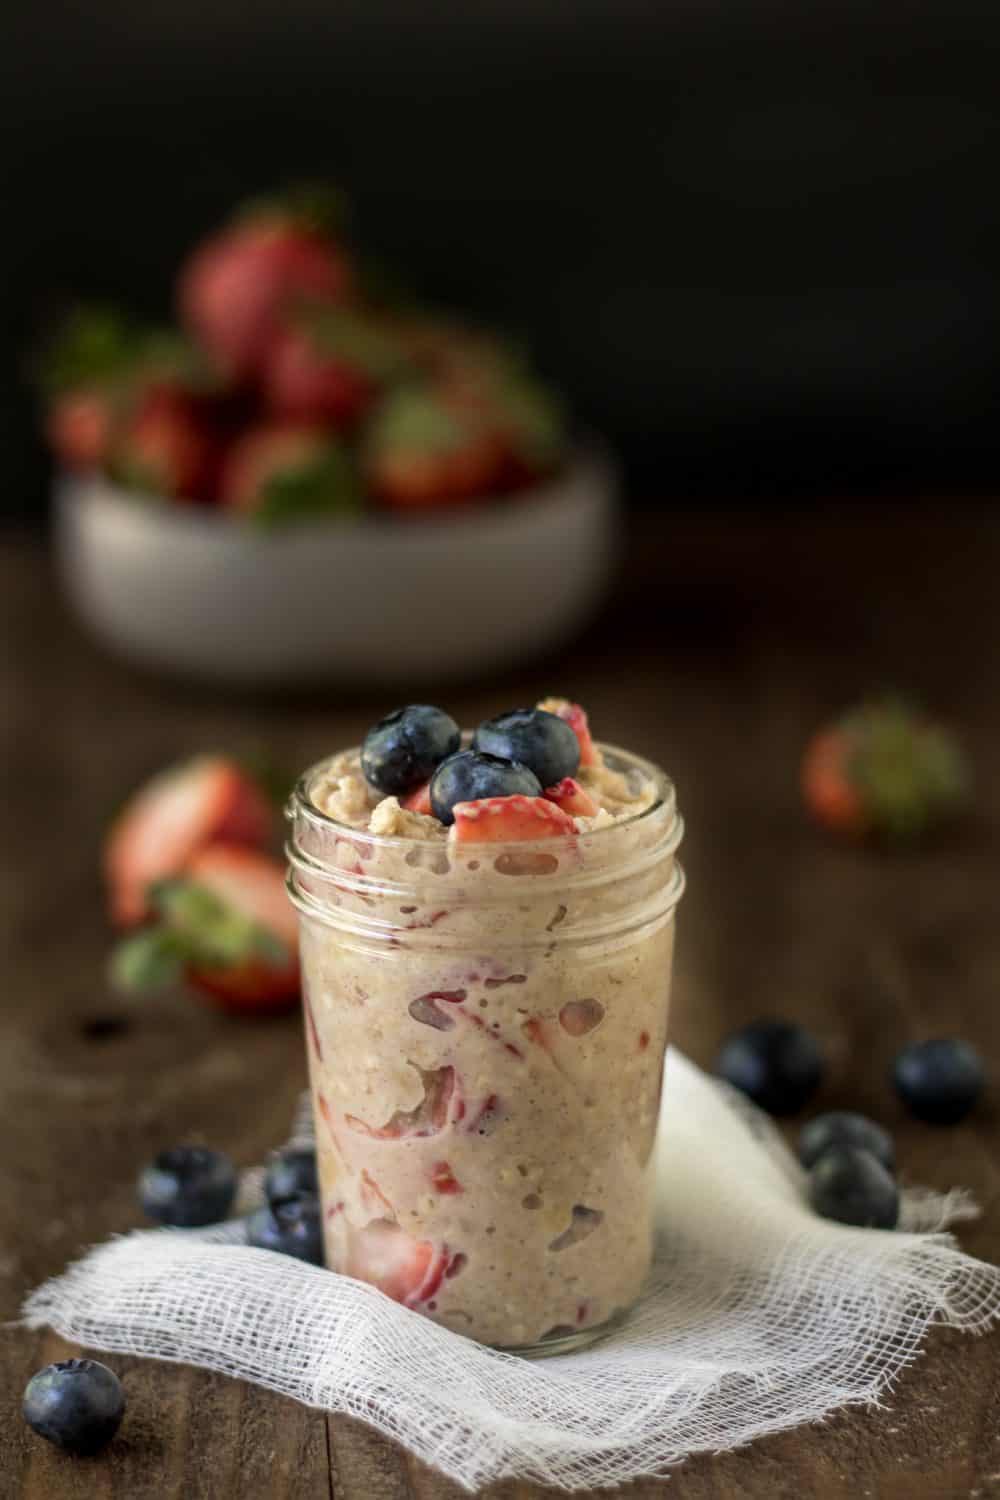
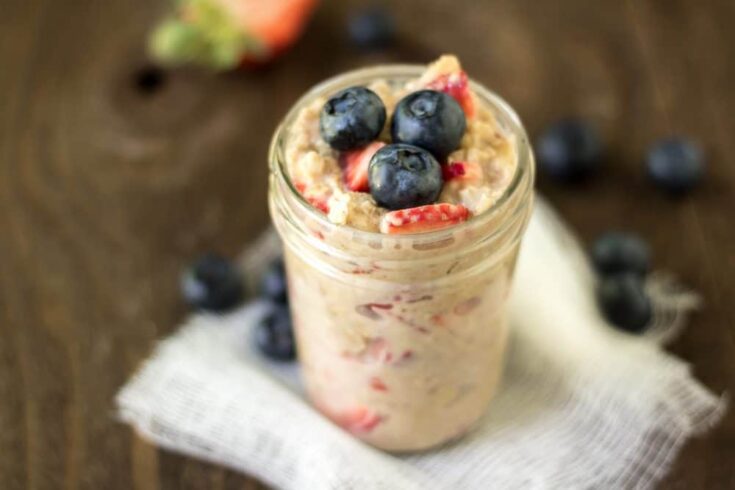
Overnight Oats
Overnight Oats are also perfect for travel! Just bring a bowl or jar with the oats pre-measured. Then pick up some plant milk and fruit at your destination. Easy peasy!
Ingredients
- ½ cup oats (I used old-fashioned oats)
- ½ cup plant milk
- ½ banana, diced very small
- ¼ cup chopped strawberries
- ¼ tsp cinnamon
- sweeten to taste with maple syrup
- blueberries
Instructions
- In a bowl, combine the oats, cinnamon, maple syrup and milk, mix until combined.
- Allow to sit in the fridge overnight.
- Dice the bananas and slice the strawberries.
- Mix the banana with the overnight oats, then add the strawberries and top with blueberries.
I love bananas and add them to almost all my overnight oats because they are so sweet. I’m really focused on cutting down my sugar intake. Bananas add the sweetness I want. Sometimes I’ll add a touch of maple syrup too.
If strawberries, bananas and blueberries aren’t your thing try raisins or peaches or diced apples.
Sometimes I’ll get a little “fancy” and add fresh ginger or hemp seeds. Really, you can add whatever you like. The fruit is completely optional.
For more information on oatmeal and to see my favorite oatmeal picks check out my Ultimate Oatmeal Guide.
Check out more delicious breakfast recipes on my Breakfast Page!
Overnight Oats
Plant-Based Overnight Oats are the perfect vegan breakfast for busy mornings.
Ingredients
- ½ cup oats (I used old-fashioned oats)
- ½ cup plant milk
- ½ banana, diced very small
- ¼ cup chopped strawberries
- ¼ tsp cinnamon
- sweeten to taste with maple syrup
- blueberries
Instructions
- In a bowl, combine the oats, cinnamon, maple syrup and milk, mix until combined.
- Allow to sit in the fridge overnight.
- Dice the bananas and slice the strawberries.
- Mix the banana with the overnight oats, then add the strawberries and top with blueberries.