Back when we did potlucks, a Taco Bar was always a favorite! It’s easy, everyone can make their own, and almost everyone loves tacos. A Plant-Based Taco Bar is also really versatile because all the ingredients can be mixed and matched! Tacos, burritos, taco salads, choose your own adventure.

Whether you are feeding a crowd (whenever we get to do that again) or your family, give the Taco Bar a try!
Keep in mind that you don’t have to make it super complicated. You don’t have to have all of these options or toppings. Just in case you need it, I’m giving you permission to simplify this and do the easiest version with ingredients you already have!

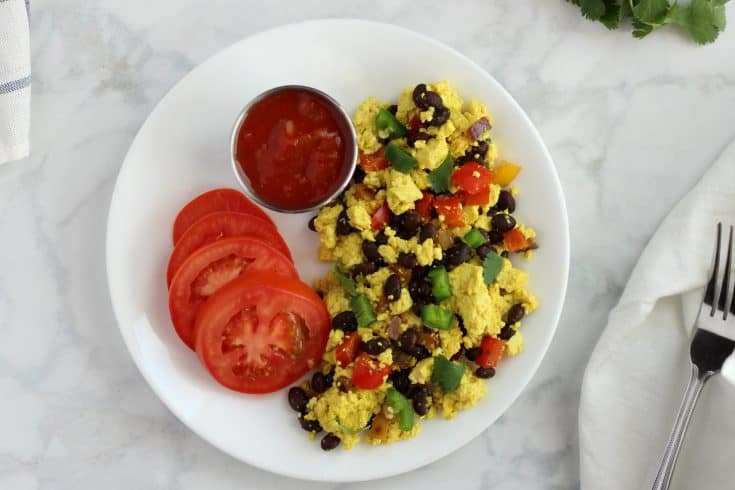
Vegan Taco Meat
We choose whole food versions of taco filling. My absolute favorite is my Instant Pot Lentil Taco filling. The stove top version is really good too!
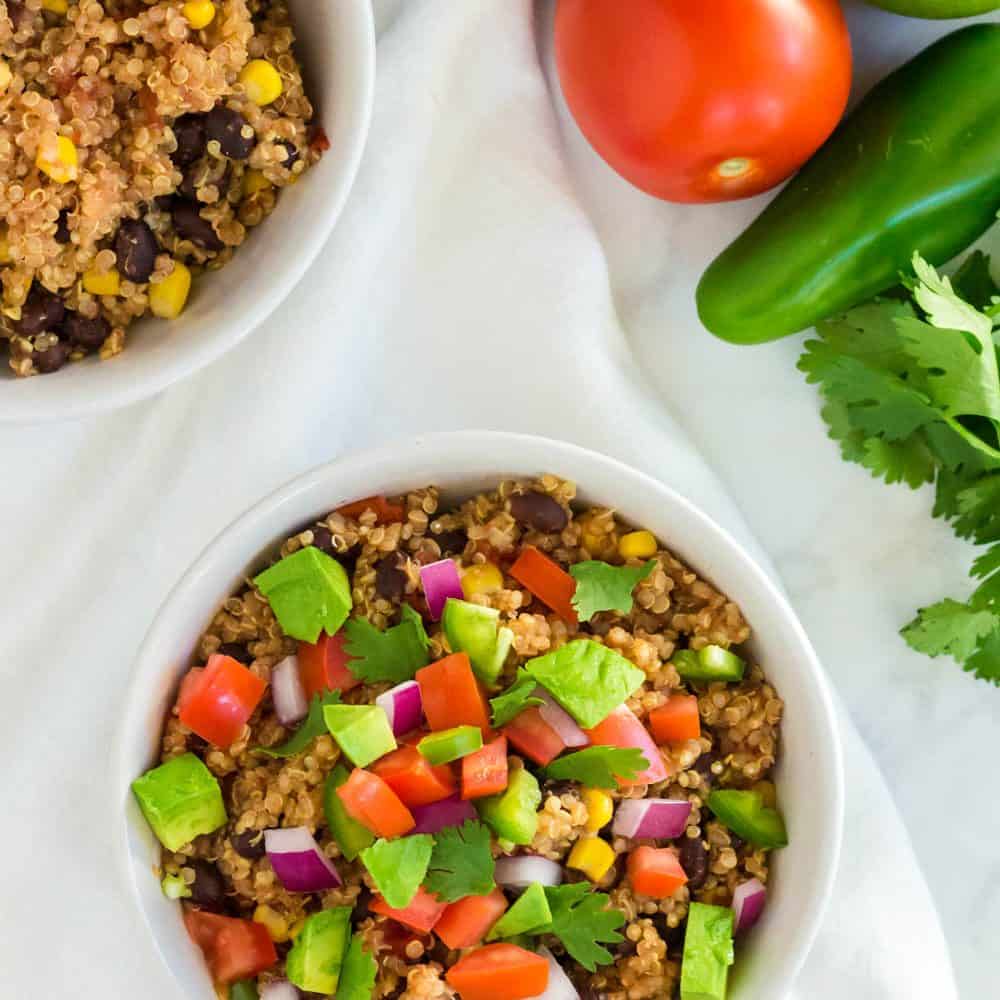
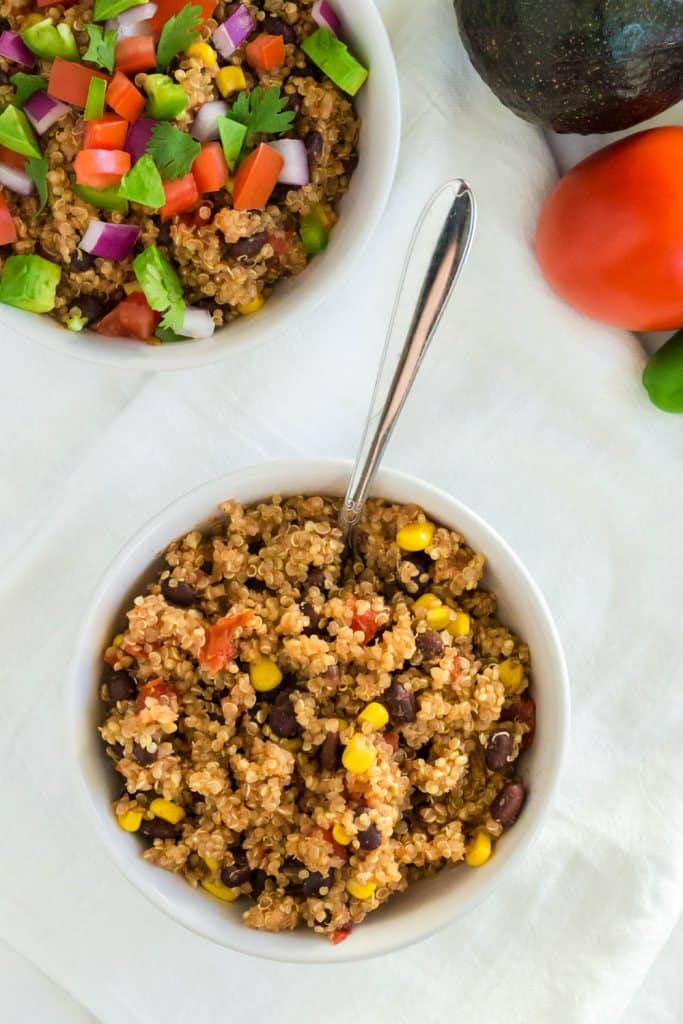
I also have a version that combines Quinoa and Lentils or a version with just quinoa.
Tortillas
Our tortilla choice varies but we usually have corn tortillas for the adults and flour tortillas for the kids. Sometimes we will use lettuce wraps or tortilla chips. We mix and match based on what we are in the mood for and what’s available.

Taco Toppings
This is where the fun begins. You can use whatever you like but my favorite taco toppings for a Taco Bar include:
- Lettuce
- Diced Tomatoes
- Sliced Jalapenos
- Corn
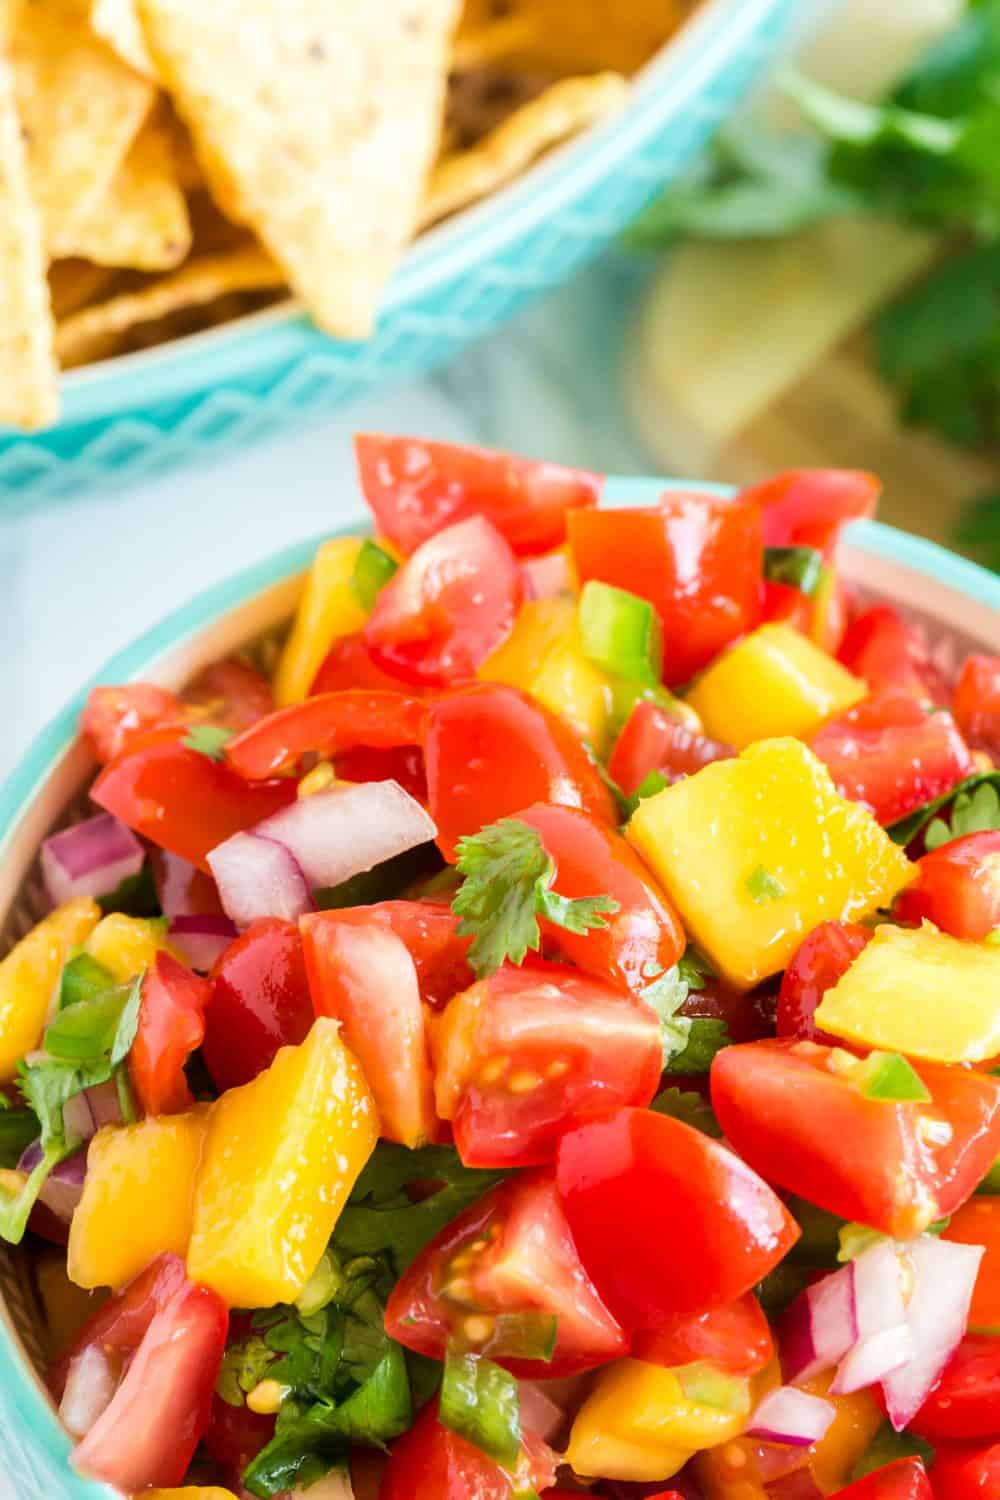
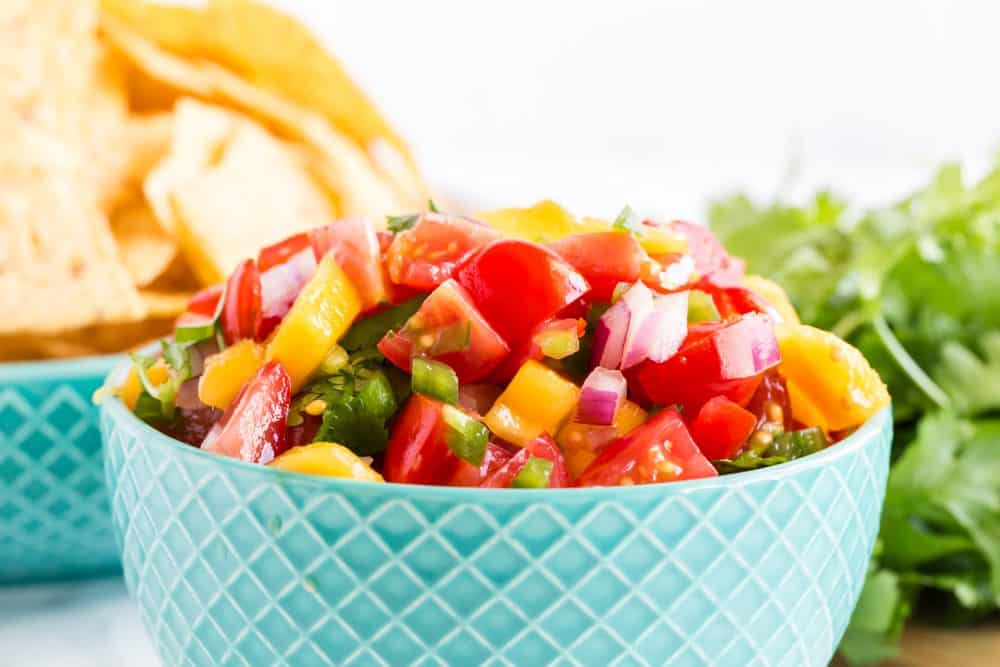
- Pico de Gallo
- Salsa (red and green)
- Avocado or Guacamole
- Black Beans (whole)
- Pinto Beans (whole)
- Cilantro
- Lime
Some people like pickled onions and dairy-free cheese but we aren’t into that. I have used vegan sour cream or vegan plain yogurt for a little extra tang!

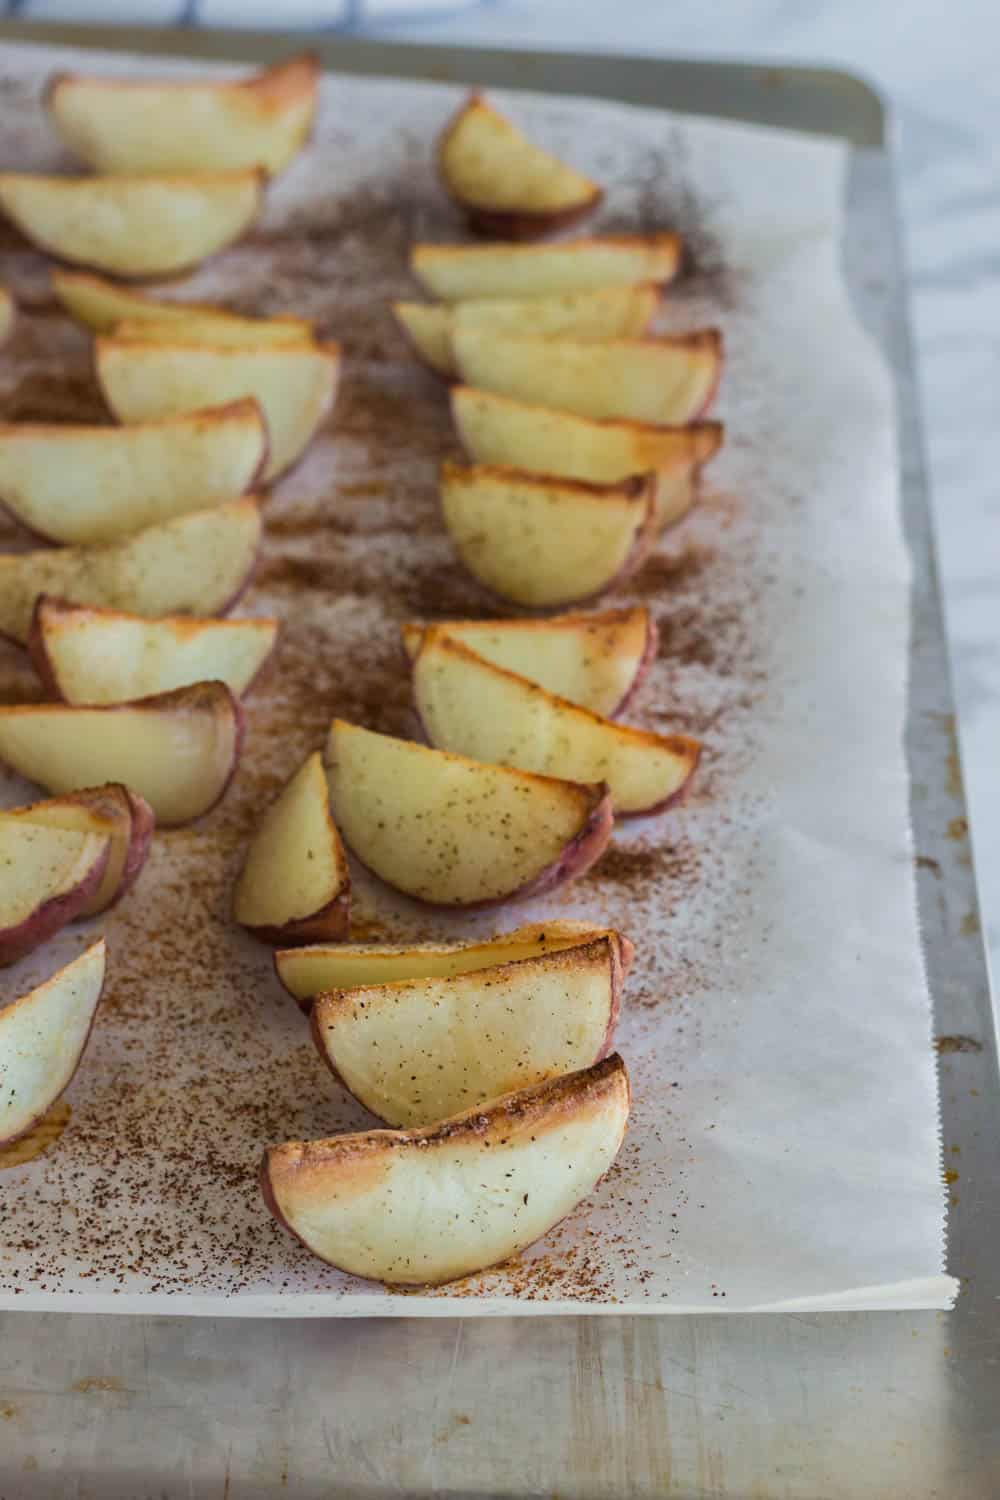
Side Dishes for a Taco Bar
I don’t think you really need side dishes when it comes to a taco bar but since I love these I’ll mention them. Plus, they go perfectly with tacos!
Mexican Rice is so easy to make. Cook it in the Instant Pot or stove top. Refried Beans are easy too, just a little time consuming to make from dry beans but don’t let that stop you. I actually prefer to follow this recipe for Instant Pot Refried Beans (oil-free of course)!
What are your must have Vegan Taco Bar options? I’d love to hear if you use the same basics or if you have other options we haven’t thought of!
By the way! I just started a Youtube Channel! I’d love it if you would subscribe! Just CLICK HERE to check it out!