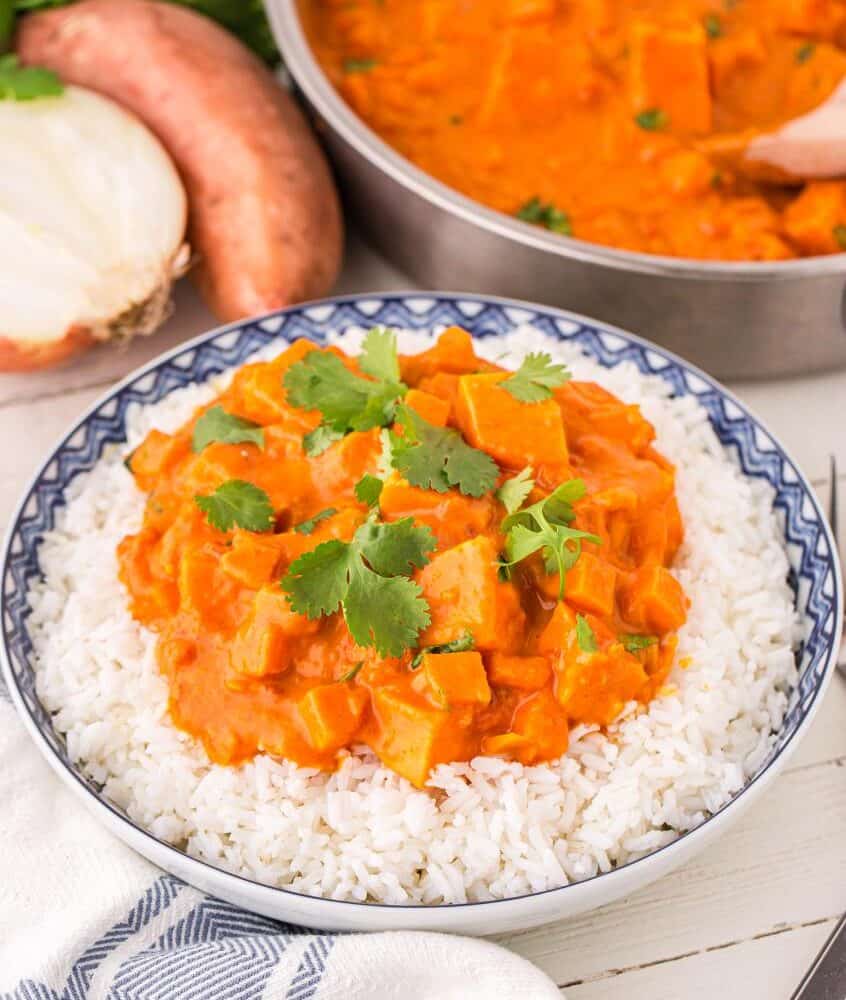
Savor this delicious Chana Masala of tender chickpeas in a rich, aromatic sauce of caramelized onions and garlic, bursting with warm spices. Topped with fresh cilantro and a squeeze of lemon, serve with a side of rice or naan bread. It is simple to make and so flavorful!

What is Chana Masala Made of?
Chana Masala is a chickpea based dish full of fragrance and flavors. It is cooked with garam masala in addition to a variety of spices typically found in Indian dishes. The meal is often served with white rice and can be spicy.

Are Garam Masala and Chana Masala the Same?
Garam masala is typically composed of a blend of warming spices commonly used in Indian cooking. Though exact recipes may differ, they usually include a combination of spices such as cumin, coriander, cardamom, cinnamon, cloves, and black pepper.

Depending on regional variations and personal preferences, other ingredients like nutmeg, bay leaves, or fennel seeds might also be included in some recipes. Garam masala is the spice mix used to make Chana Masala.

How to Make Chana Masala
Ingredients
- 1 large onion, finely chopped
- 2 tablespoons water
- 3 cloves garlic, minced
- 3/4 teaspoon cumin Powder
- 1-inch ginger, grated
- (4 oz can diced green chiles)
- 1 can of pureed tomatoes. (about 2 cups)
- 1/2 teaspoon turmeric powder
- 1 teaspoon coriander powder
- 1 teaspoon paprika
- ¼ – ½ teaspoon cayenne pepper (adjust to your taste)
- Salt to taste
- 2 cans (15 oz each) chickpeas, drained and rinsed
- 1 cup of vegetable broth
- 1 teaspoon garam masala
- Fresh cilantro for garnish
- Lemon wedges for serving
Instructions
Step 1 – Sauté
Heat pan over medium heat. Add chopped onions and sauté for approximately 10-12 minutes, stirring often until onions soften. If the onions begin to stick, add 2 tablespoons of water and stir gently. Keep an eye on them to prevent burning, adjusting the heat if necessary.

Step 2 – Cook Until Fragrant
Add minced garlic, cumin, grated ginger, and green chilies. Sauté for 1-2 minutes until fragrant.

Step 3 – Cook Flavors
Add pureed tomatoes, turmeric powder, coriander powder, paprika, cayenne pepper, and salt. Cook the mixture over medium heat for about 8-10 minutes, allowing the flavors to blend well and the sauce to thicken slightly. Stir occasionally to prevent sticking and ensure even cooking. Adjust the heat as needed to maintain a gentle simmer.

Step 4 – Add Chickpeas
Add drained chickpeas and vegetable broth, stir well to coat them in the masala, and cook for an additional 5-7 minutes.

Step 5 – Add Garam Masala
Add garam masala, stirring well to allow the flavors to meld then remove from heat.

Step 6 – Serve
Serve immediately with a garnish of fresh cilantro, a squeeze of fresh lemon juice, and a side of rice or naan. Enjoy!

Storage
Allow any leftovers to cool completely before transferring them into an airtight container. Then store in the refrigerator for up to three days. Reheat on the stovetop or in the microwave until hot.

Can I Freeze Chana Masala?
Yes, it freezes well. Store in a freezer-safe container for up to 2 months. Thaw in the refrigerator before reheating on the stove or in a microwave.

More Plant Based Dinner Ideas
If you like this recipe, you are sure to love these dinner recipes too:
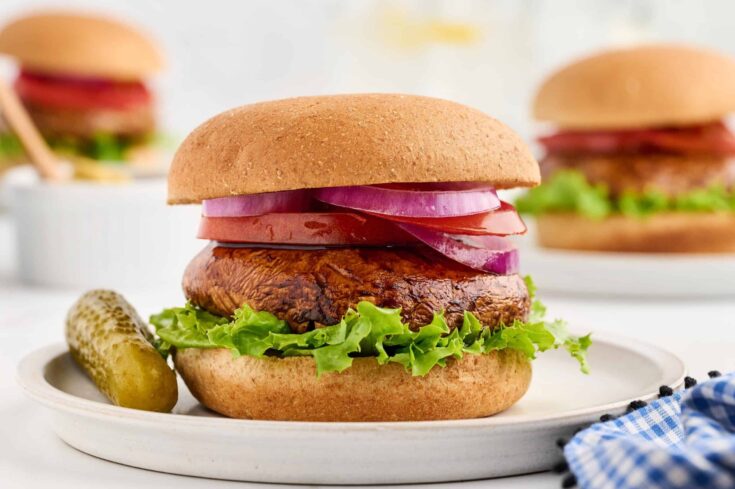
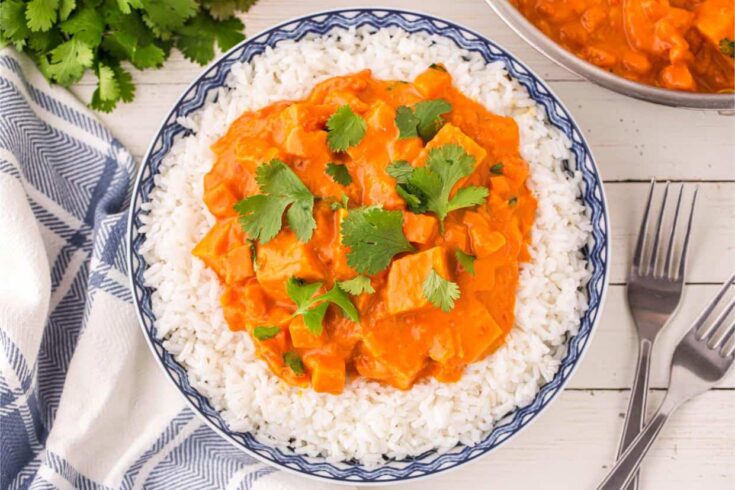
- Easy Vegan Sweet Potato Curry
- Sheet Pan Chickpea and Sweet Potato Tacos
- Flavor Packed Moroccan Chickpeas
- Bolognese Pasta with Lentils
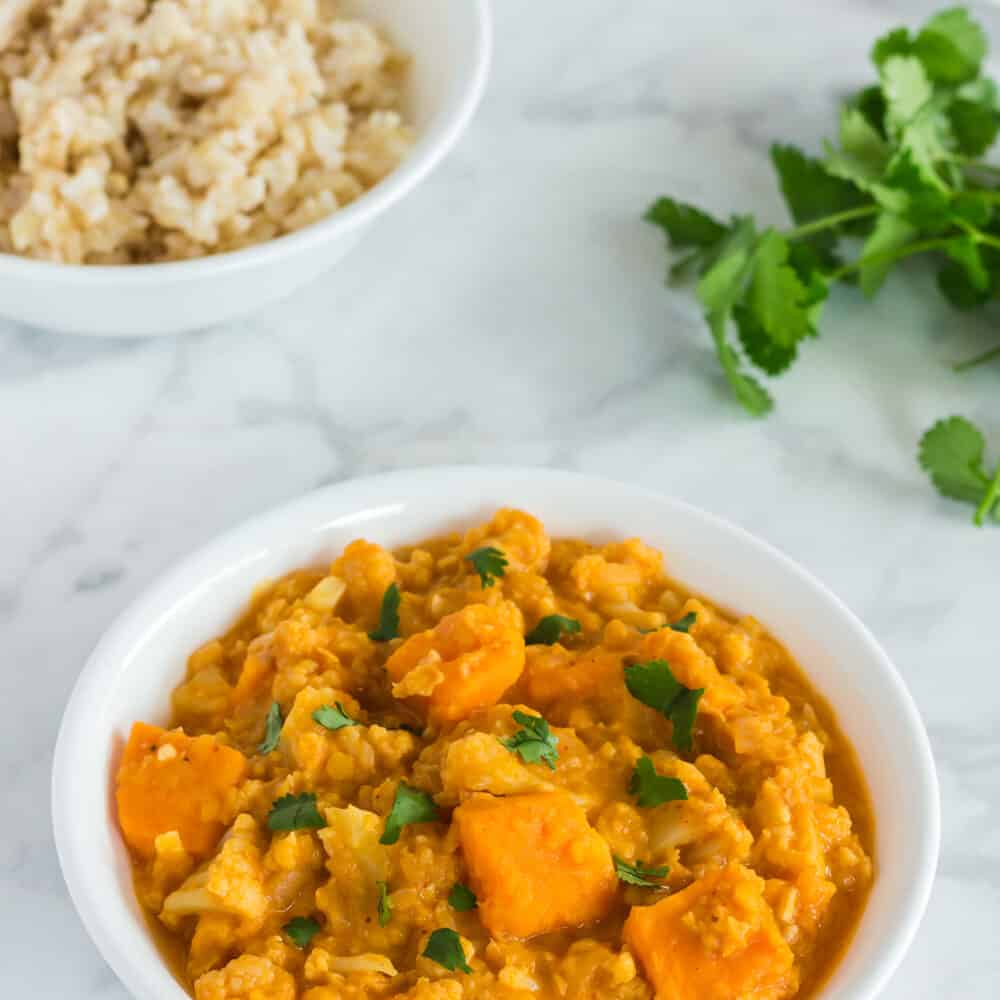
- Cauliflower and Sweet Potato Curry
Chana Masala

Savor this delicious Chana Masala of tender chickpeas in a rich, aromatic sauce of caramelized onions and garlic, bursting with warm spices. Topped with fresh cilantro and a squeeze of lemon, serve with a side of rice or naan bread.
Ingredients
- 1 large onion, finely chopped
- 2 tablespoons water
- 3 cloves garlic, minced
- 3/4 teaspoon cumin Powder
- 1-inch ginger, grated
- (4 oz can diced green chiles)
- 1 can of pureed tomatoes. (about 2 cups)
- 1/2 teaspoon turmeric powder
- 1 teaspoon coriander powder
- 1 teaspoon paprika
- ¼ - ½ teaspoon cayenne pepper (adjust to your taste)
- Salt to taste
- 2 cans (15 oz each) chickpeas, drained and rinsed
- 1 cup of vegetable broth
- 1 teaspoon garam masala
- Fresh cilantro for garnish
- Lemon wedges for serving
Instructions
- Heat pan over medium heat. Add chopped onions and sauté for approximately 10-12 minutes, stirring often until onions soften. If the onions begin to stick, add 2 tablespoons of water and stir gently. Keep an eye on them to prevent burning, adjusting the heat if necessary.
- Add minced garlic, cumin, grated ginger, and green chilies. Sauté for 1-2 minutes until fragrant.
- Add pureed tomatoes, turmeric powder, coriander powder, paprika, cayenne pepper, and salt. Cook the mixture over medium heat for about 8-10 minutes, allowing the flavors to blend well and the sauce to thicken slightly. Stir occasionally to prevent sticking and ensure even cooking. Adjust the heat as needed to maintain a gentle simmer.
- Add drained chickpeas and vegetable broth, stir well to coat them in the masala, and cook for an additional 5-7 minutes.
- Add garam masala, stirring well to allow the flavors to meld then remove from heat.
- Serve immediately with a garnish of fresh cilantro, a squeeze of fresh lemon juice, and a side of rice or naan. Enjoy!
Notes
- Allow the Chana Masala to cool completely before transferring it to an airtight container.
- Store in the refrigerator for up to 2-3 days.
- Reheat on the stovetop or in the microwave until hot.
- Adjust the amount of cayenne pepper and green chilies according to your preference.
Recommended Products
As an Amazon Associate and member of other affiliate programs, I earn from qualifying purchases.


Stay up to date on my newest recipes by subscribing to my weekly newsletter!