Queso is a beloved dip known for its creamy texture and rich, cheesy flavor, often enjoyed with tortilla chips, tacos, and other Tex-Mex favorites. But for those who follow a plant-based lifestyle, finding a delicious, dairy-free alternative can be a challenge. Enter cashew queso—an irresistibly creamy, completely plant-based alternative that delivers all the indulgence of traditional queso without any dairy.

What Is Cashew Queso?
Cashew queso is a dairy-free, cheese-like dip made from blended cashews, seasonings, and other plant-based ingredients. It mimics the rich, smooth texture and tangy, savory flavor of traditional queso, making it a versatile and satisfying alternative. Unlike store-bought vegan cheese products, which often contain processed ingredients, it is typically made with whole-food components, making it a healthier and more natural option.
How to Enjoy Cashew Queso
As a Dip
The classic way to enjoy cashew queso is as a dip for tortilla chips, crackers, or raw veggies like carrots, celery, and bell peppers. Its creamy texture and bold flavor make it an instant crowd-pleaser at gatherings or movie nights.
Drizzled Over Tacos & Burritos
Take your tacos and burritos to the next level by drizzling cashew queso over the top. It adds a rich, cheesy element that pairs perfectly with plant-based fillings like black beans, lentils, roasted vegetables, and avocado.
Poured Over Nachos
Upgrade your nachos by smothering them in warm cashew queso. Layer tortilla chips with beans, salsa, jalapeños, and guacamole for a fully loaded, dairy-free snack or meal.
Mixed into Pasta
Cashew queso can double as a creamy pasta sauce! Simply mix it with cooked pasta for a quick and delicious plant-based mac and cheese alternative.
As a Topping for Roasted Vegetables
Drizzle cashew queso over roasted broccoli, cauliflower, or Brussels sprouts to add a burst of flavor and a creamy texture to your veggies.
Spread on Sandwiches & Burgers
Use cashew queso as a spread for plant-based sandwiches, wraps, or veggie burgers for an extra layer of savory goodness.

Customizing Your Cashew Queso
One of the best things about cashew queso is how easily it can be customized to suit your taste preferences. Here are a few ways to change it up:
Adjust the Spice Level
If you love heat, add diced jalapeños, cayenne pepper, or chipotle powder for a spicy kick. Prefer a milder version? Stick with smoked paprika and a pinch of black pepper.
Make It Smokier
For a deeper, smoky flavor, add a little liquid smoke or extra smoked paprika.
Boost the Umami
A splash of tamari, soy sauce, or miso paste can enhance the umami flavor, making the queso even more savory and rich.
Add a Veggie Base
Blend in cooked butternut squash, sweet potatoes, or roasted red peppers for an extra layer of flavor and nutrients.
Thicken or Thin It Out
For a thicker queso, reduce the liquid and blend until creamy. If you prefer a thinner consistency for drizzling, add a little extra plant-based milk or water until you reach the desired texture.

How to Make Cashew Queso
Ingredients
- 1 cup Cashews (150 grams)
- Nutritional Yeast ½ cup (42 grams)
- 1/2 cup Vegetable broth (260 grams)
- 2 Tbsp Hot Sauce (I used Chollulas)
- ½ teaspoon Cumin
- 1 teaspoon Garlic powder
- 1 teaspoon Onion Powder
- ½ teaspoon of salt

Instructions
Step 1 – Soak Cashews
Boil water and pour over the cashews until completely covered. Let soak for 15-20 minutes.
Step 2 – Process
Once your cashews have soaked, drain out the water and pour your cashews into a food processor.
Step 3 – Add Remaining Ingredients
Add the rest of your ingredients to your food processor.

Step 4 – Blend
Blend on high until completely smooth.
Step 5 – Serve
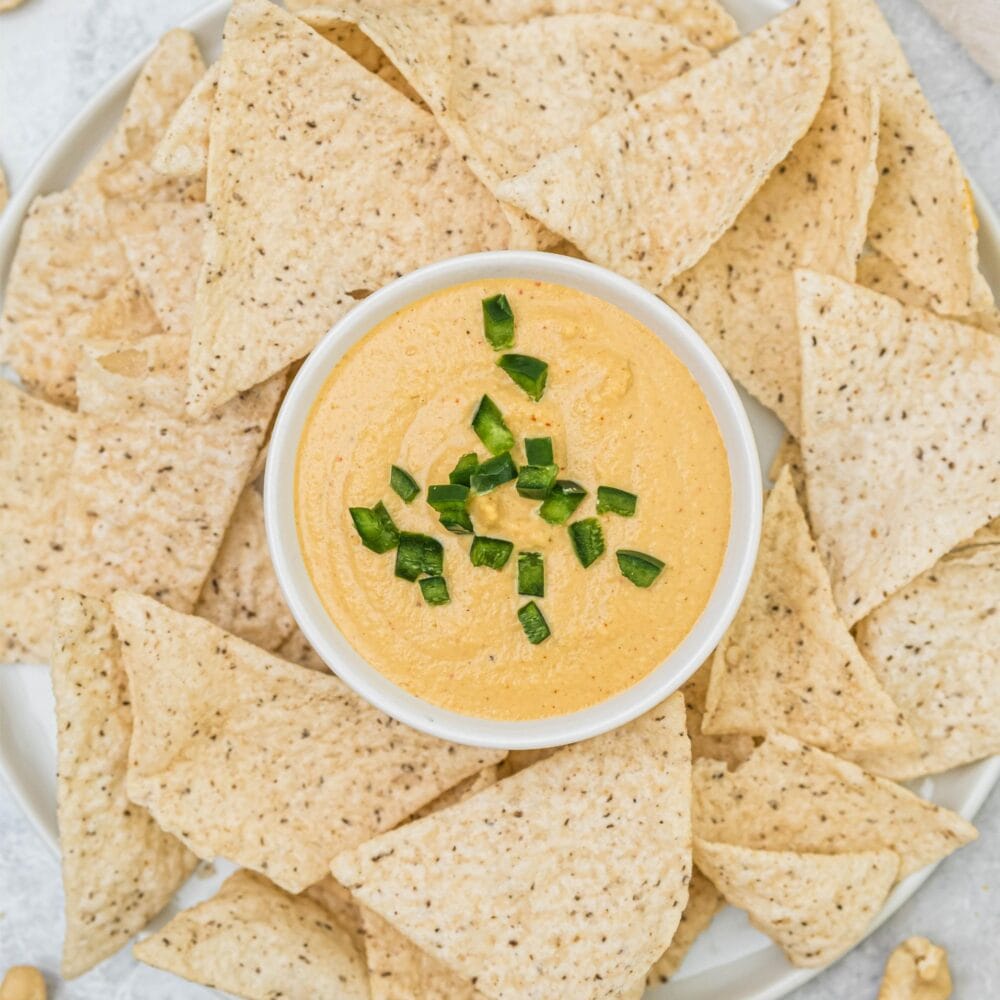
Serve immediately with chips. You can top the dip with more hot sauce, chili peppers, or salsa.

Storing and Reheating
Cashew queso stores well, making it a great option for meal prep. Here’s how to keep it fresh:
- Refrigeration – Store in an airtight container in the fridge for up to a week.
- Freezing – For longer storage, freeze in small portions and thaw as needed.
- Reheating – Warm gently on the stovetop or in the microwave, adding a splash of water or plant-based milk to maintain a smooth consistency.
More Plant Based Dips
If you like this recipe, you’ll love these plant based dips too:
- Homemade Ketchup: No Sugar Added
- Spicy Vegan Ranch Dressing
- Oil-Free Hummus
- Vegan Spinach Artichoke Dip
- Homemade Vegan Ranch
Cashew Queso

Creamy, flavorful, and completely dairy-free, cashew queso is the perfect plant-based dip! Enjoy this rich, cheesy alternative with chips, veggies, or tacos.
Ingredients
- 1 cup Cashews (150 grams)
- Nutritional Yeast ½ cup (42 grams)
- 1/2 cup Vegetable broth (260 grams)
- 2 Tbsp Hot Sauce (I used Chollulas)
- ½ teaspoon Cumin
- 1 teaspoon Garlic powder
- 1 teaspoon Onion Powder
- ½ teaspoon of salt
Instructions
- Boil water and pour over the cashews until completely covered. Let soak for 15-20 minutes.
- Once your cashews have soaked, drain out the water and pour your cashews into a food processor.
- Add the rest of your ingredients to your food processor.
- Blend on high until completely smooth.
- Serve immediately with chips. You can top the dip with more hot sauce, chili peppers, or salsa.
Notes
Store in the fridge in an air-tight container.


