• Skip to primary navigation
  • Skip to main content
  • Skip to primary sidebar
  • Skip to footer

My Plant-Based Family

Eating Whole Food, Plant-Based Diet recipes, On a Budget.

  • Plant-Based Recipes
    • Breakfast
    • Main Dish
    • Instant Pot
    • Daniel Fast Recipes
    • Side Dishes
    • Bread and Muffins
    • Salad and Wraps
    • Soup, Stews, and Chili
    • Sauces, Dips, and Salad Dressings
    • Desserts
    • Crock Pot
    • Mexican Food
  • Videos
  • Resources
    • Getting Started
    • Books
      • The Plant-Based Diet Starter Guide
      • The Plant-Based Holiday Meal Plan & Cookbook
  • Meal Plans
    • Meal Plans 2020
    • Meal Plans 2019
    • Meal Plans 2017
    • Meal Plans 2016
    • Meal Plans 2015
    • Meal Plans 2014
    • Meal Plans 2013
  • About Us
    • Our Family
    • Contact Me
    • Our Food Philosophy
    • Disclosure Policy
      • Privacy Policy
  • Daniel Fast Recipes

Dessert

Allergy-Friendly SunButter Cookies

August 27, 2014 by Holly Yzquierdo 5 Comments

SunButter Cookies that are Vegan, Dairy-Free, Gluten-Free, nut-free

It’s been a really long time since I’ve shared a dessert with you. I don’t make dessert often. With my little guys food allergies I have to use specialty ingredients. Thankfully they are becoming more mainstream and I can find SunButter at most grocery stores.

I first made these allergy-friendly SunButter Cookies last year. It’s taken me a long time to share them but I hope the wait is worth it.

SunButter Cookies that are Vegan, Dairy-Free, Gluten-Free, nut-free

I still prefer to buy most of my “special” items on Amazon. I have an Amazon Prime membership so they are delivered to my door so I don’t have to take the kids in the store. Win-Win. I’ll share links to the products I buy if you are curious. I buy them in bulk but you can purchase smaller amounts.

SunButter Cookies that are Vegan, Dairy-Free, Gluten-Free, nut-free

Sunbutter Cookies

Ingredients

  • 1/4 cup unsweetened applesauce
  • 1/2 cup SunButter
  • 1/2 cup Sugar
  • 1/2 tsp vanilla
  • 1/4 cup warm water + 1 Tbsp Chia Seeds
  • 1/4 tsp salt
  • 1/4 tsp baking soda
  • 1/4 cup Rice Flour Brown
  • 1/4 cup Sorghum Flour
  • 1/4 cup Tapioca Flour
  • 1/2 tsp Xanthan Gum
  • additional sugar for dipping

Do

  1. Preheat oven to 350° and line a baking sheet with parchment paper or use a Silpat Non-Stick Baking Mat.
  2. “Cream” first four ingredients together in a medium bowl.
  3. In a separate bowl (I use my measuring cup) mix warm water and chia seeds together. Allow them to sit for a few minutes while you prepare the rest of the ingredients.
  4. In a large bowl mix the remaining dry ingredients together.
  5. Dump all of the wet ingredients into the large bowl with the dry ingredients and mix well.
  6. Use your hands to scoop out ping-pong sized cookies and roll them into balls. Roll them in sugar. Use wet hands to keep the dough from sticking to your hands.
  7. Flatten them onto the prepared cookie sheet.
  8. Bake for 12 minutes. Allow to cool before eating.

Serve

This recipe makes about 12 cookies. They will be soft in the middle but firm on the edges, the best of both worlds. They are great for lunch boxes too!

For a little change try adding a 1/2 cup Enjoy Life Semi-Sweet Chocolate Chips.

SunButter Cookies that are Vegan, Dairy-Free, Gluten-Free, nut-free

Substitutions:

I haven’t made this with peanut butter or other nut butters but if you do please let me know how they turn out. You could use a Gluten and Wheat Free Baking Mix instead of using the flours mentioned above. Be sure to read the labels to check for allergens.

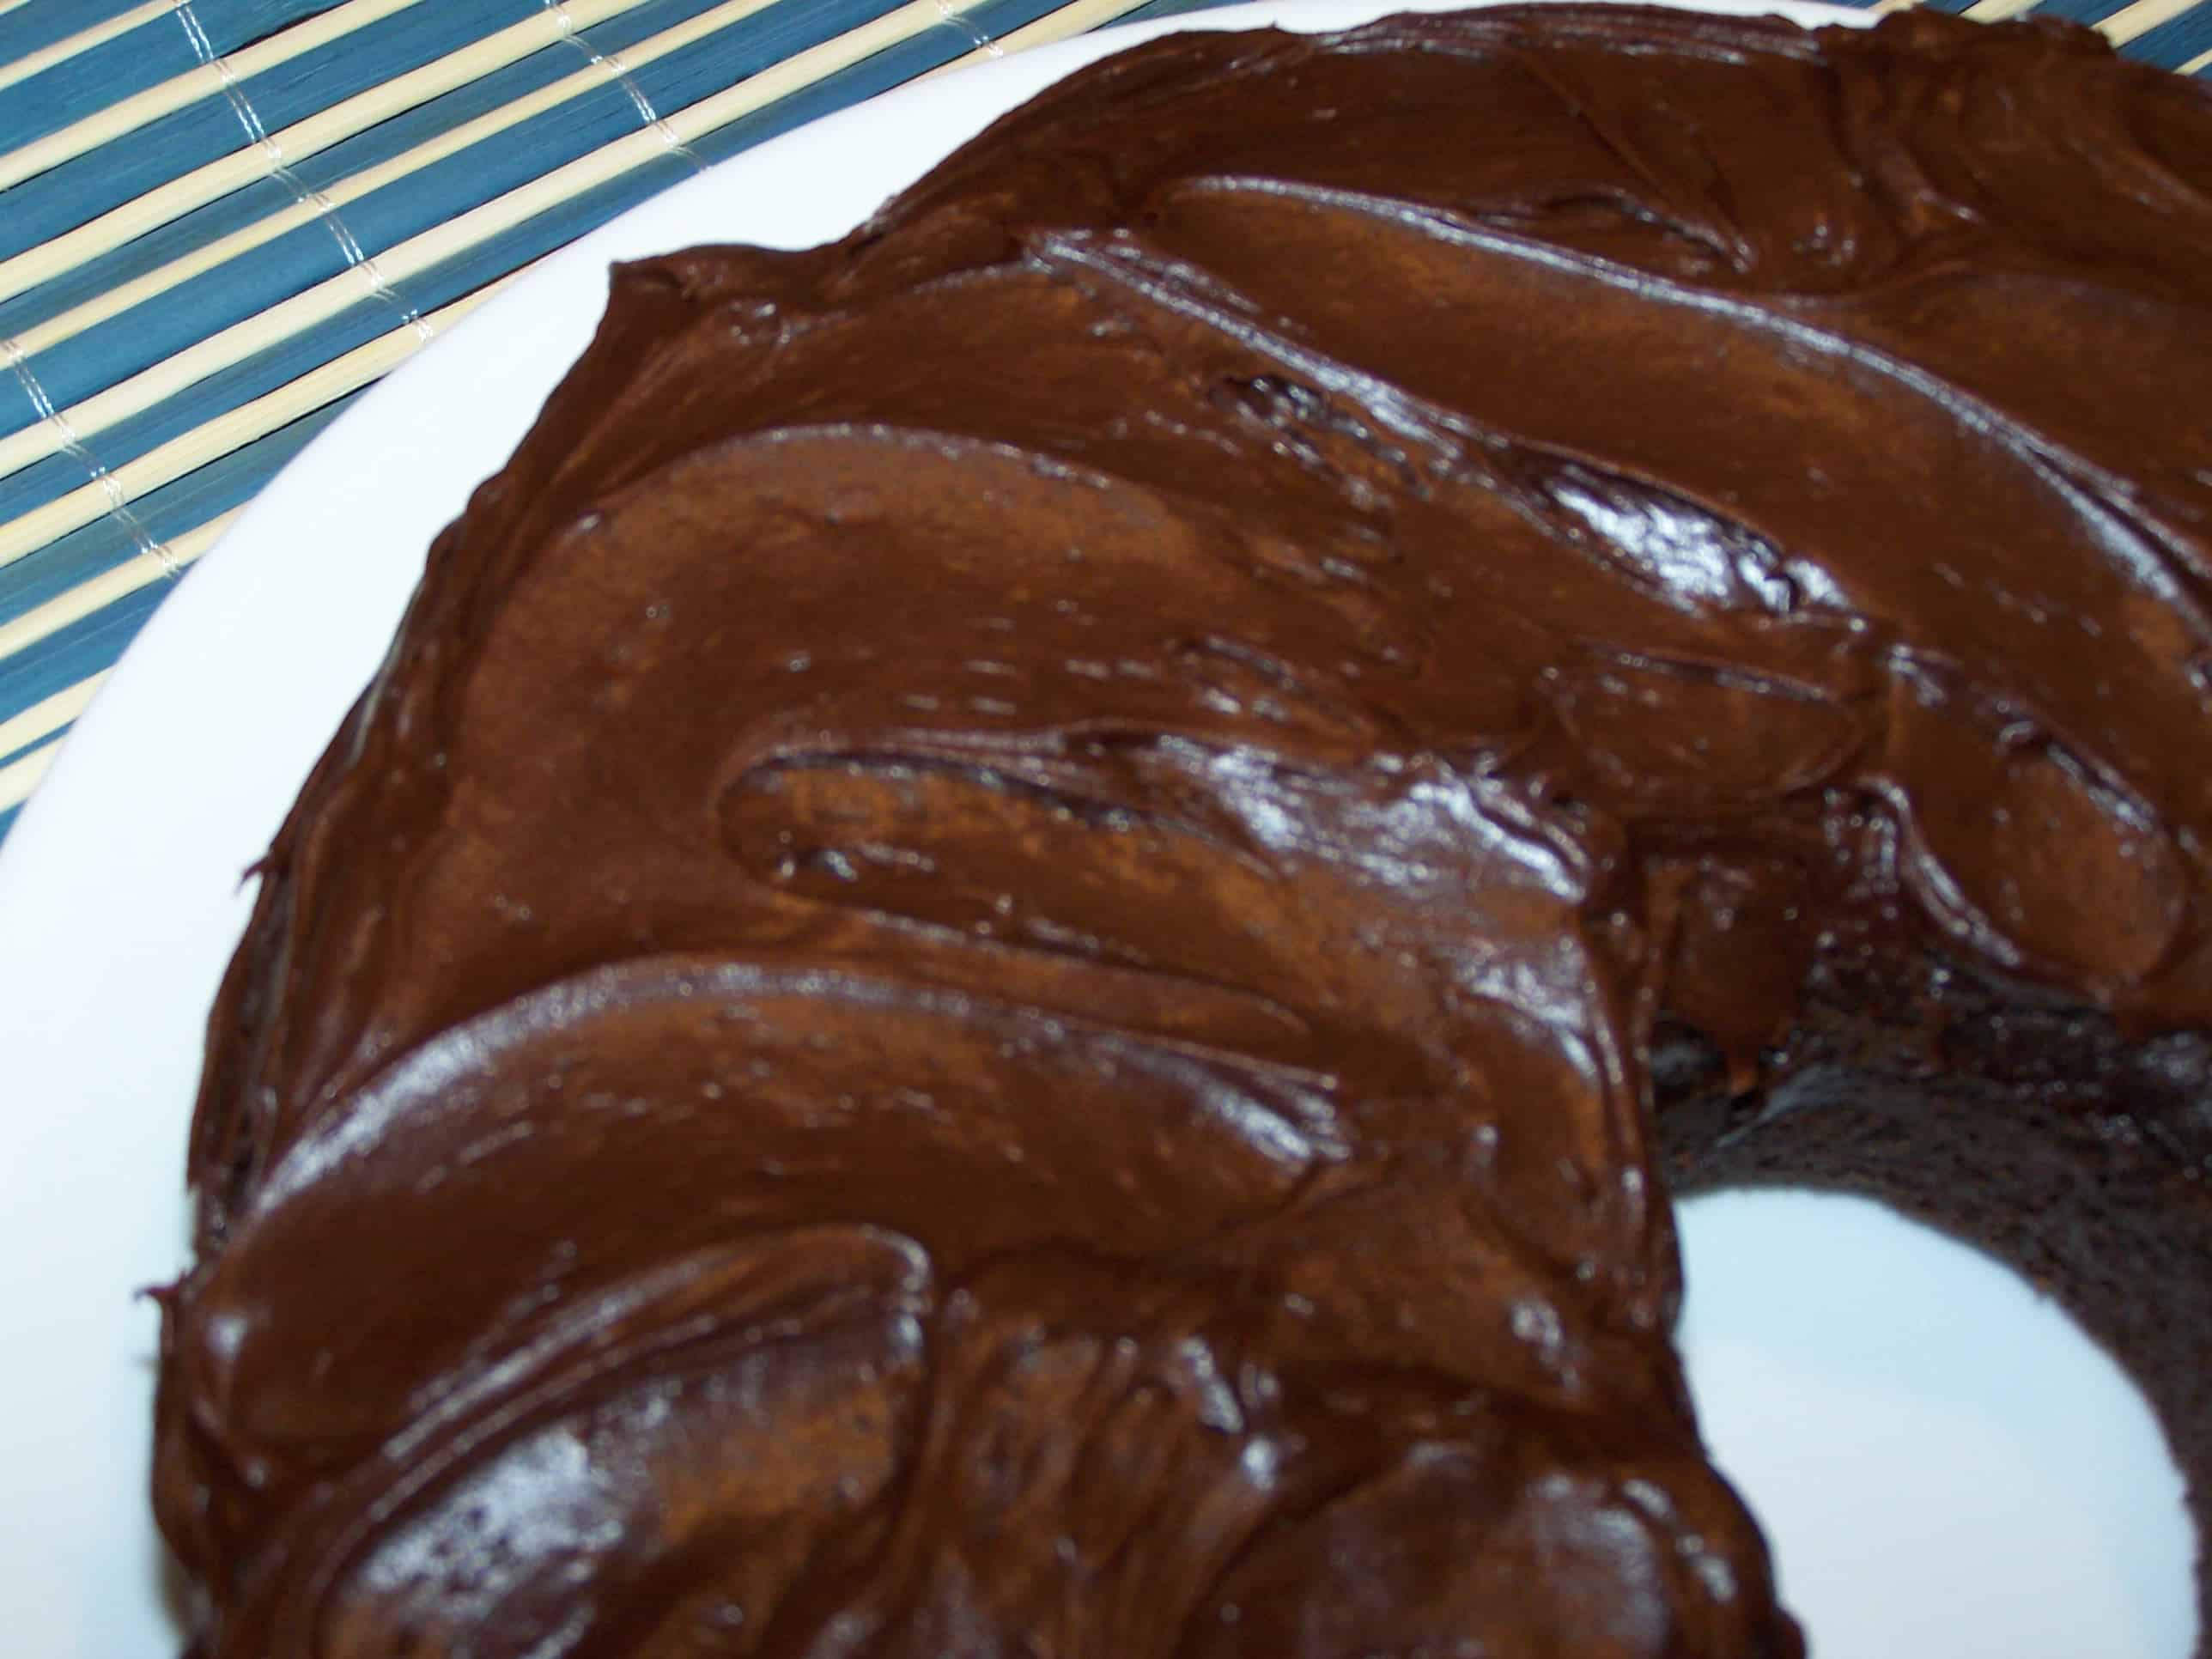
If you like these allergy-friendly SunButter Cookies you should try my Brownies!

Yield: 12 Cookies

Allergy-Friendly SunButter Cookies

SunButter Cookies that are Vegan, Dairy-Free, Gluten-Free, nut-free

SunButter Cookies that are Vegan, Dairy-Free, Gluten-Free, Nut-Free

Prep Time 20 minutes
Cook Time 12 minutes
Additional Time 10 minutes
Total Time 42 minutes

Ingredients

  • 1/4 cup unsweetened applesauce
  • 1/2 cup SunButter
  • 1/2 cup Sugar
  • 1/2 tsp vanilla
  • 1/4 cup warm water + 1 Tbsp Chia Seeds
  • 1/4 tsp salt
  • 1/4 tsp baking soda
  • 1/4 cup Rice Flour Brown
  • 1/4 cup Sorghum Flour
  • 1/4 cup Tapioca Flour
  • 1/2 tsp Xanthan Gum
  • additional sugar for dipping

Instructions

  1. Preheat oven to 350° and line a baking sheet with parchment paper or use a Silpat Non-Stick Baking Mat.
  2. “Cream” first four ingredients together in a medium bowl.
  3. In a separate bowl (I use my measuring cup) mix warm water and chia seeds together. Allow them to sit for a few minutes while you prepare the rest of the ingredients.
  4. In a large bowl mix the remaining dry ingredients together.
  5. Dump all of the wet ingredients into the large bowl with the dry ingredients and mix well.
  6. Use your hands to scoop out ping-pong sized cookies and roll them into balls. Roll them in sugar. Use wet hands to keep the dough from sticking to your hands.
  7. Flatten them onto the prepared cookie sheet.
  8. Bake for 12 minutes. Allow to cool before eating.

Notes

For a little change try adding a 1/2 cup Enjoy Life Semi-Sweet Chocolate Chips.

Did you make this recipe?

We'd love to see it! Tag us and use #MyPlantBasedFamily!

© Heather Mayes

Filed Under: Allergies, Dessert, Recipes Tagged With: allergies, Back to School, Cookies, Dairy Free, gluten free, Plant Based Diet, Recipes, SunButter, Vegan

Strawberry-Rhubarb Pie (Gluten-Free and Vegan)

June 25, 2014 by Holly Yzquierdo 8 Comments

Strawberry Rhubarb Pie that is vegan and gluten-free

Having food allergies completely changes the way you celebrate holidays. I don’t know about you but food is usually at the center of our celebrations. My favorite recipes that had been made for years and years are no longer an option.

I’m pretty handy around the kitchen and don’t mind adapting recipes to make them oil-free, vegan, diary-free, egg-free, nut-free, etc. but I don’t always have the time. Sometimes I just want an easier way out.

Strawberry Rhubarb Pie that is vegan and gluten-free

I discovered Wholly Wholesome and their Gluten-Free Pie Crust that is also Vegan and Kosher along with being dairy-free, egg-free, soy-free, nut-free, corn-free and casein-free.

Using this pre-made pie crust I baked TWO pies, Apple and Strawberry-Rhubarb. Next time I’ll make my favorite, Chocolate.

apple pie

I’ve always loved wheat pie crust. My Memaw would always bake extra crust just for me. Unfortunately, that old-fashioned pie crust is not safe for my family. Even before we changed to a plant-based diet and discovered our new world of food allergies I rarely made it. Rolling out pie crust is messy. I would have to clear and clean my whole counter, my friends know how rare this is, then make a huge mess on it with dough. Yes, I prefer the ease of pre-made crusts.

I have made a few pies with gluten-free crusts over the years but they don’t stay together as well as wheat-based dough. I would have preferred the prepared crust to be a little thicker. I slightly under-baked the first pie but I corrected it for the second pie. My husband wasn’t as impressed with the gluten-free crust.

Strawberry Rhubarb Pie that is vegan and gluten-free

Strawberry-Rhubarb Pie

Ingredients

Pie Filling

  • 1 pre-made Whole Wholesome Gluten-Free Pie Crust (or a crust of your choice)
  • 2 cups sliced rhubarb
  • 3 cups strawberries, halved
  • 1 cup sugar
  • 3 Tbsp Tapioca Flour (should have used more or added corn starch)
  • 1/2 tsp balsamic vinegar

Pie Topping

  • 1/2 cup Tapioca Flour
  • 1/2 cup Sugar
  • 1/2 cup Gluten Free Organic Rolled Oats
  • 1/2 cup unsweetened apple sauce

Do

  1. Preheat oven to 400° and set the frozen pie crust on the counter to thaw.
  2. In a large bowl mix all of the ingredients for the pie filling together.
  3. After the pie crust has thawed for 10 minutes poke holes in the bottom of the crust.
  4. Pour fruit filling in the crust. Don’t overfill. (I overfilled)
  5. For topping, put all of the ingredients in a high-powered blender, I used my Blendtec Blender and pushed the “batter setting”.
  6. Carefully spoon topping over pie. Crimp pie crust if desired, I used a fork.
  7. Cover the top of the pie with a “foil tent” then put the pie in the oven.
  8. Bake for 10 minutes then turn the heat down to 350° for 40 minutes.
  9. Carefully remove the foil then and bake for 5-10 more minutes or until the top is golden brown.
  10. Remove pie from oven and allow it to cool

This pie was delicious. Despite the long list of steps it is really easy to make. It did make a big mess in the bottom of my oven which is why I recommend you don’t over fill and maybe add a little more flour.

This pie is perfect for a Forth of July Picnic or barbecue!

FTC Disclaimer: I received free pie crust from Wholly Wholesome. All opinions are my own. 
This post contains affiliate links.

Filed Under: Dessert, Recipes

Plant-Based Brownies

April 17, 2013 by Holly Yzquierdo 54 Comments

Plant-Based Brownies

Who doesn’t love sinking their teeth into a rich, decadent brownie? It’s the perfect treat offering a blend of chocolate goodness and fudgy texture. But plant-based brownies?? You’ll never taste the difference!

Plant-Based Brownies

With no dairy or eggs in sight, these brownies are great for individuals with dairy allergies, lactose intolerance, or those following a vegan lifestyle. Plus, they’re naturally gluten-free, making them suitable for a wide range of dietary preferences.

Plant-based brownies are proof that you don’t have to compromise on taste or texture to enjoy dessert.

What are Vegan Brownies Made of?

Traditional brownie recipes often rely on butter, eggs, and refined sugars for their irresistible flavor and texture. These ingredients are a source of concern for those following a vegan or plant-based diet. Enter my secret ingredient: Sweet potatoes!

Plant-Based Brownies

Sweet Potato Brownies

This recipe calls for 2/3 cup of cooked, pureed sweet potatoes. I like to cook the sweet potatoes in my Instant Pot for convenience, but you could bake them in the oven.

Once they are soft, you can mash them with a fork, but you may notice some tiny orange bits in your brownies. If you blend them in a blender or food processor until they are creamy, you won’t see the sweet potatoes at all in your final treat.

We always use Enjoy Life Foods Chocolate Chips. Either the mini chips, semi sweet chips or chocolate chunks all work equally well. 

Plant-Based Brownies Recipe

Ingredients

  • 1/4 cup unsweetened applesauce
  • 2/3 cup cocoa powder
  • 1/2 cup Bob’s Red Mill Cup for Cup Gluten-Free Flour 
  • 1/4 tsp sea salt
  • 1/4 tsp baking powder
  • 1/2 cup organic cane sugar
  • 2/3 cup pureed cooked sweet potatoes 
  • 1 1/2 tsp vanilla extract
  • up to 1/2 cup plant milk, start with 1/4 cup
  • 1/2 cup vegan chocolate chips

Instructions

Step 1 – Preheat

Preheat oven to 350° and lightly spray an 8×8 pan. (This recipe doubles wonderfully, just use a 9×15 pan.)

Step 2 – Mix

Put all of the ingredients except chocolate chips in a large mixing bowl. Stir until everything is mixed well adding more plant milk if needed.

Step 3 – Fold

Fold in chocolate chips reserving a few spoonful’s. Spread the batter smooth and sprinkle the reserved chocolate chips on top.

Step 4 – Bake

Bake for 35 to 40 minutes. An inserted toothpick will not come out clean.

Step 5 – Cut

Allow these brownies to cool before cutting. I like to serve them with a plant-based milk and fruit to cut the sweetness.

Storage

Any leftover brownies can be stored in an airtight container at room temperature. Unlike most gluten-free baked goods these taste great the next day!

Alternative Ingredients

I’m out of applesauce, what can I use?

Use a pureed apple, pear, peach or other similar fruit. See this post about substituting applesauce for more suggestions. 

What can I use instead of cane sugar?

You can use your favorite sweetener! I’ve used turbinado sugar for years. Lately we have switched to organic cane sugar. Coconut sugar works great too.

That’s a lot of sugar, can I use less?

Absolutely! I recommend using half. This recipe is really sweet, which we love, but it’s too sweet for some. You can also try using maple syrup, date paste or your favorite sugar. If using a liquid form of sugar, you may need to decrease the amount of plant-based milk you use.

Can I use something other than Sweet Potato?

Yes, you can substitute pureed pumpkin in place of the sweet potato. You could also try pureed squash or zucchini but I haven’t personally tried them.

More Plant-Based Desserts

If you like this recipe, you’ll love these other plant-based desserts:

  • Chocolate Banana Bread
  • Vegan Peach Crisp
  • 2 Ingredient Fruit Dip
  • Cookie Bars
  • Chocolate Crunch Bites
Yield: 9 Brownies

Plant-Based Brownies

Plant-Based Brownies

Gluten-free, oil-free, dairy-free, Plant-Based Brownies! These delicious brownies are sweet and gooey. Your whole family will love this plant-based dessert.

Prep Time 10 minutes
Cook Time 40 minutes
Additional Time 10 minutes
Total Time 1 hour

Ingredients

  • 1/4 cup unsweetened applesauce
  • 2/3 cup cocoa powder
  • 1/2 cup Bob’s Red Mill Cup for Cup Gluten-Free Flour
  • 1/4 tsp sea salt
  • 1/4 tsp baking powder
  • 1/2 cup organic cane sugar
  • 2/3 cup pureed cooked sweet potatoes
  • 1 1/2 tsp vanilla
  • 1/2 cup plant-based milk, I use rice milk
  • 1/2 cup vegan chocolate chips

Instructions

  1. Preheat oven to 350° and lightly spray an 8×8 pan or use parchment paper. (This recipe doubles wonderfully, just use a 9×15 pan.)
  2. Put all of the ingredients except chocolate chips in a large mixing bowl. Stir until everything is mixed well.
  3. Fold in chocolate chips reserving a few spoonful’s. Spread the batter smooth and sprinkle the reserved chocolate chips on top.
  4. Bake for 35 to 40 minutes, toothpick will not come out clean.

Notes

Allow these brownies to cool before cutting if at all possible. They can be stored in an air tight container at room temperature but you probably wont have leftovers unless you make a double batch.

Did you make this recipe?

We'd love to see it! Tag us and use #MyPlantBasedFamily!

© Holly Yzquierdo
Category: Dessert

Filed Under: Dessert, Holiday Cooking, Recipes Tagged With: Brownies, Dairy Free, Dessert, gluten free, Healthy, Plant Based Diet, Recipes, sweet potatoes, Vegan

Chocolate Cake:Gluten-Free and Vegan

February 26, 2013 by Holly Yzquierdo 17 Comments

frosted chocolate cake

GF, V Chocolate Cake

If you have to avoid wheat/gluten then this is the cake for you. I developed a fascination for GF baking several years ago because I had two friends who couldn’t eat gluten and never got the good stuff at potlucks. I would try to always make something they could eat. They were always so appreciative even though I never loved my creations, they were happy to have whatever I brought.

Fast forward to spring/summer 2012 and I finally discover my son’s eczema is the result of gluten/wheat. He was just under 1 1/2 years old so he wasn’t eating a lot of cakes or cookies but he loved pancakes, banana bread, etc. I was determined that he wouldn’t have to do without “normal” food.

frosted chocolate cake

I have a list of favorites I intend to adapt so that they are gluten-free, dairy-free, and peanut-free. I want my little guy to experience donuts, birthday cake, and banana pudding without pain or illness.

I’ve been working on this cake for a while. I wanted to make it as allergy friendly as possible. I have a friend who can’t have apples or bananas so I had been making it without them but I couldn’t get the taste or texture right. I decided to abandon that idea (temporarily, I’ve got some ideas) because I needed to make a birthday cake for my 4 year old.

If you follow My Plant-Based Family on Facebook then you know that I shared this recipe with several people. I got great feedback from everyone who made it. Some people couldn’t make it because they couldn’t find all of the ingredients. I buy some of them from Amazon because I can’t always find them locally. You could probably substitute a store bought GF baking mix with good results.

GF Chocolate cake

Gluten-Free, Vegan Chocolate Cake

Ingredients

  • 1 c brown rice flour
  • 1 c sorghum flour
  • 1/2 c tapioca flour
  • 3/4 c cocoa powder
  • 1 tsp xanthum gum OR guar gum
  • 1 1/2 tsp baking soda
  • 1 tsp baking powder
  • 1/2 tsp sea salt
  • 1/4 c warm water*
  • 3 tsp EnerG Egg Replacer*
  • 1 c turbinado sugar (I’ve also used agave nectar with good results)
  • 1 c unsweetened applesauce
  • 1-2 mashed bananas
  • 1 tsp vanilla
  • 1 1/4 c rice milk (reduce to 1 cup if you use agave nectar)
  • 1 cup vegan chocolate chips (optional but oh so good)

Do

  1. Preheat oven to 350° and spray two 8 or 9 inch pans with cooking spray. I’ve also made this in a bundt pan with good results (but longer baking time).
  2. In a mixing bowl add dry ingredients, brown rice flour through sea salt.
  3. In a small bowl or measuring cup mix warm water and egg replacer and set aside.
  4. In a medium bowl mix sugar through milk. Add “egg” and mix well.
  5. Stir wet mixture into dry ingredients until well incorporated.
  6. Add chocolate chips and stir until just mixed.
  7. Pour batter, dividing into two pans.
  8. Bake for 20 minutes or until toothpick inserted comes out clean.

Serve

This cake can be frosted once cooled or enjoyed as is. It is birthday cake worth. I’ve also layered fresh strawberries between the layers and used both Avocado Mousse and Coconut Cream Frosting. My 2 year old got Cococonut Cream Frosted Mini Cupcakes for his birthday and my 4 year old got store bought frosting on his birthday cake; it should be noted that neither kid liked the store bought frosting. Lesson learned: Plant-based kids don’t need over processed, store bought junk food. 🙂

birthday cup cakes

Filed Under: Dessert, Holiday Cooking, Life with Kids, Recipes Tagged With: Birthday Cake, Cake, Chocolate Cake, Dairy Free, Dessert, gluten free, Gluten-Free baking, Gluten-Free Chocolate Cake, Plant Based Diet, Recipes, Vegan

Chocolate Mousse…How I Love Thee

October 25, 2012 by Holly Yzquierdo 10 Comments

avocado Chocolate Mousse

When I first posted this recipe for Chocolate Mousse it just happened to be on Food Waste Friday and it was right before Valentine’s Day. It really deserved its own post but I tried to do two things at once and always kind of regretted it. With the holidays right around the corner I thought it was only fair to give this delectable recipe it’s very own post. 🙂

avocado Chocolate Mousse

Let me tell you, everyone who has ever tried this has LOVED it! Even people who aren’t normally chocolate lovers LOVE this.

Before you attempt to prepare it make sure your avocados are nice and soft.

Chocolate Mousse

Chocolate Mousse

Ingredients

  • 4 ripe avocados
  • 1 cup cocoa powder
  • 1 cup agave (you could maple syrup or date paste instead)
  • pinch of salt
  • a few drops of vanilla

Do

  1. Open avocados and empty them (minus the pit) into a blender/mixer/food processor.
  2. Blend until smooth.
  3. Add half of the cocoa powder and half of the agave along with the salt and vanilla.
  4. Blend until well mixed, taste and add more cocoa powder and agave until it is the flavor you like. You will not taste the avocado.
  5. Refrigerate until cold.

Serve

This could be served with almost any fruit, strawberries make a wonderful accompaniment. I’ve even frosted cupcakes too. I could eat it with a spoon but I’m wild like that. You will not believe something this creamy is dairy-free. For a frozen treat, freeze it by the spoonful (on a plastic spoon). You can also freeze it in a small bowl or cup, just let it defrost for a few minutes before enjoying.

This has a really long shelf life (when refrigerated) probably due to all of the sugar. I have done experiments but it’s safe to say it usually lasts well over a week. If it’s frozen I’d use it within a month. It seems to work best for me when I use my food processor but I have used my Magic Bullet with good results, it just takes longer.

Filed Under: Dessert, Recipes Tagged With: Chocolate, Dairy Free, Dessert, gluten free, Plant Based Diet, Recipes, Vegan, Vegan MoFo

Party Worthy Parfait

October 2, 2012 by Holly Yzquierdo 19 Comments

vegan strawberry parfait

Welcome back to day 2 of the Vegan Month of Food, a.k.a The Vegan MoFo. Today I’m setting my sights on the parfait.

Making parfait’s are super easy if you have kids they can help or make their own. If you own a large glass bowl or trifle dish they can make a perfect center piece for a party or make these in individual glasses like I did. These are healthy enough for an on the go breakfast but tasty enough for dessert too.

Parfait

Ingredients

  • Vegan yogurt (I use coconut, almond or soy milk yogurt)
  • Diced fruit of your choice (apples, berries, or bananas)
  • Granola
  • Nuts and/or seeds
  • Vegan chocolate chips (hey I’m not judging)

Do

  1. Layer granola, yogurt, nuts/sees, then fruit.
  2. Repeat step 1 two to three times to fill your container.
  3. Refrigerate until ready to serve

Serve

This was a big hit at my Healthy Cravings group served as a dessert. We ate the leftovers for breakfast and lunch for a few days after. A few of my favorite variations include Cinnamon granola with diced apples, Almond granola with mixed berries, granola with vegan chocolate chips and bananas. I like to top this with chia seeds right before serving. My son thinks they are sprinkles! 🙂

This recipe is kid friendly, omni friendly, and gluten-free if you use gluten-free granola.

What is your favorite parfait combination?

Filed Under: Breakfast, Dessert, Recipes Tagged With: Breakfast, Dairy Free, Dessert, Frugal, gluten free, Healthy, How To, kids, Parfait, Plant Based Diet, Recipes, Vegan, Vegan MoFo

« Previous Page
Next Page »

Primary Sidebar

Footer

Find it here!

Amazon Affiliate Disclosure

Holly Yzquierdo of My Plant-Based Family is a participant in the Amazon Services LLC Associates Program, an affiliate advertising program designed to provide a means for sites to earn advertising fees by advertising and linking to amazon.com.

Disclosures

Unauthorized use and/or duplication of any part of this website or content without express and written permission from Holly Yzquierdo is prohibited. Excerpts and links may be used, provided that full credit is given to Holly Yzquierdo and MyPlantBasedFamily.com with links to the original content.

More information on our Privacy Policy and other Disclosures are available.

Copyright © 2026 · Wellness Pro on Genesis Framework · WordPress · Log in