Creamy, plant based ranch dressing? Yes! And it’s oil-free too!
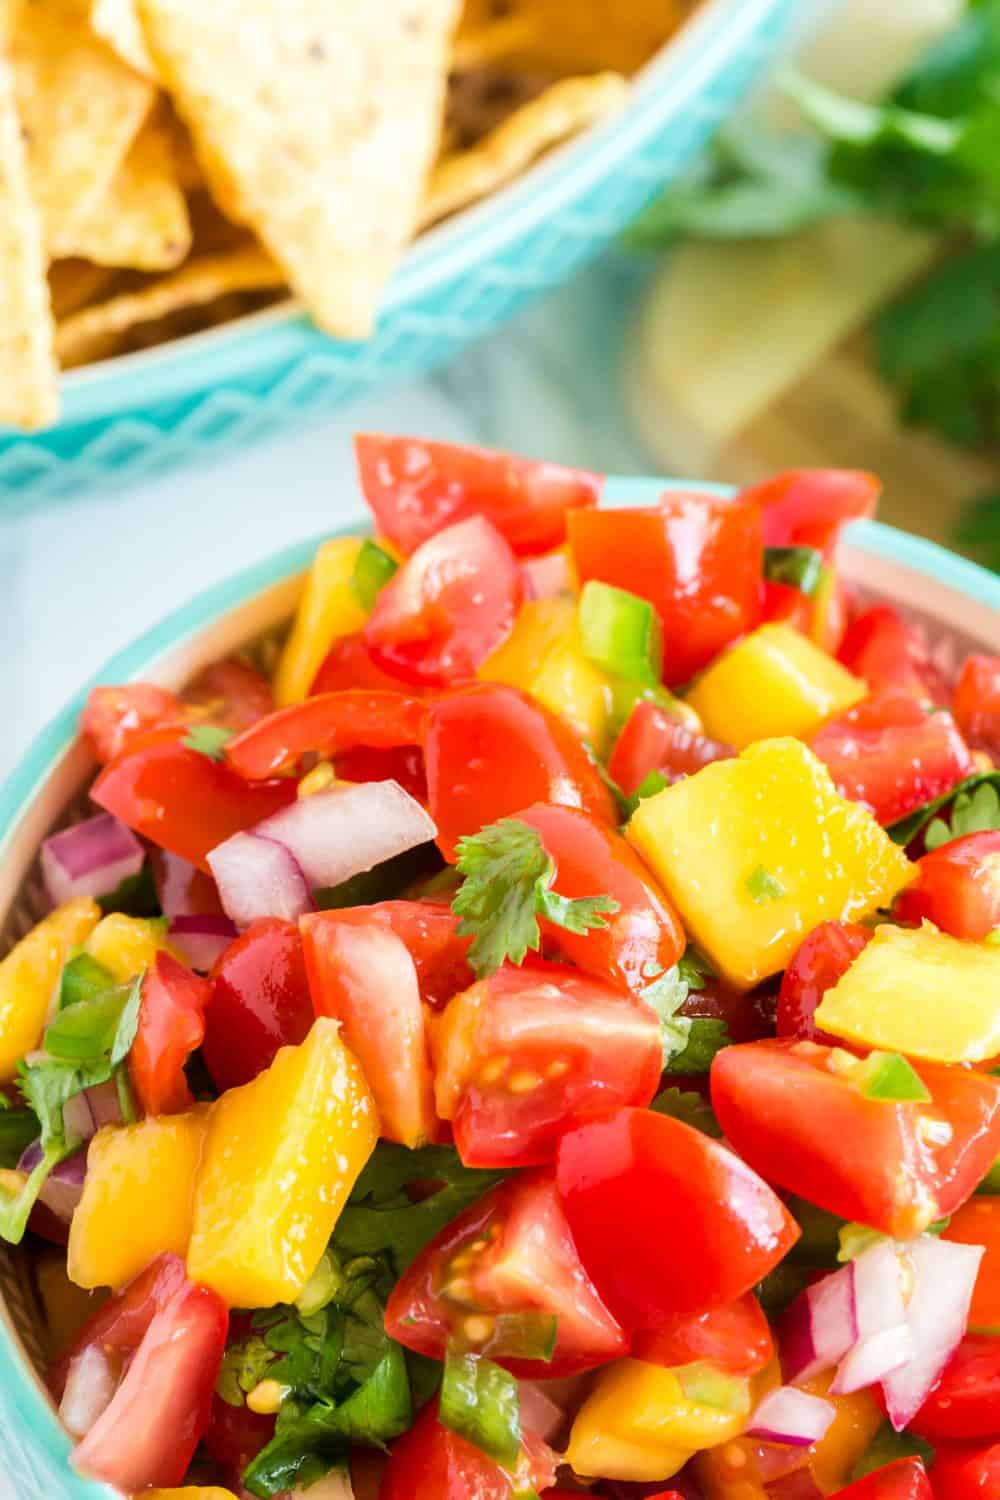
Ranch dressing is the most popular salad dressing in the United States. We’ve been known to add ranch on potatoes and salads, as a dip for veggies and crackers, even foods like nachos or fries. It adds a pop of flavor to any food and is pretty easy to make.

Easy Vegan Ranch Dressing Recipe
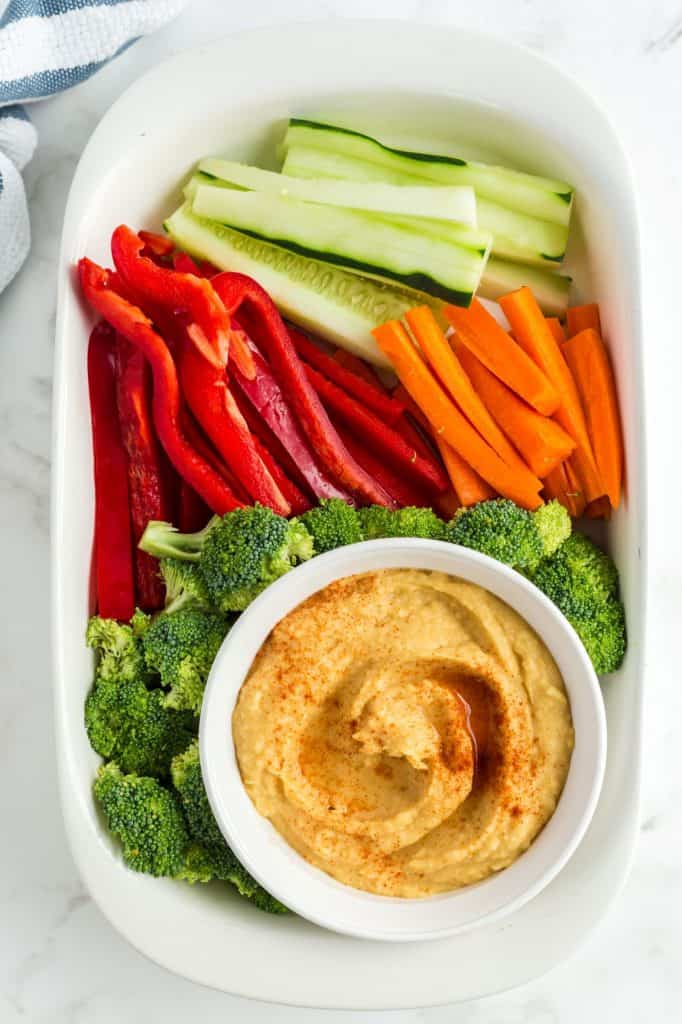
Elevate your greens, veggies and snacks to a whole new level with homemade vegan ranch. It’s not only a healthier alternative, but a flavorful addition to foods that tend to get boring over time. Adding creamy vegan ranch makes vegetables more enticing for anyone, especially kids!

What is Vegan Ranch Made of?
This homemade vegan ranch is made with cashews, lemon juice and spices. No oil! To make it nut-free, try replacing the cashews with vegan mayonnaise or vegan yogurt. That would be more processed that using cashews but safer if you have food allergies.
No matter which version you make, be sure to mix it in a high-powered blender. A food processor or low-powered blender may result in a grainy texture for your ranch.

Is it Cheaper to Make Ranch or Buy it?
The true answer to this question depends on where you live and what brand of ranch you buy. I usually have all the ingredients for this recipe in the pantry, so I only have to buy fresh parsley and cashews when I’m ready to make it.
Making ranch at home is a simple way to control the ingredients and tailor the flavor to your liking. Say goodbye to additives and preservatives.

How to Make Homemade Vegan Ranch
Ingredients
- 1 cup Unsalted Cashews
- 1/2 cup Cold Water
- Juice from 1/2 Lemon
- 1 tablespoon White Wine Vinegar
- 2 teaspoons Fresh Parsley
- 2 teaspoons Dried Chives
- 2 teaspoons Dried Dill
- 3/4 teaspoon Coarse Kosher Salt
- 1/2 teaspoon Garlic Powder
- 1/2 teaspoon Onion Powder

Step 1 – Boil Cashews
Boil the cashews for 10 minutes. Alternatively, the cashews can be soaked over night instead of boiling. Drain, but do not rinse.
Then transfer the cashews to a high-powered blender. (Using any other appliance may result in a grainy texture.)

Step 2 – Blend
Add the remainder of the ingredients to the blender.
For the water, add 1/8 cup at a time until your ranch reaches the consistency you like. Less water will create a thicker ranch, which makes a great dip. More water thins the ranch to a consistency better suited for salad dressing.

Mix on high speed for 2-3 minutes until the ranch is creamy and smooth.

Use a spatula to scrape down the sides of the blender. This will help the finished recipe achieve a smooth consistency.
Step 3 – Salt to Taste
Taste the ranch and add more salt if needed.

Enjoy dipping, drizzling and adding your vegan ranch dressing to a variety of foods. You can eat it right away, but I recommend placing it in an airtight container in the refrigerator for an hour or more before serving. Chilling the ranch will help the flavors meld together.

Flavor Variations
Feel free to get creative with your vegan ranch by incorporating additional ingredients to suit your taste. Here are a few ideas:
- Smoked paprika for a hint of smokiness
- Apple cider vinegar (instead of white wine vinegar)
- Dijon mustard to add a little kick
- A touch of maple syrup for a hint of sweetness
Nut-Free Option
Use vegan mayonnaise or vegan yogurt in place of the cashews to make your ranch nut-free. The result is a much smoother consistency.
Storage
Store any leftovers in an airtight container in the refrigerator for up to five days.
More Plant-Based Dressings
If you enjoyed this recipe, you’ll love these vegan dressing too:
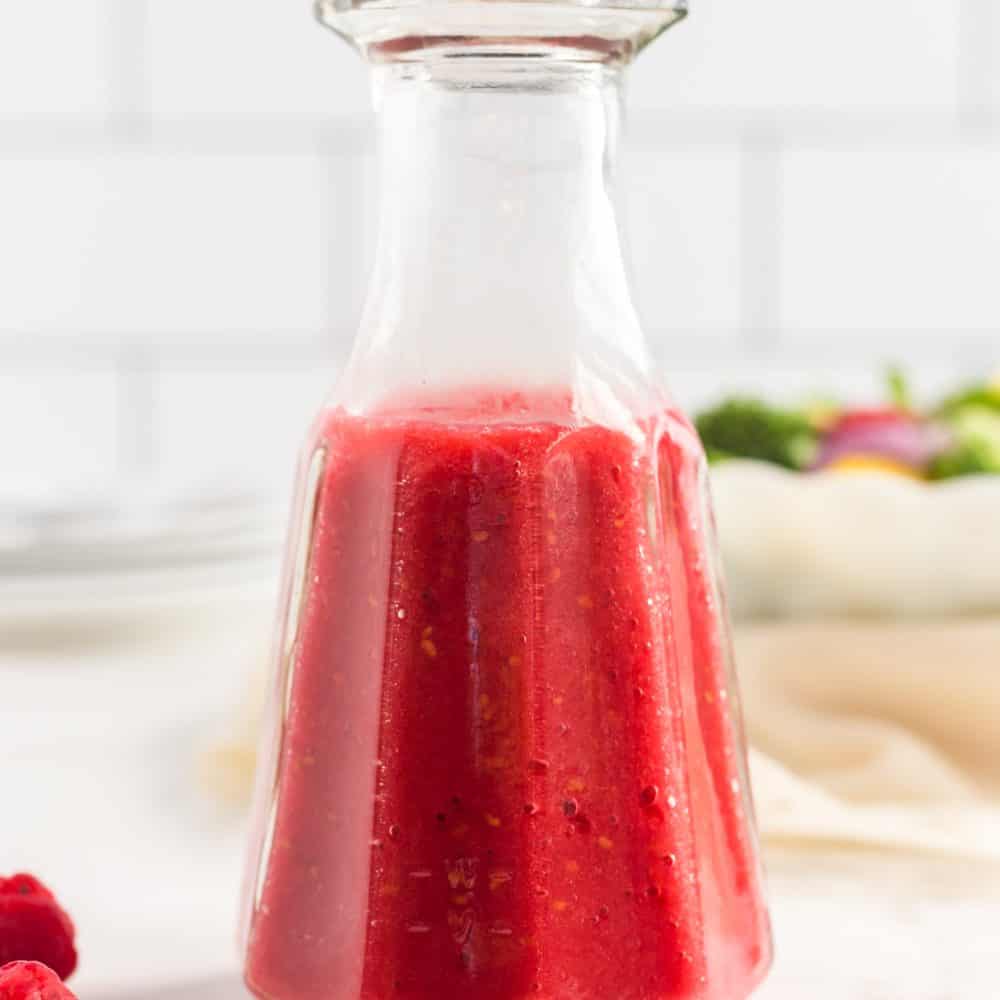
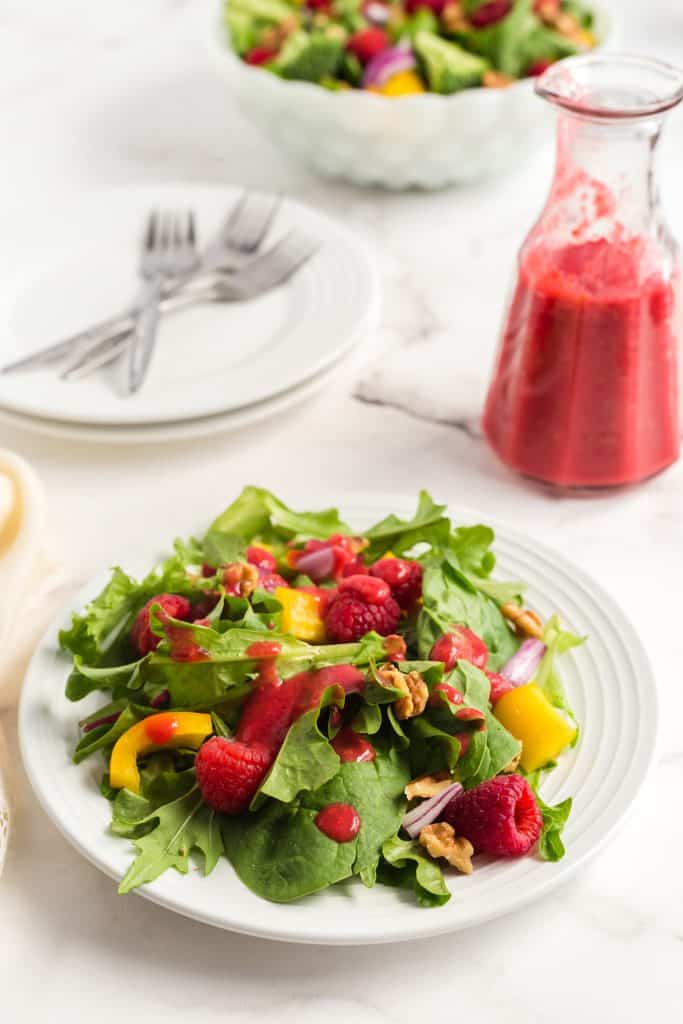
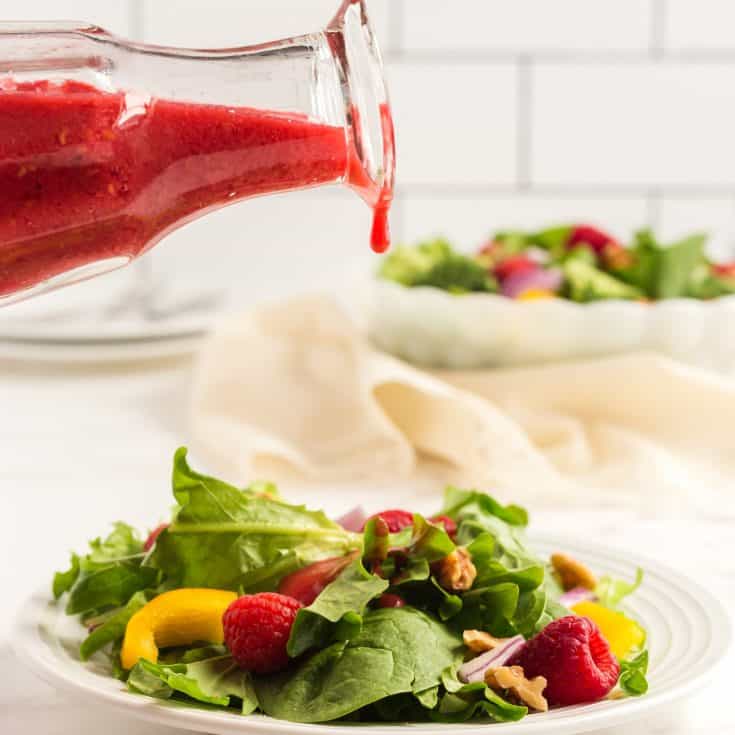
- Raspberry Vinaigrette Salad Dressing
- Creamy Italian Salad Dressing (Oil-Free)
- Homemade BBQ Sauce
- Creamy Brown Gravy (Gluten-Free)
- Oil-Free Hummus
Homemade Vegan Ranch

Smooth and creamy ranch perfect for topping salads, potatoes and other vegetables.
Ingredients
- 1 cup Unsalted Cashews
- 1/2 cup Cold Water
- Juice from 1/2 Lemon
- 1 tblsp White Wine Vinegar
- 2 tsp Fresh Parsley
- 2 tsp Dried Chives
- 2 tsp Dried Dill
- 3/4 tsp Coarse Kosher Salt
- 1/2 tsp Garlic Powder
- 1/2 tsp Onion Powder
Instructions
- Boil cashews for 10 minutes. (Alternatively, cashews can be soaked overnight.)
- Drain. Do not rinse.
- Transfer cashews to a high-powered blender.
- Add remainder of ingredients, mixing in 1/8 cup of water at a time.
- Mix on high speed 2-3 minutes until creamy and smooth.
- Add salt to taste.
Notes
- Add less water for a thicker ranch dip and more for a thinner dressing
- Make it nut-free by using vegan mayonnaise or vegan yogurt instead of cashews
- Store in an airtight container in the refrigerator for up to 5 days
Recommended Products
As an Amazon Associate and member of other affiliate programs, I earn from qualifying purchases.
-
 Amazon Brand - Happy Belly Chives Freeze Dried, 0.2 Oz
 -
 Nut Cravings - Raw Whole Cashews, Unsalted, Shelled, Superior to Organic (16oz - 1 LB) Brazil Bulk Nuts Packed Fresh in Resealable Bag Healthy Protein Food Snack All Natural Keto Friendly Vegan Kosher
 -
 Blendtec Total Blender Classic - Includes FourSide Jar (75 oz) - 10-Speed Professional-Grade Countertop Blender - High-Power Kitchen Blender with 6 Pre-Programmed Cycles - Black