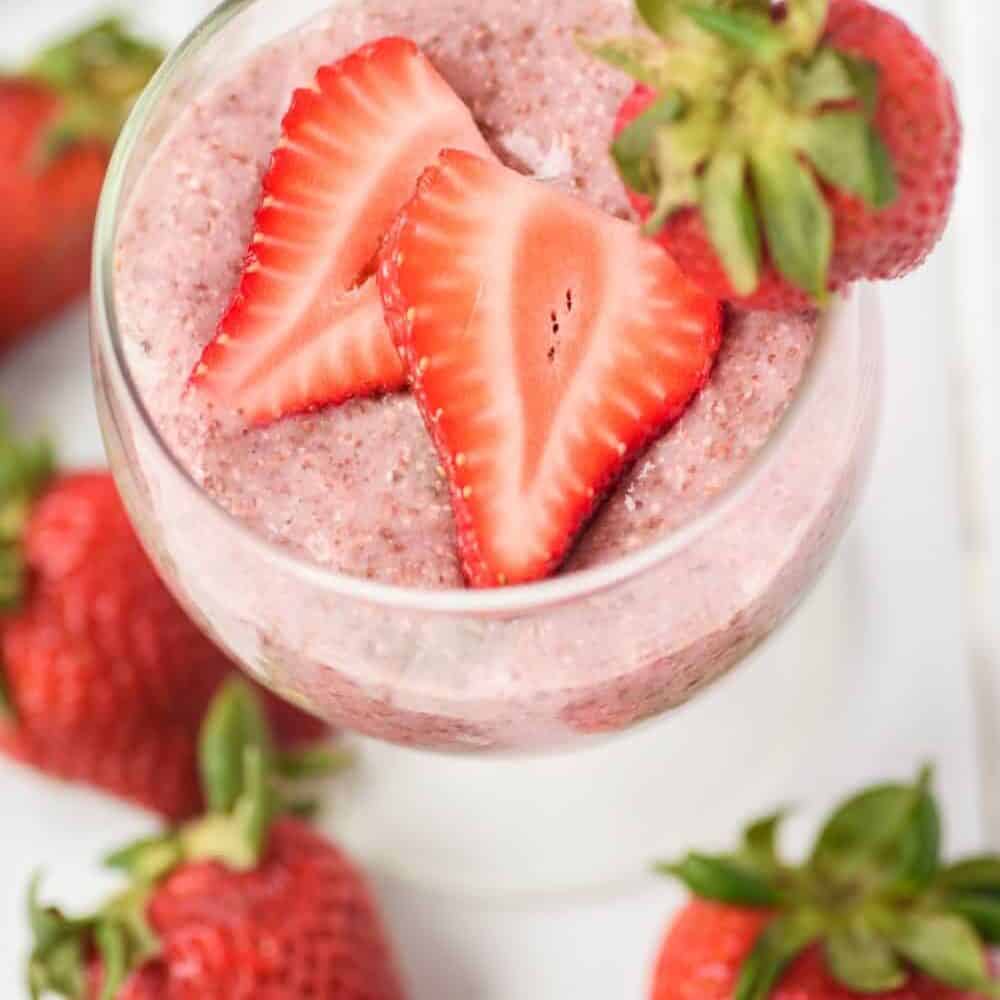
Breakfast, dessert or snack? You decide! Vanilla Coconut Chia Pudding satisfies your sweet craving while providing nutritional benefits.

Chia pudding has evolved into a versatile dish that can showcase various flavors. Vanilla coconut is the clear favorite at my house. The combination of comforting vanilla and exotic coconut transports me to a tropical paradise with every spoonful.

Is Chia Pudding Actually Good for You?
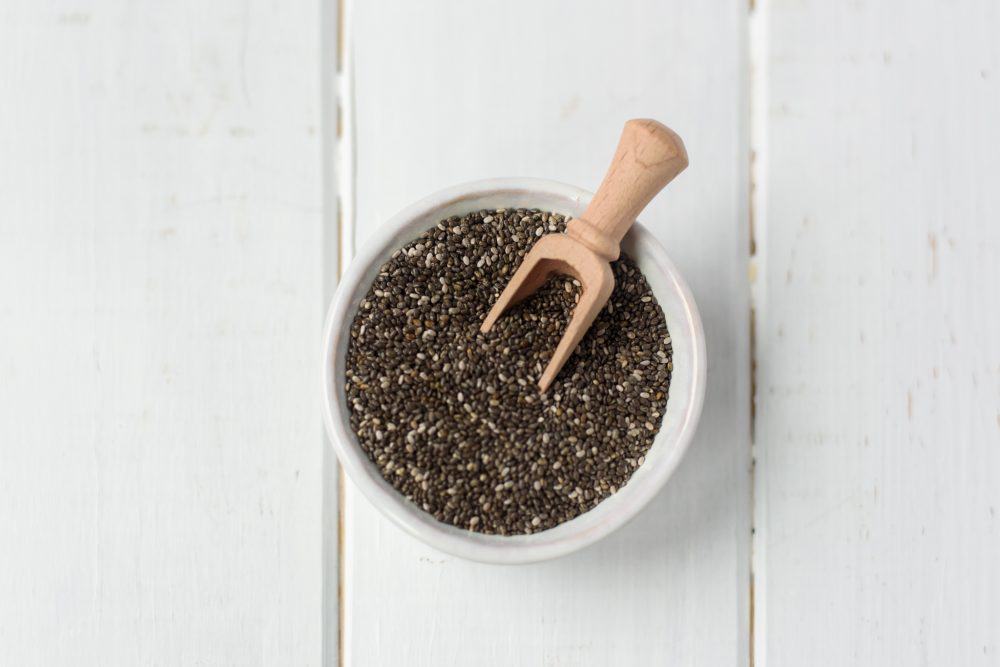
Chia seeds are rich in omega-3 fatty acids, fiber and protein. When combined with the goodness of coconut milk, it becomes a well-rounded treat while fulfilling my sweet tooth. You can incorporate more nutrients with the addition of fruits, nuts and seeds too.

There are lots of ways to tailor this recipe to suit everyone’s tastes. Not into coconut? Swap out the coconut milk for almond milk.
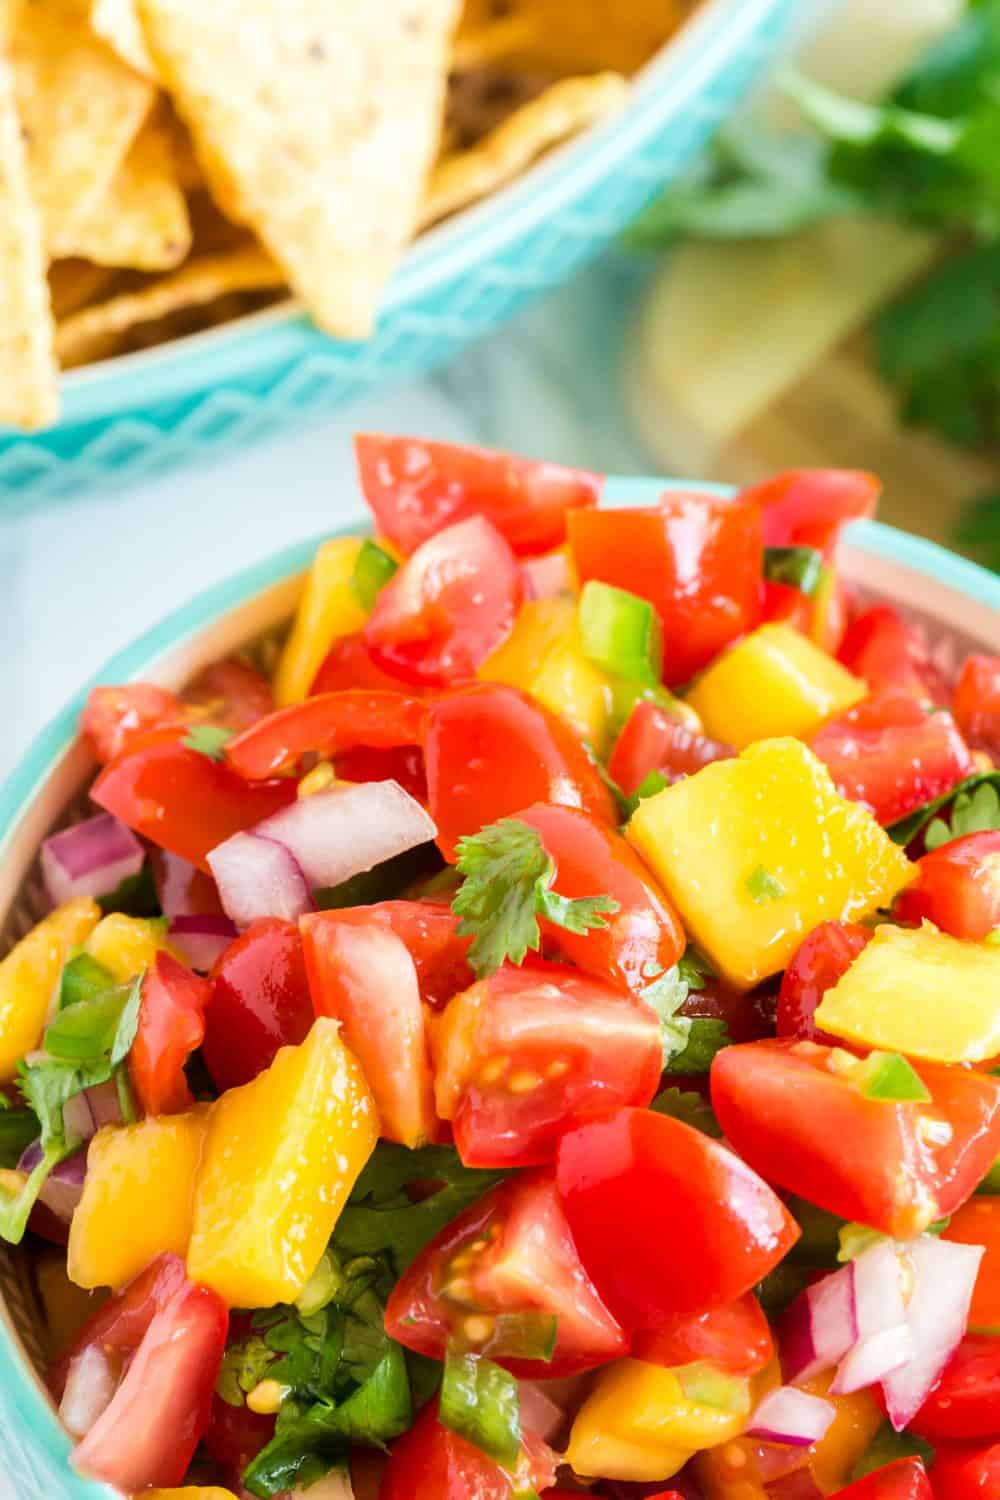
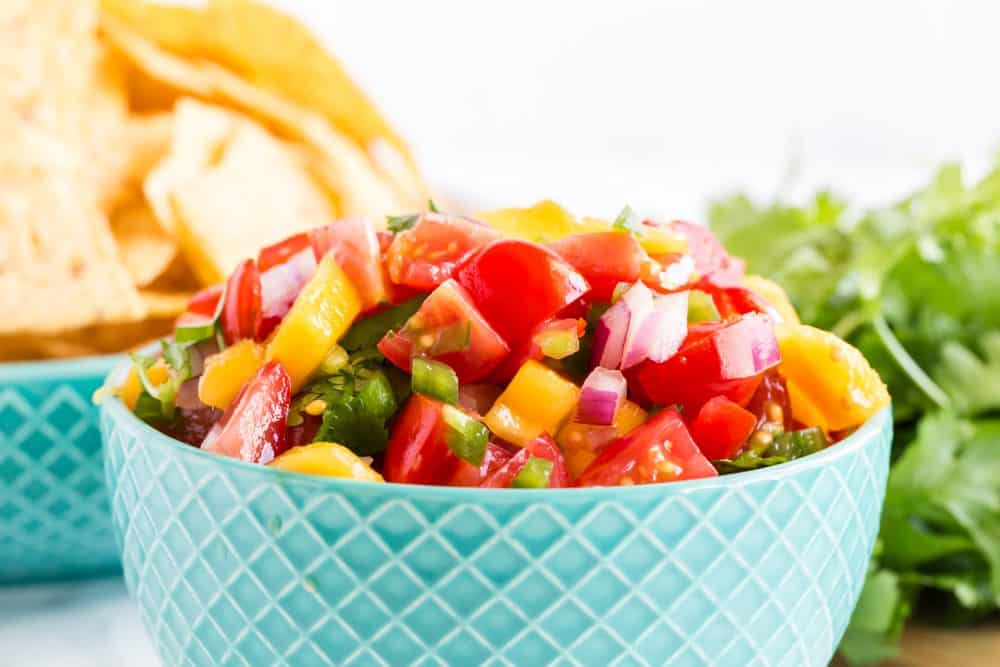
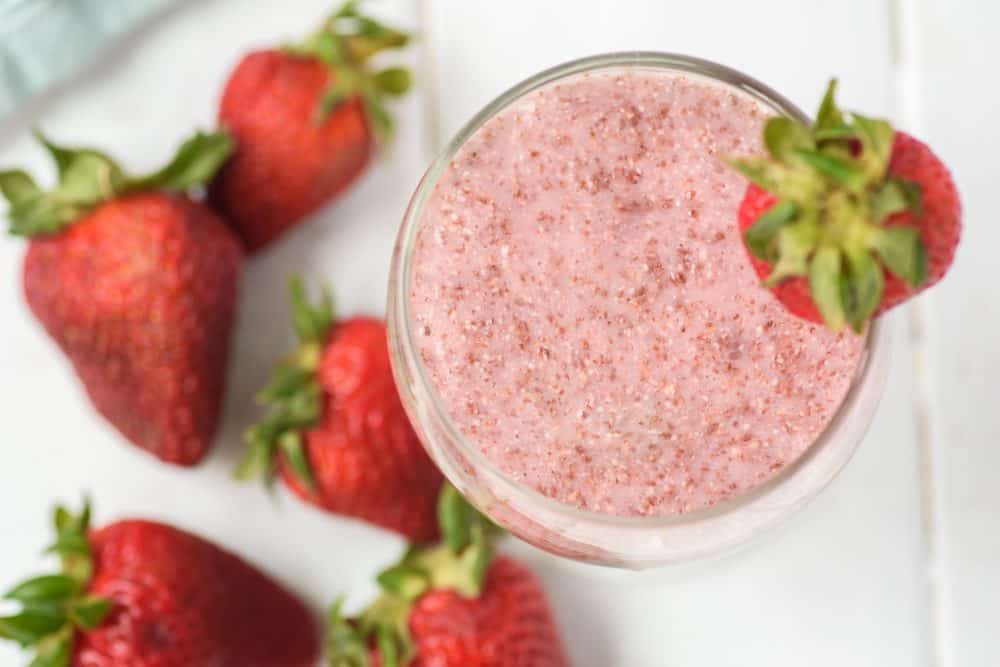
Would you rather have a fruity dessert? Your favorite fruits will complement the chia pudding perfectly. How about chocolate chia overnight oats or strawberry chia pudding? There are so many variations of this recipe to try!
How to Make Vanilla Coconut Chia Pudding
This recipe makes one serving.
Ingredients
- 2 Tablespoons Chia Seeds
- ½ cup Coconut Milk (other plant-based milk can be used instead)
- 1 teaspoon maple syrup
- ¼ teaspoon vanilla extract
- 1 Tablespoon Shredded Coconut

Instructions
Step 1 – Add Ingredients
Add all the ingredients together in a bowl or jar (should hold at least one cup).
Step 2 – Set
Allow to sit for 10 minutes, then stir again and place in the refrigerator.
Step 3 – Refrigerate
Refrigerate overnight or at least 2 hours.
Step 4 – Add Toppings
Enjoy topped with additional shredded coconut, nuts, or fresh fruit.

Serving Suggestions
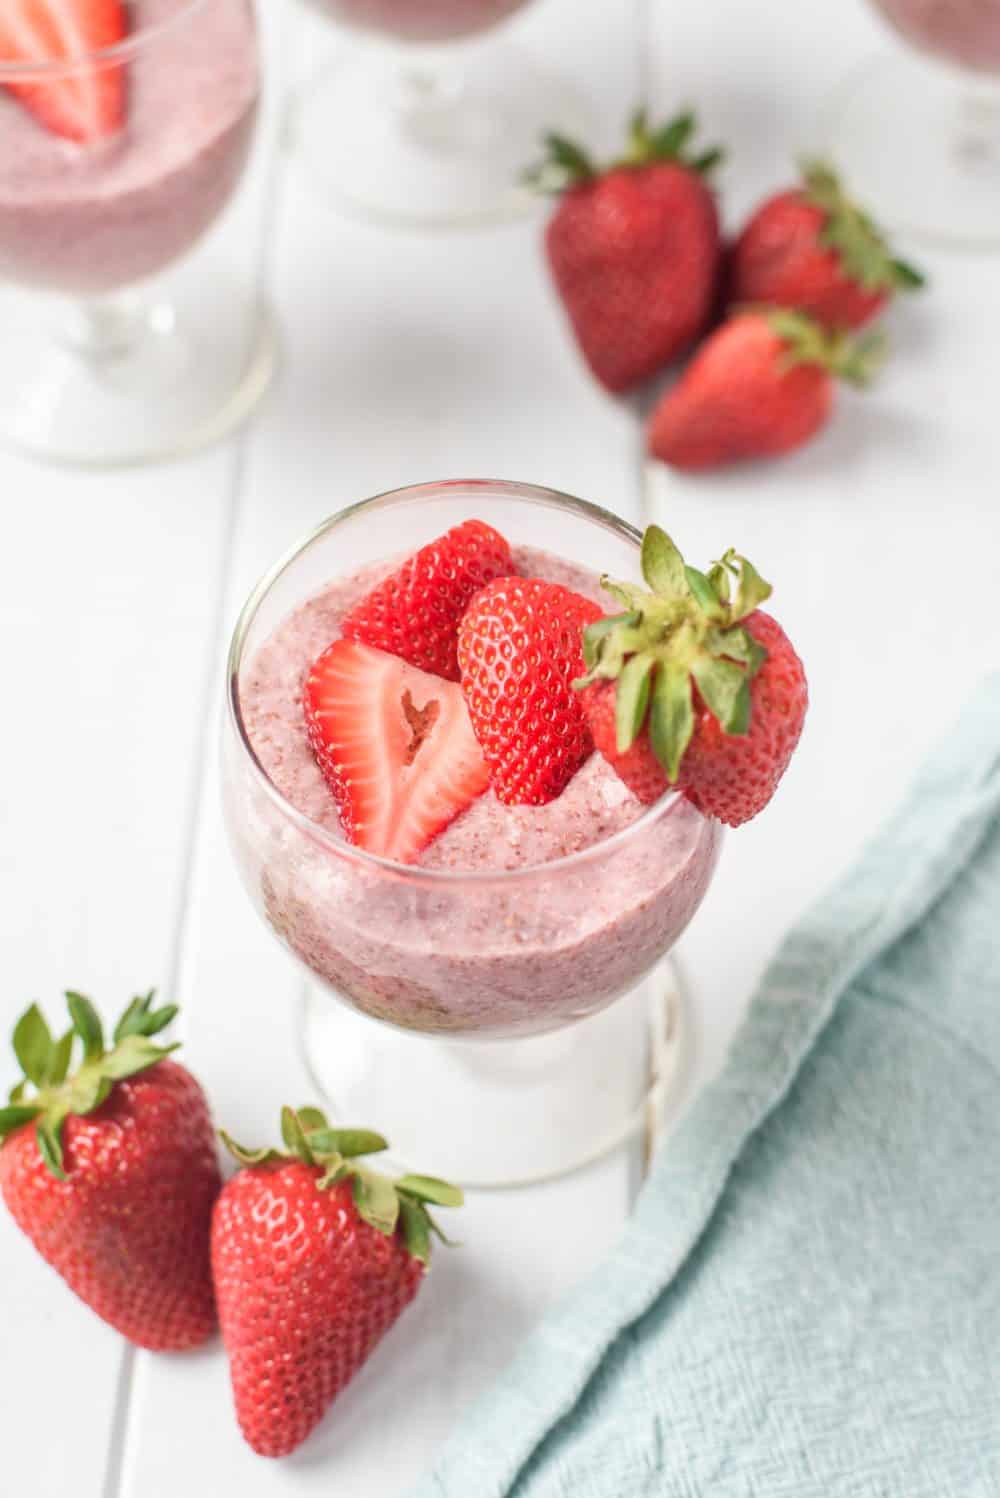
Whether you opt for a classic bowl presentation or layer fresh fruits in a glass, chia pudding can be as pretty as it tastes. Try these delicious variations:
Fresh Fruit Toppings
Garnishing your vanilla coconut chia pudding with a medley of fresh fruits not only adds visual appeal but also introduces additional flavors and textures. Berries, mango slices, or kiwi chunks are popular choices that complement the pudding’s sweetness.

Nuts and Seeds
For those who enjoy a bit of crunch in their desserts, consider adding a sprinkle of chopped nuts or seeds. Almonds, walnuts, or pumpkin seeds provide a delightful contrast to the creamy texture of the pudding.

Sweet Treat
Elevate your vanilla coconut chia pudding by drizzling a touch of maple syrup, or agave nectar. This not only enhances the sweetness but also adds a layer of sophistication to the overall presentation.

Storage
Chia pudding will keep in the refrigerator in an airtight container for up to 5 days. It’s a great option for meal prep!
More Plant Based Recipes Using Chia Seeds or Oats
Don’t miss these yummy ways to enjoy chia seeds and/or oats for breakfast, dessert or a snack:
- Strawberry Chia Pudding
- Peanut Butter Banana Overnight Oats
- Baked Oatmeal Bars with Fruit
- Chocolate Chia Overnight Oats
- Apple Cinnamon Baked Oatmeal
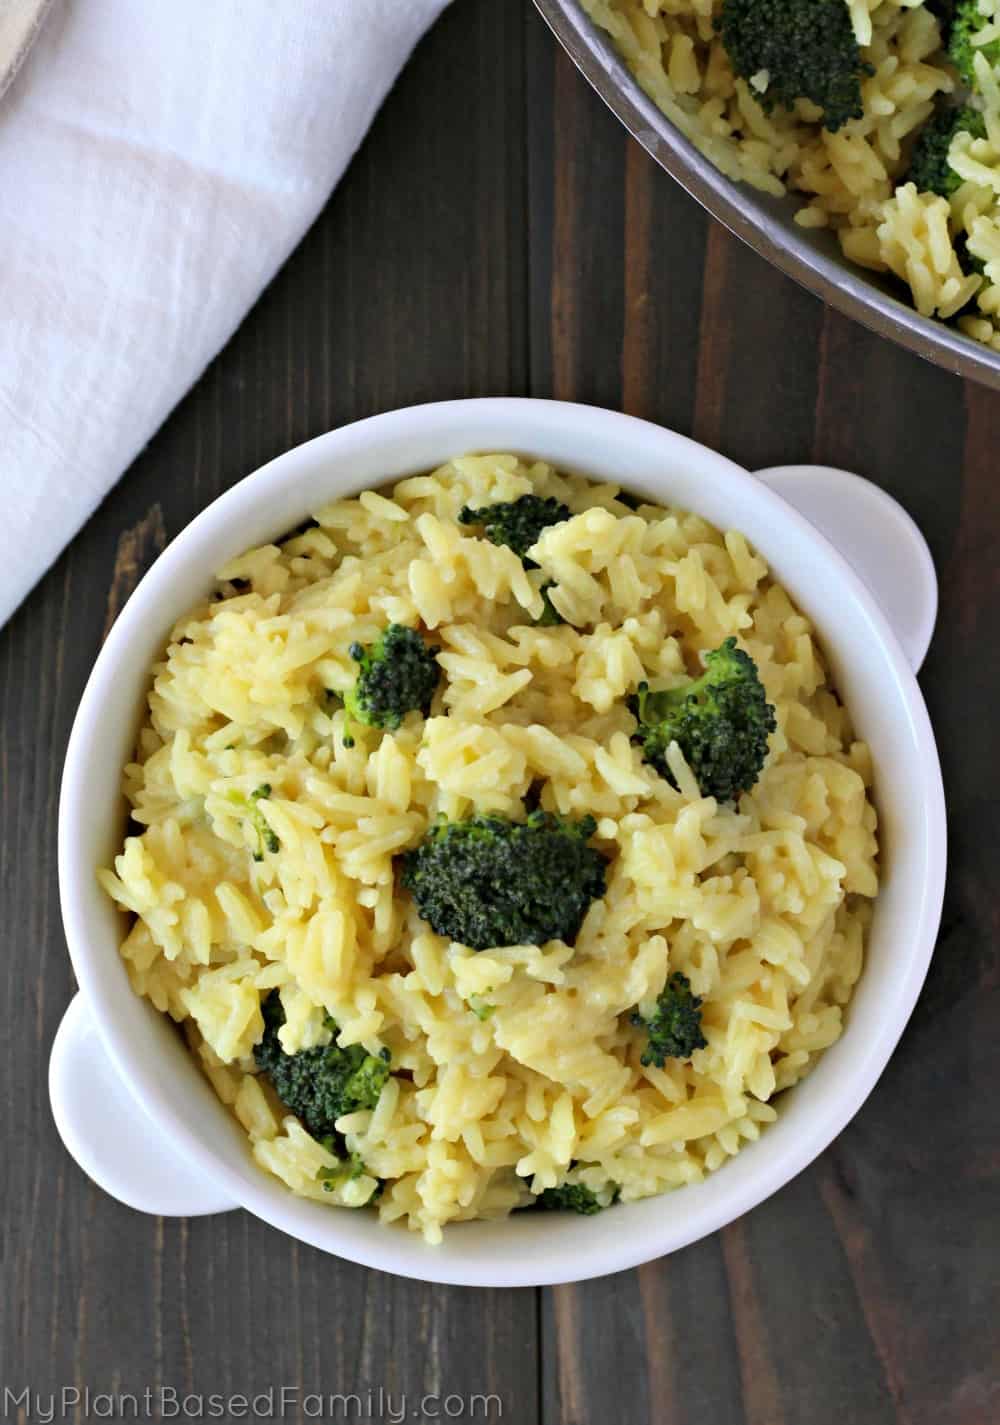
Vanilla Coconut Chia Pudding

Your family will love this Vanilla Coconut Chia Pudding. Add your favorite fruit, coconut flakes, nuts or seeds. It makes a great breakfast, dessert or snack.
Ingredients
- 2 Tablespoons Chia Seeds
- ½ cup Coconut Milk (other plant-based milk can be used instead)
- 1 teaspoon maple syrup
- ¼ teaspoon vanilla extract
- 1 Tablespoon Shredded Coconut
Instructions
- Add all the ingredients together in a bowl or jar (should hold at least one cup).
- Allow to sit for 10 minutes, then stir again and place in the refrigerator.
- Refrigerate overnight or at least 2 hours.
- Enjoy topped with additional shredded coconut, nuts, or fresh fruit.
Notes
Keep in an airtight container in the referigerator for up to 5 days
Recommended Products
As an Amazon Associate and member of other affiliate programs, I earn from qualifying purchases.